AI Interior Design: 6 Practical Workflows That Actually Work
From sketch to photorealistic render in minutes. Visualize room layouts, explore different design styles, and create stunning AI-generated concepts without expensive software. Real workflows from professional interior designers using AI interior design tools.
 by Rohit DasJan 15, 202618 min read
AI Interior Design: From Concept to Reality
AI technology has transformed how homeowners and designers visualize spaces. Whether you're planning a living room makeover or commercial design projects, AI interior design tools help you render ideas, test different styles, and create photorealistic visualizations in minutes. Unlike traditional 3D models that take hours, AI home design tools generate realistic renders almost instantly. Our best AI image generators guide covers the models behind these capabilities.
This guide covers six workflows interior designers use AI for interior design: sketches to renders, exploring color palettes and design styles, generating floor plans from room photos. Each includes prompts you can adapt. Whether you're a beginner or professional, these AI room design techniques accelerate the design process.
We worked with architect and interior designer Tina Sirakova to document workflows she actually uses: visualizing 10 furniture layouts instead of one, testing how a remodel looks before touching a wall, showing clients room design options in a single meeting. Tools like RoomGPT and Planner 5D have made AI-powered home design accessible, with free AI tiers for beginners.
Homeowners
Visualize your dream home before renovation. Test color schemes, furniture layout, and home decor ideas risk-free with any interior design app.
Interior Designers
Speed up concept development and iterate on design projects faster than 3D rendering. Explore room type variations and functionality options.
Real Estate Pros
Virtual staging for empty rooms, visualization for listings, renovation concepts. AI images help buyers see possibilities.
What You'll Learn
Sketch to Render
Transform rough sketches into photorealistic renders using AI-powered tools. Test multiple aesthetics from a single concept, combine reference images for stronger context, then iterate: refine materials, adjust lighting, and create video transitions, all while maintaining accurate proportions. For image editing refinements, see our best AI photo editor guide.
Watch the full sketch-to-render workflow in action
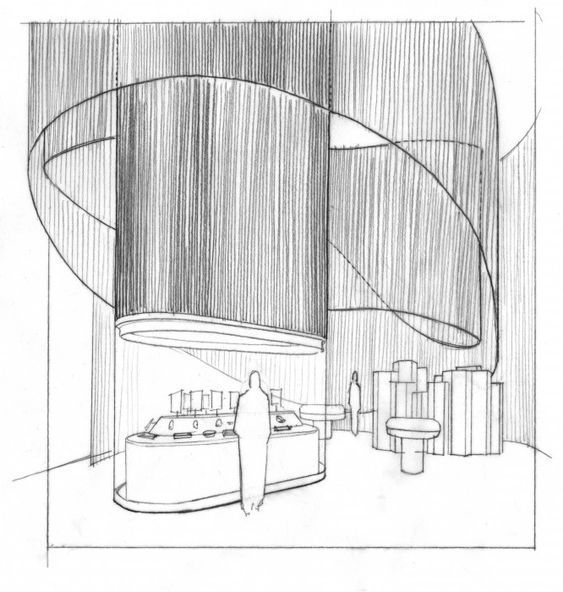
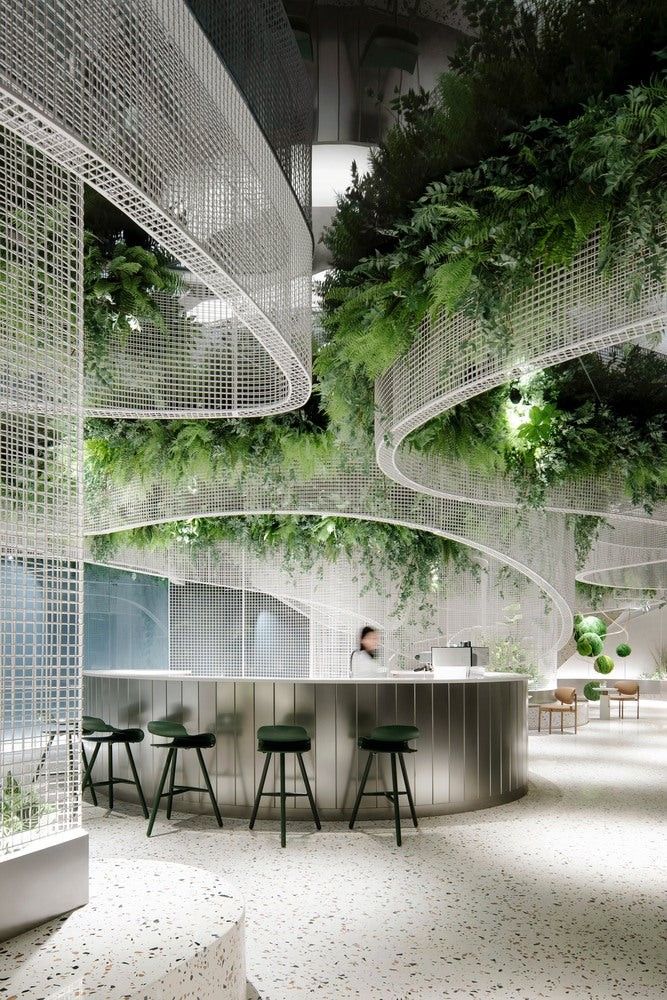
Upload Your Sketch + Style Reference

Hand-drawn sketch
Style reference image
Start with any sketch: a rough hand drawing, a quick digital concept, or even a reference photo. Combine with a style reference image to guide the AI's aesthetic direction.
Generate Style Render
"Turn the sketch of this building to a render in a modern and minimalistic style with curved organic shapes"
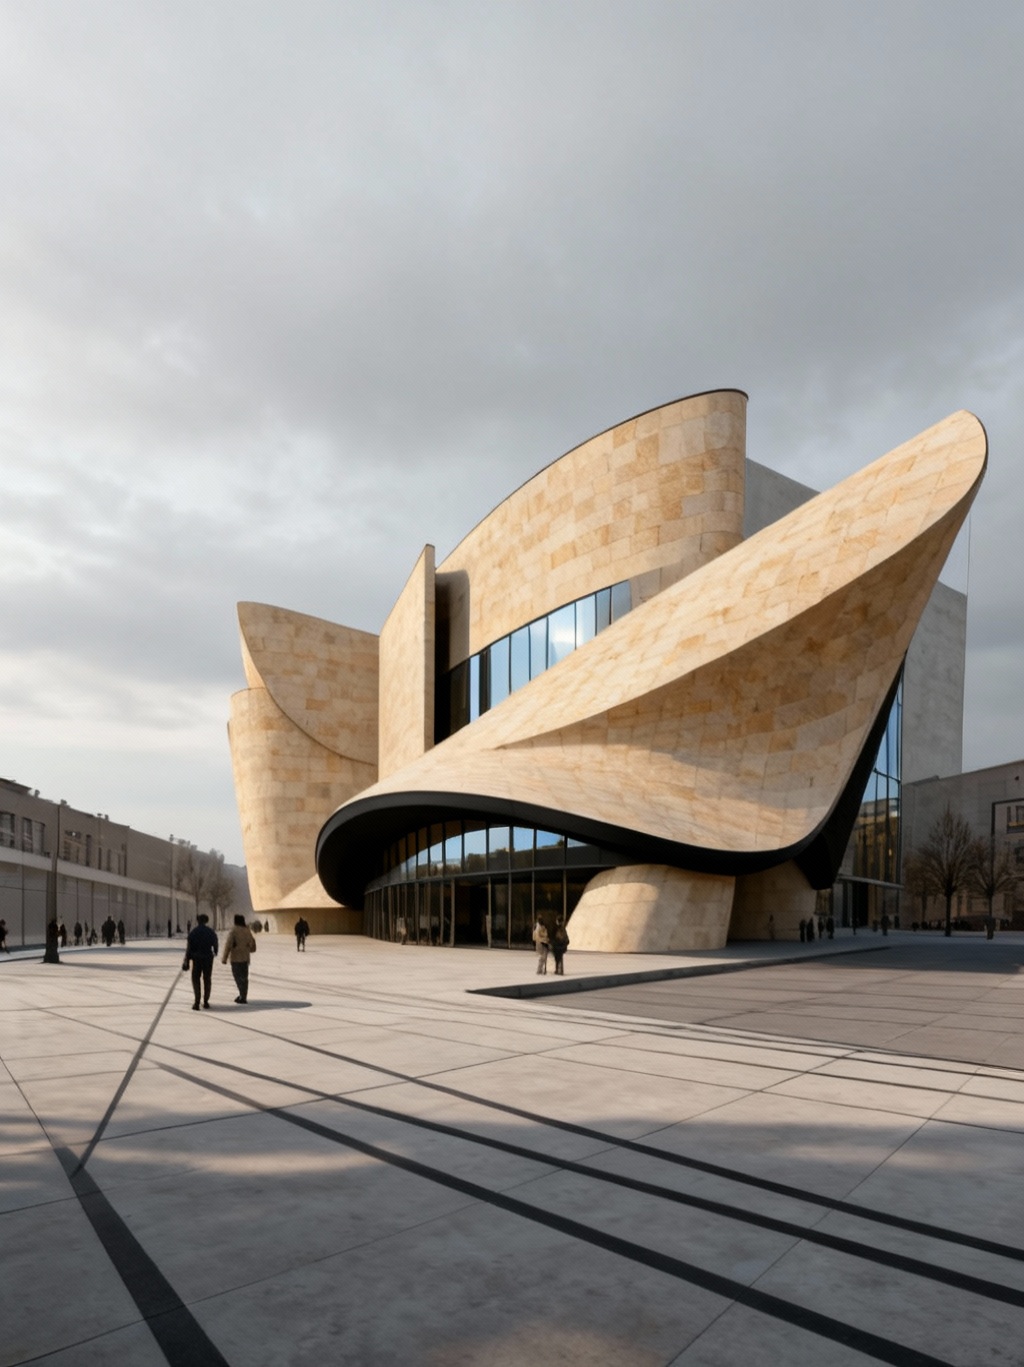
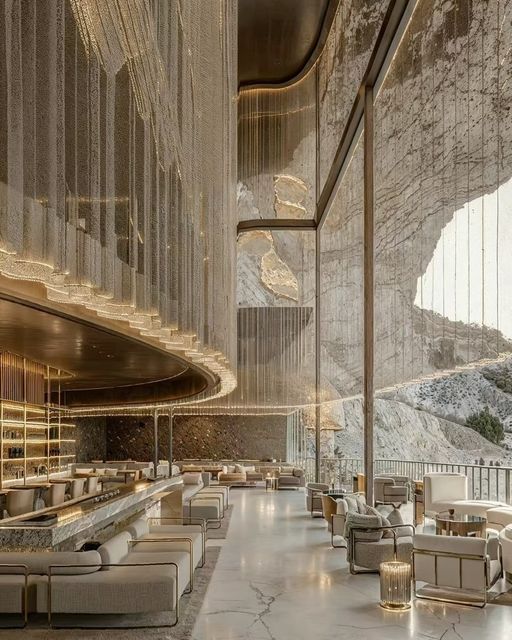
Day Render
~35s
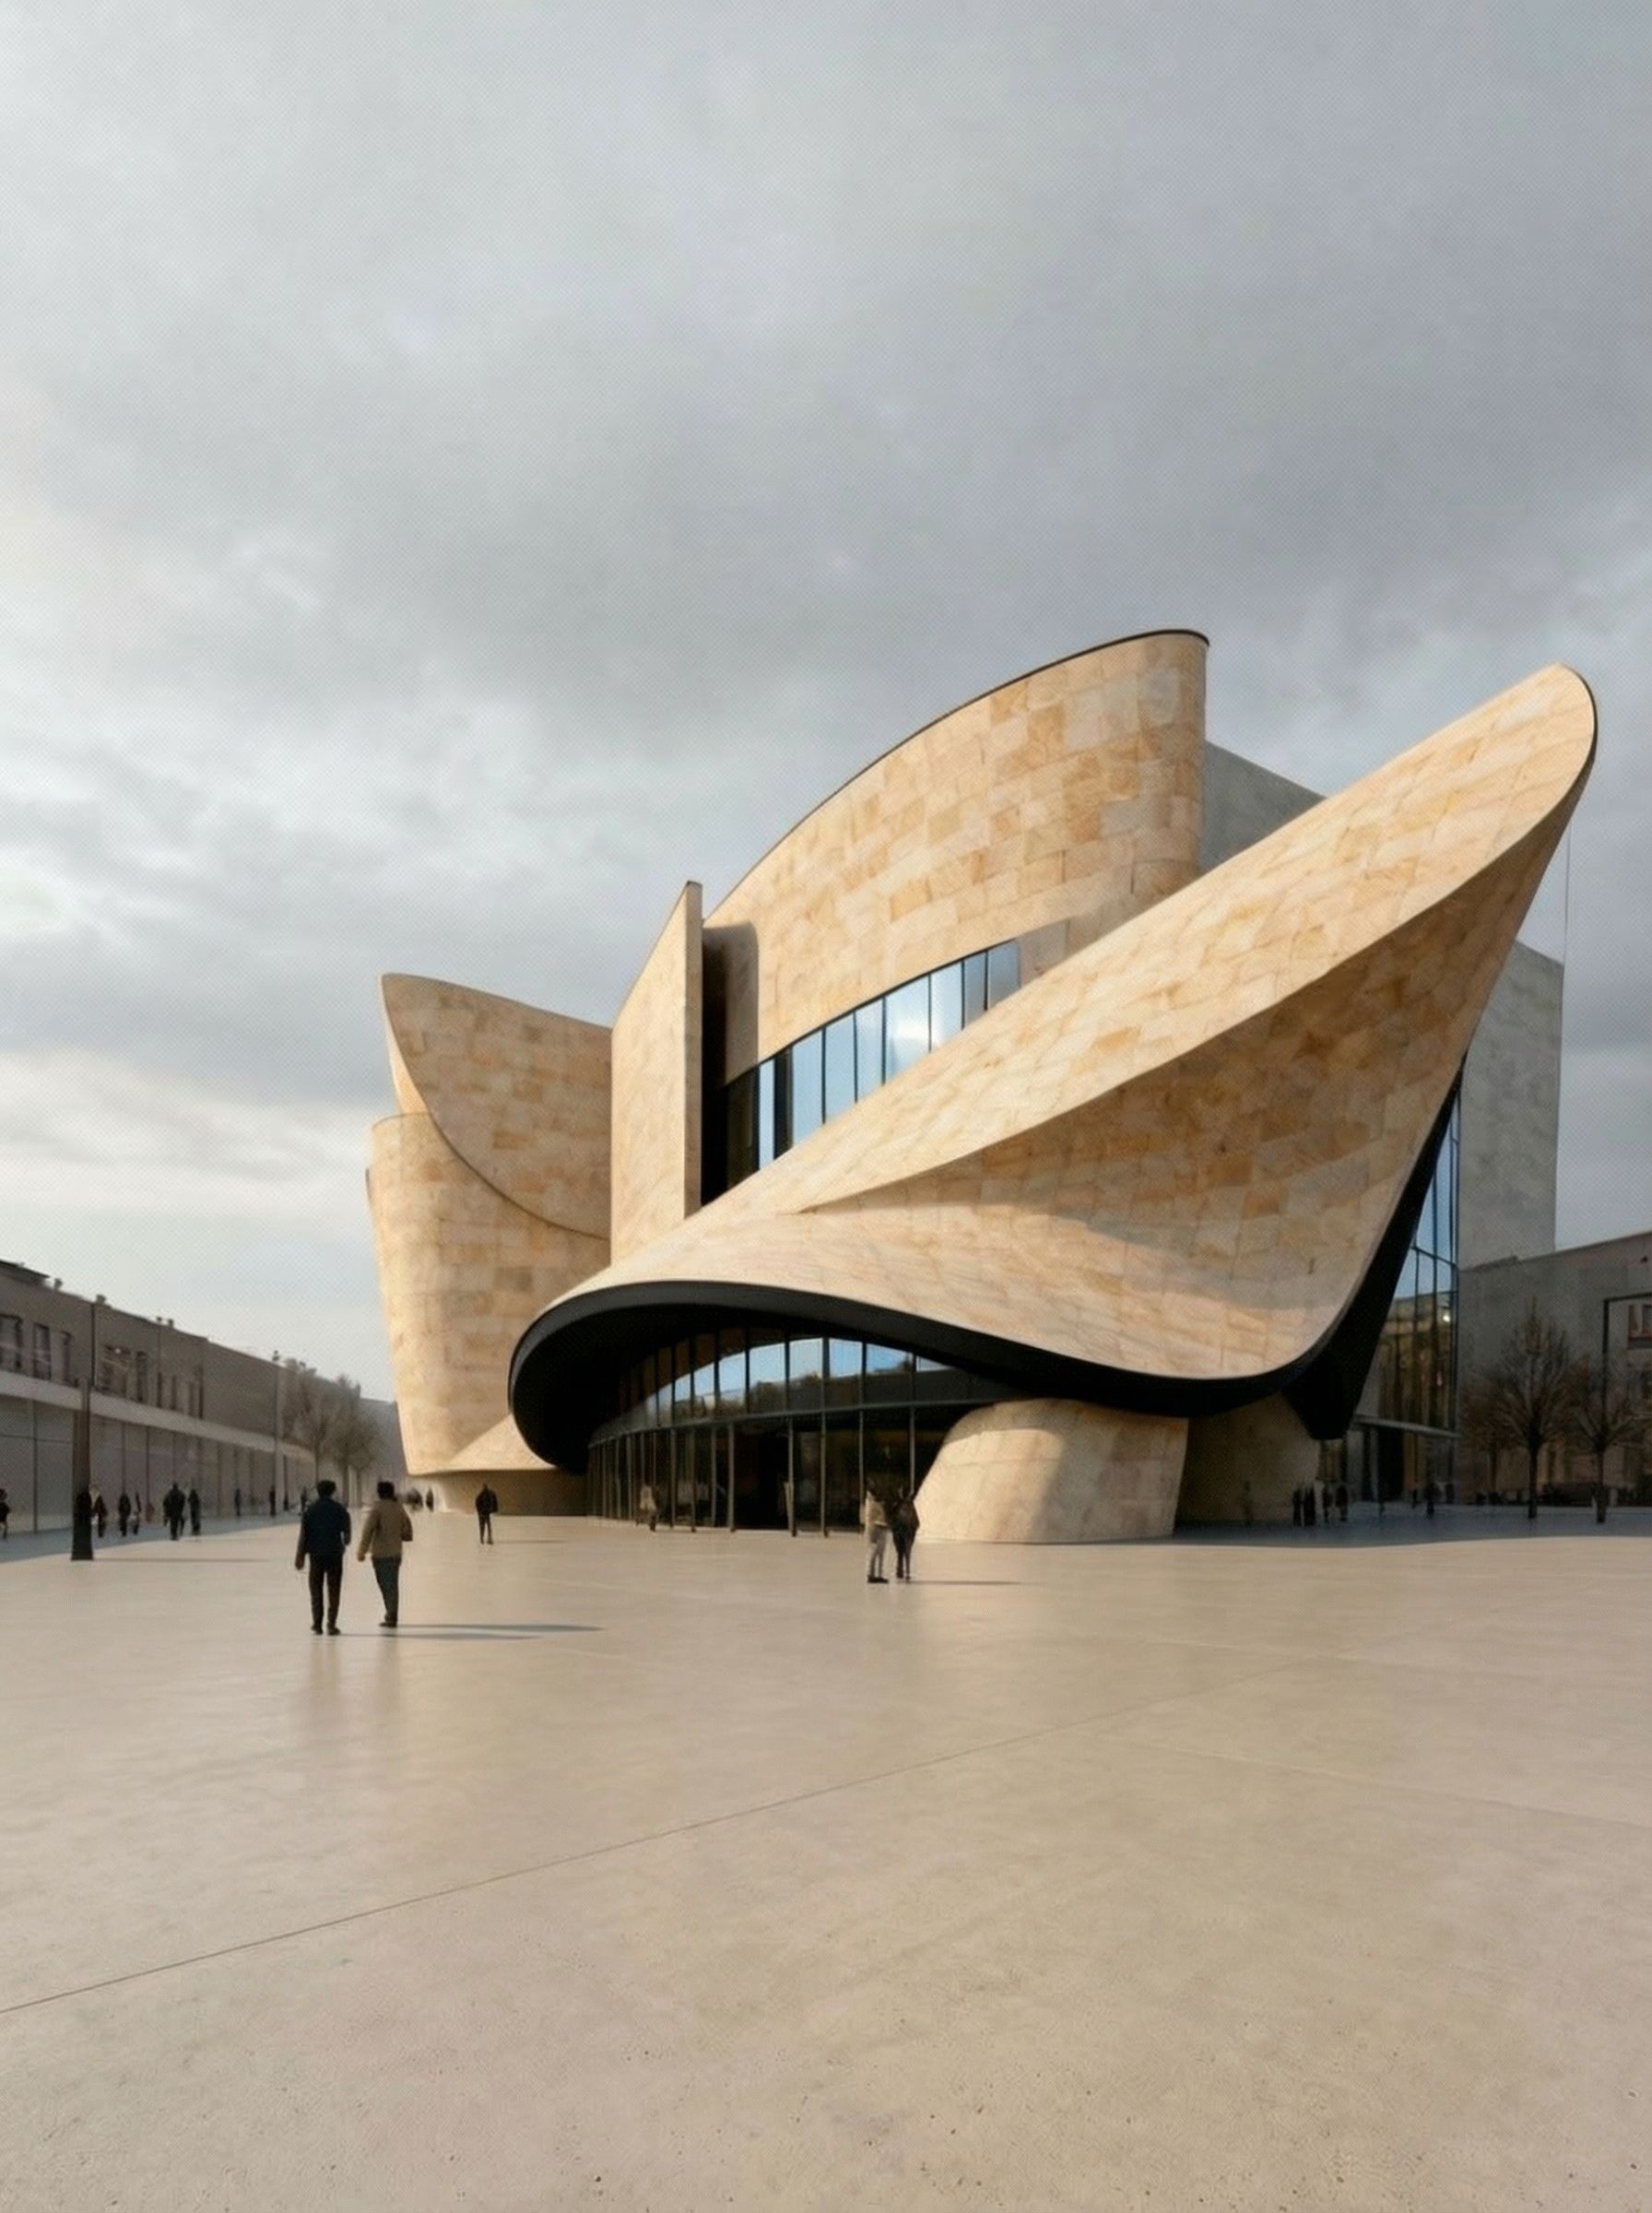
Material Refined
~28s
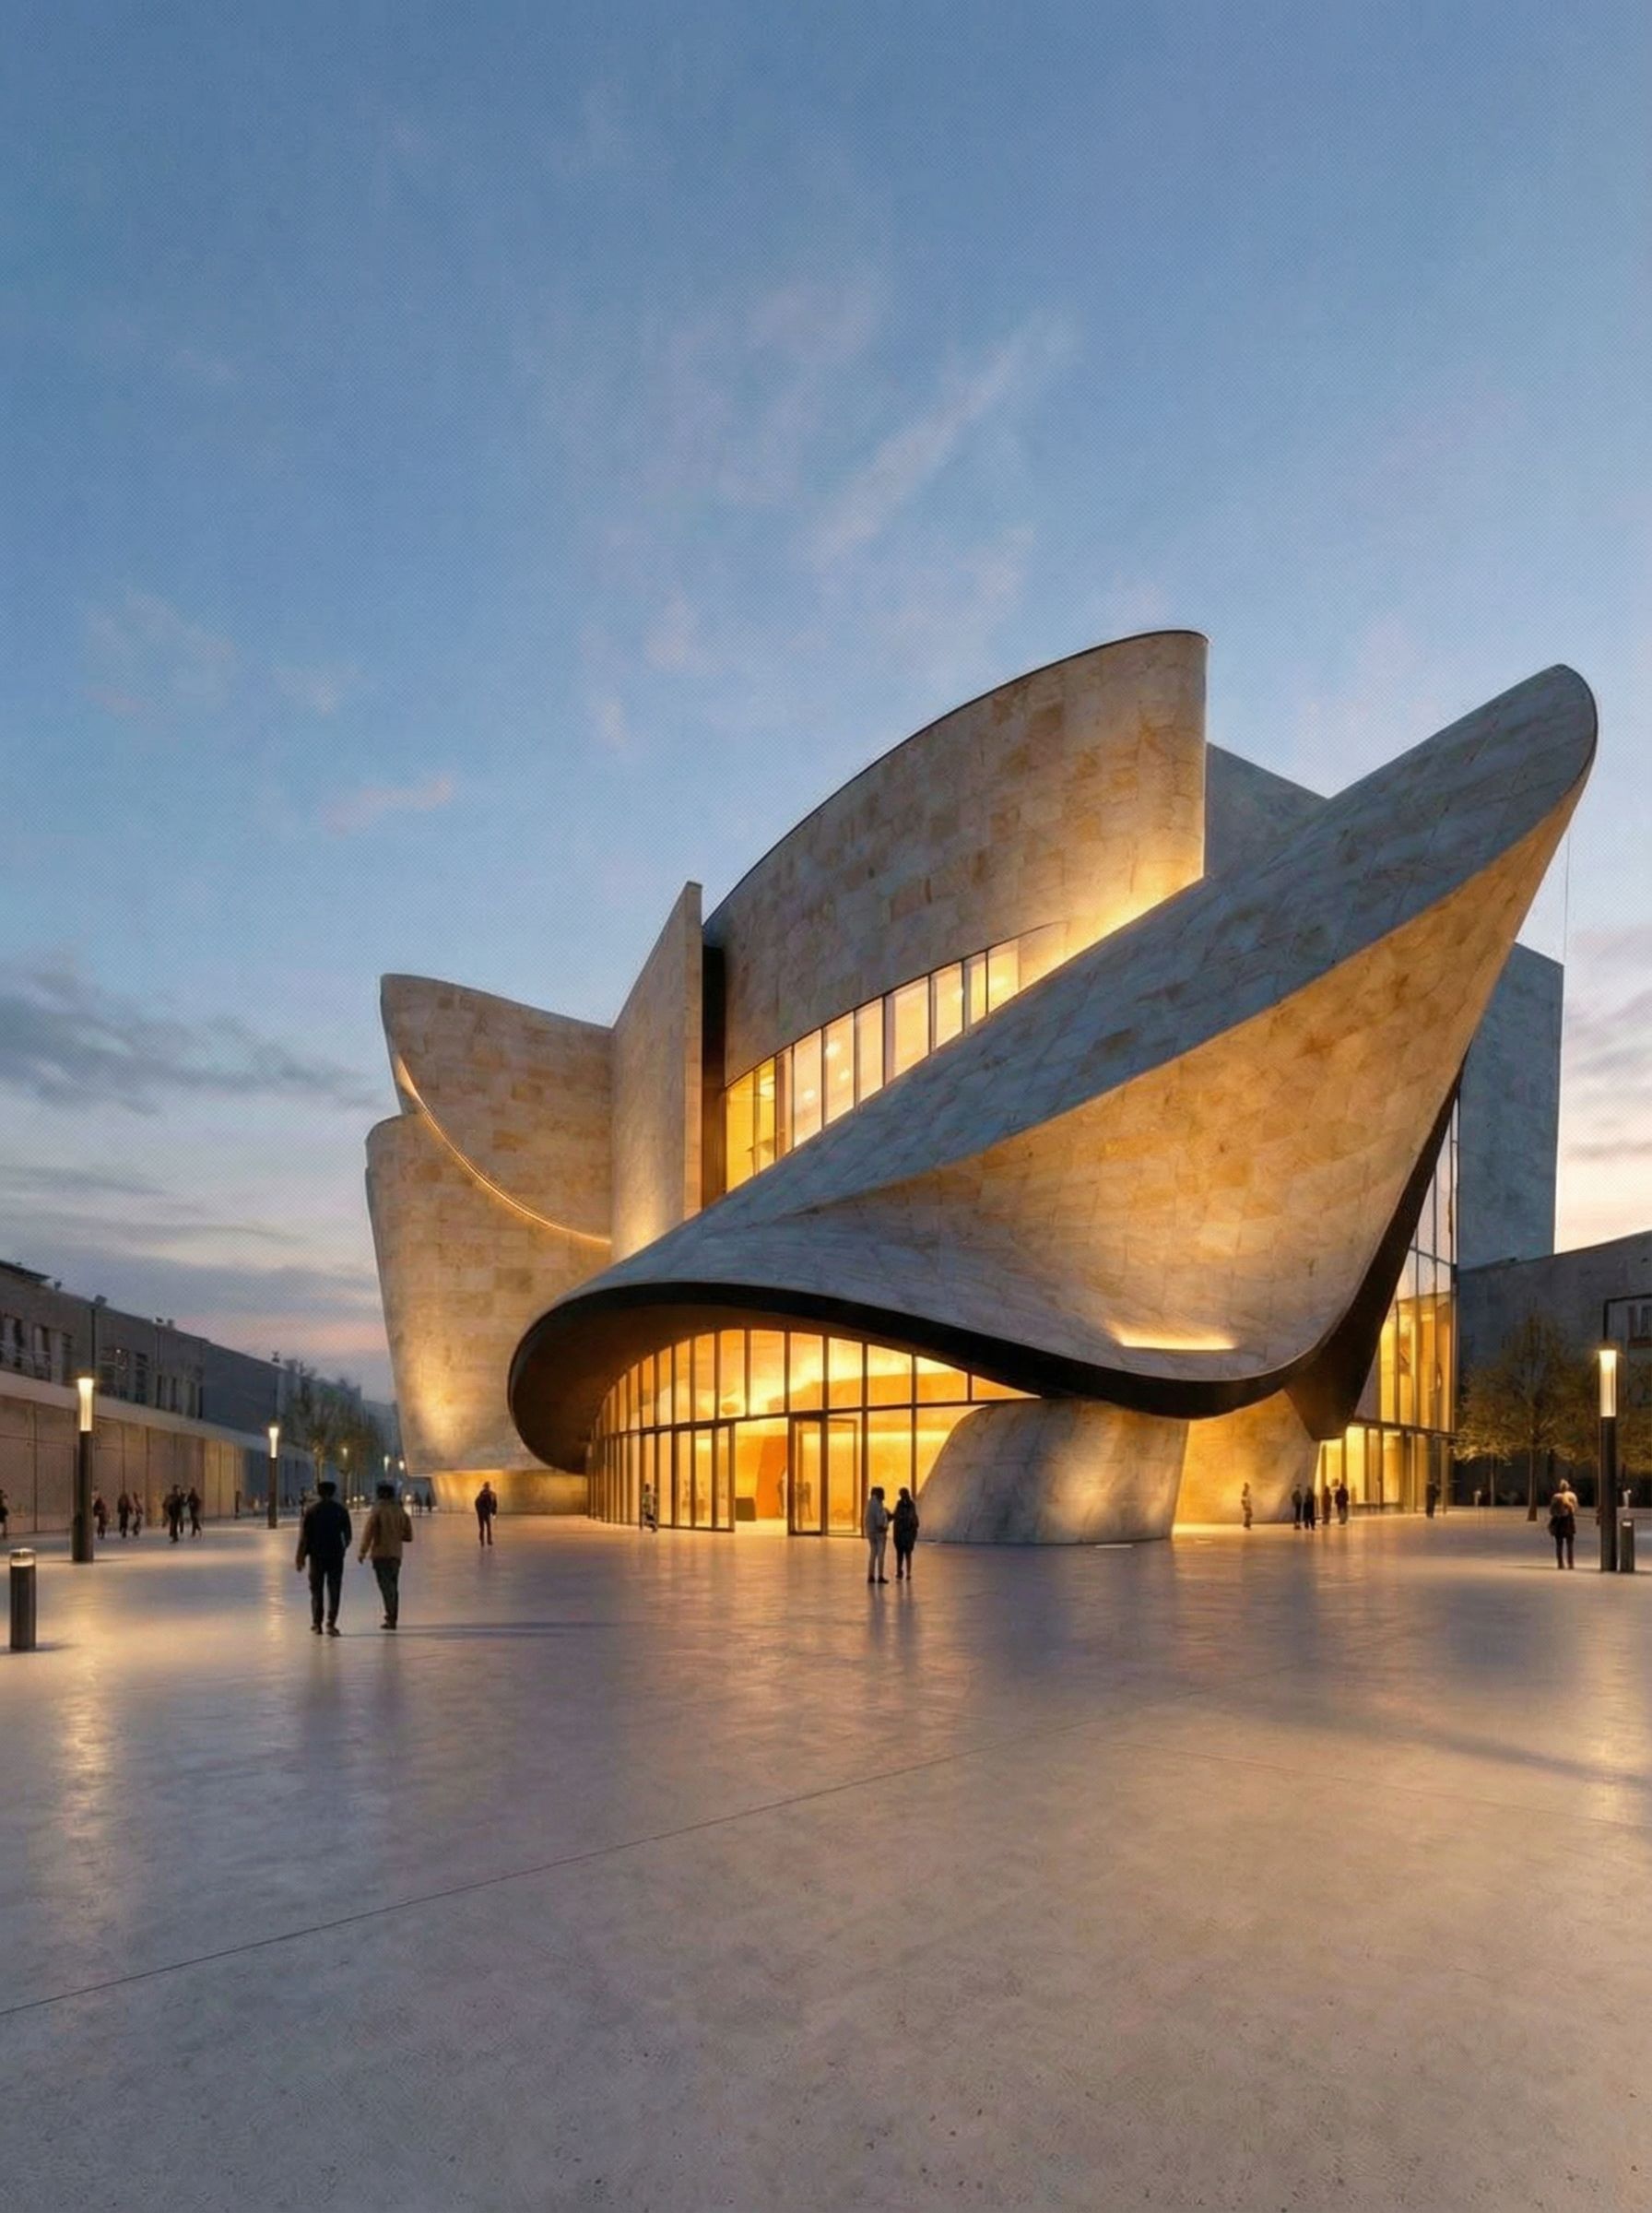
Evening Render
~32s
Click any render to see the full prompt used
Create Day-to-Night Video Transition
"Create a video starting from the daytime view and transforming to the nighttime view, keep all proportions and geometries exactly the same, camera is still, only the lighting is changing"
The video maintains exact proportions while transitioning lighting
Example 2Interior Space with Style Reference Variations
One Sketch, Multiple Style References
Source Sketch
Style References

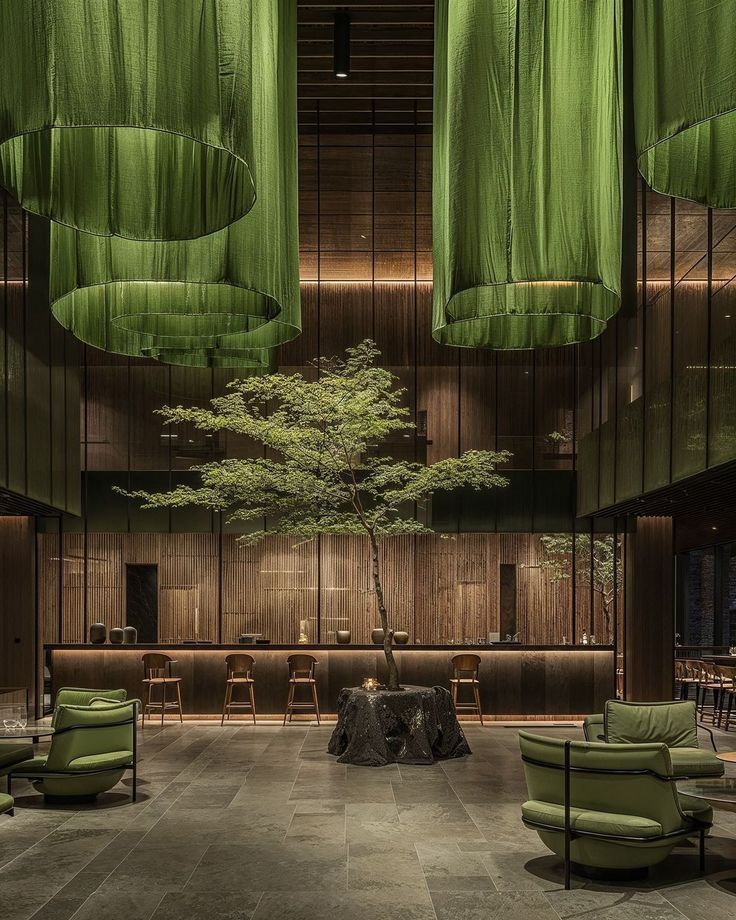

Use multiple style references to explore different aesthetics from the same spatial concept. Each reference guides the AI toward a distinct visual direction.
Generate Renders from Each Style
"Create a render from the sketch of this interior space. Change the style like in the reference image. Keep it minimalistic and modern. Make it ultra realistic."
~38s
~35s
~40s
~36s
~42s
~39s
Click any render to see the full prompt
Combine Two Styles into One
"Create one image combining these two styles. Keep the geometries, proportions and shapes exactly the same. Change only the style and materials, merging the two images into one"
Combined Style
~45s
Alternate Angle
~48s
Create Walkthrough Video
"Create a video turning around in this space. Smooth camera movement. Show the sculpture in the center from different angles. Ultra natural and smooth movement of the people."
Smooth camera movement around the central sculptural elements
Pro Tips for Sketch to Render
- Always specify "keep all shapes and geometries exactly the same" when iterating on renders
- Combine multiple reference images for stronger style context
- Use specific material descriptions: "light beige concrete" is better than "concrete"
- Try merging two style renders to create unique hybrid aesthetics
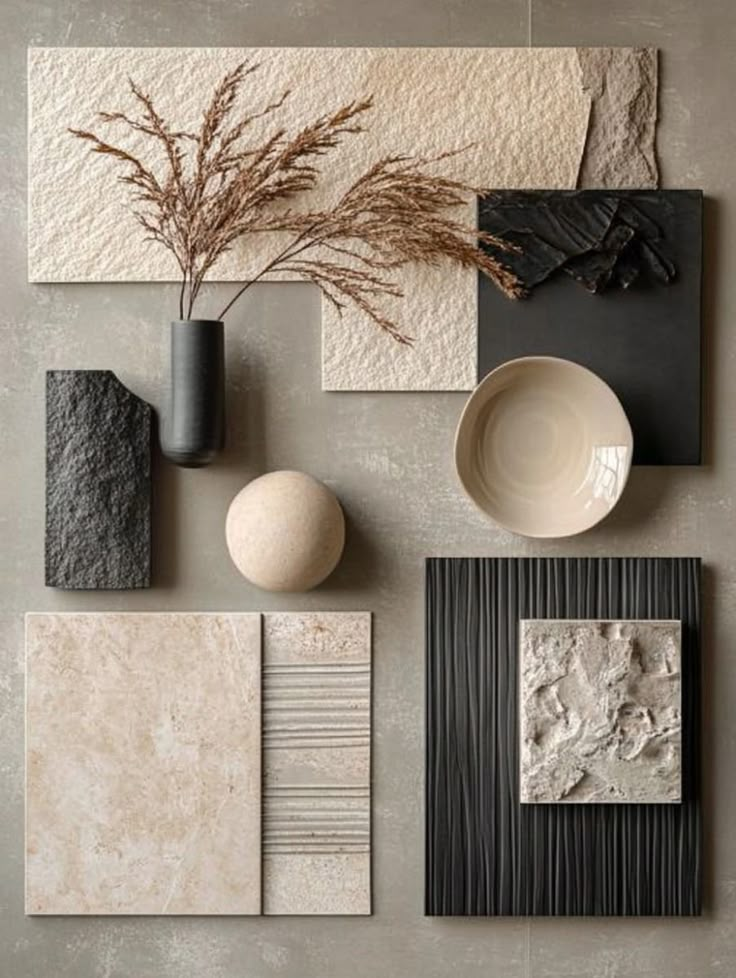
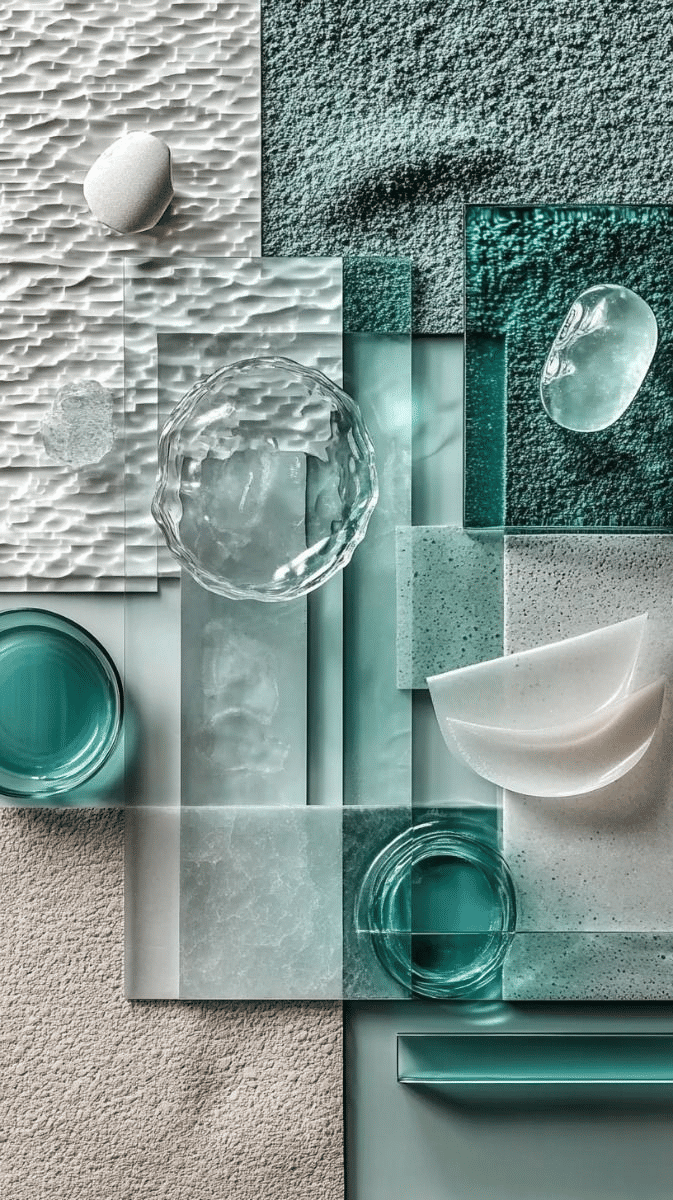
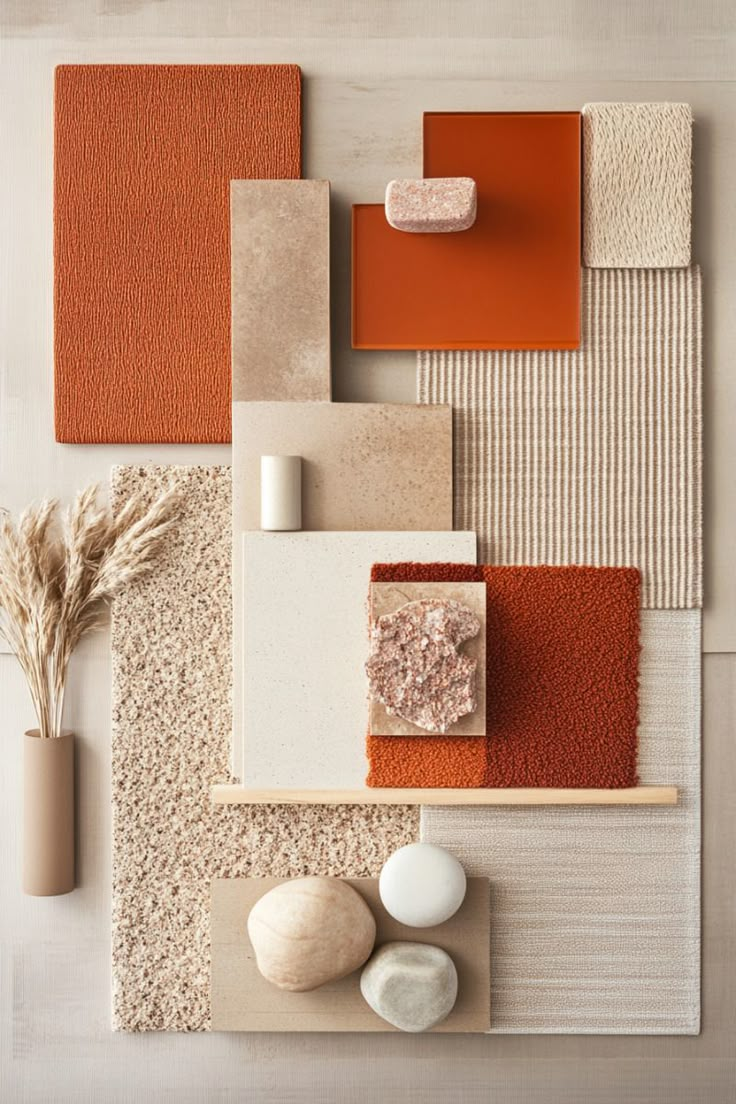
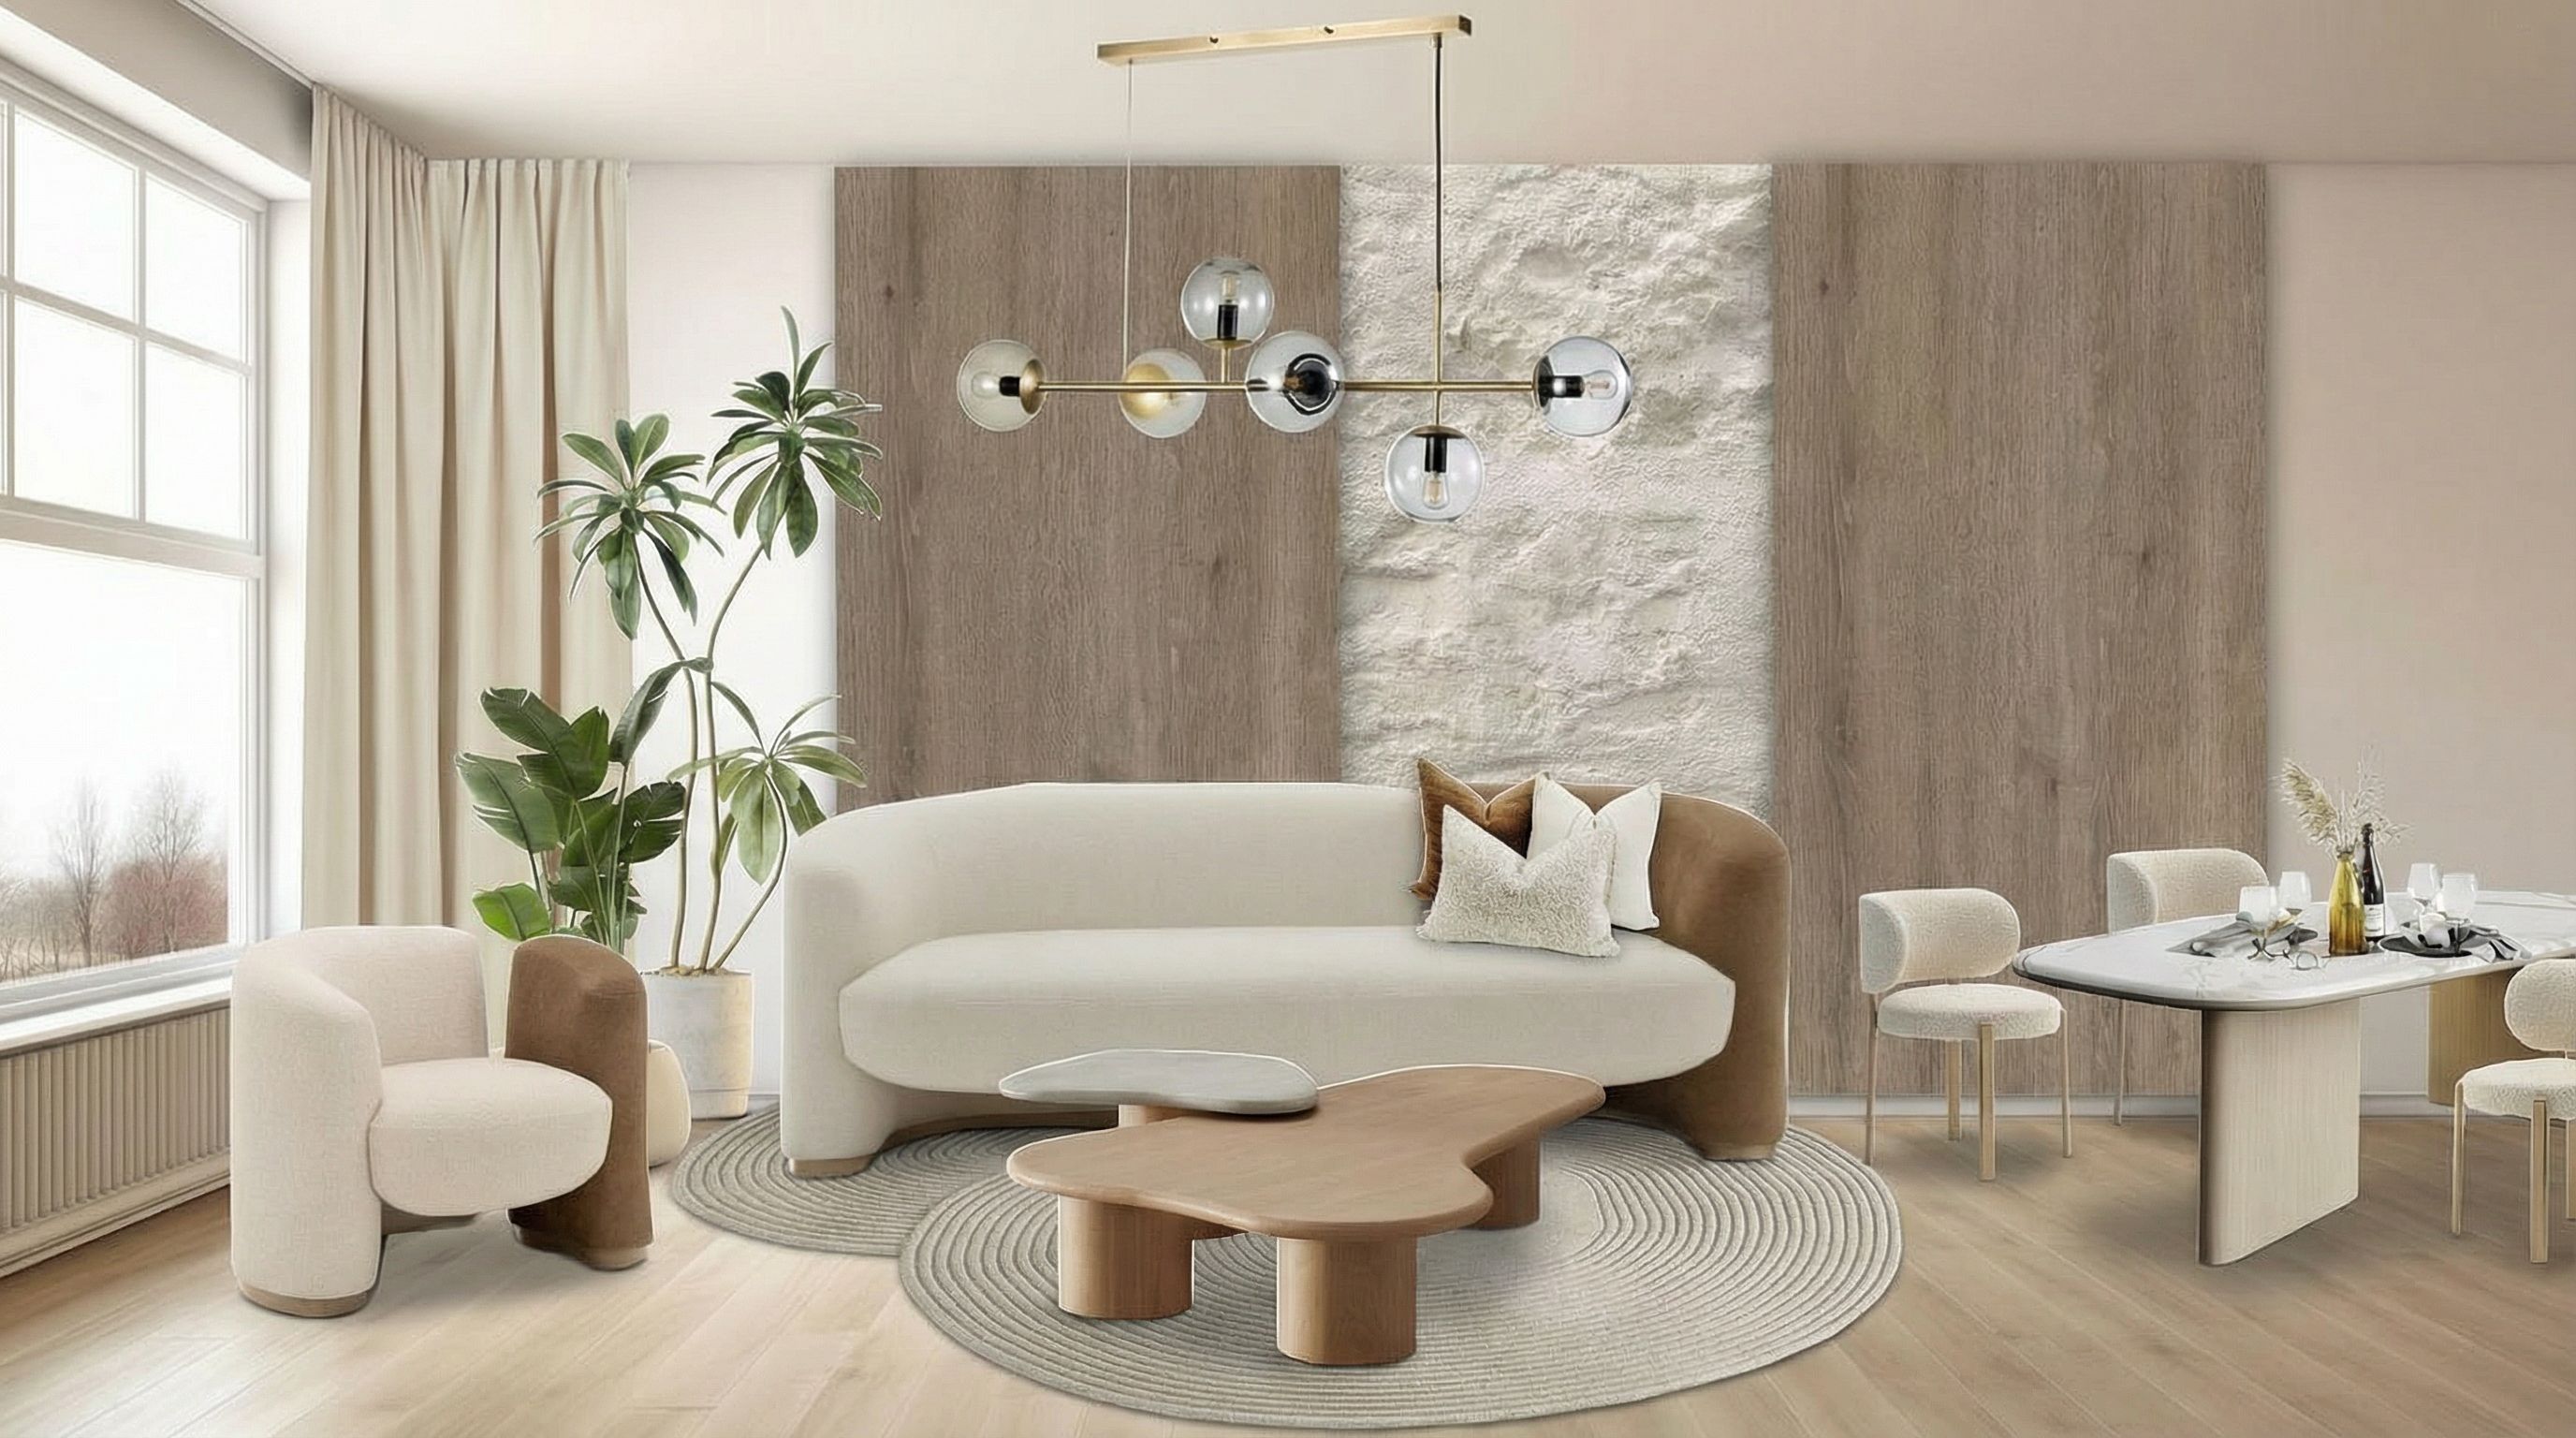
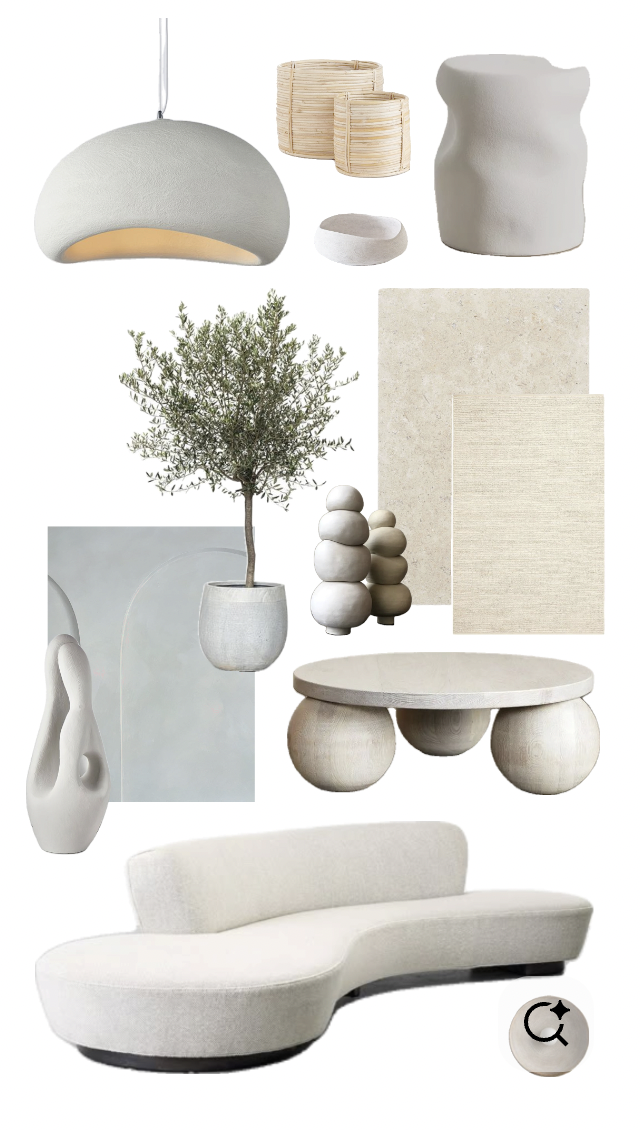
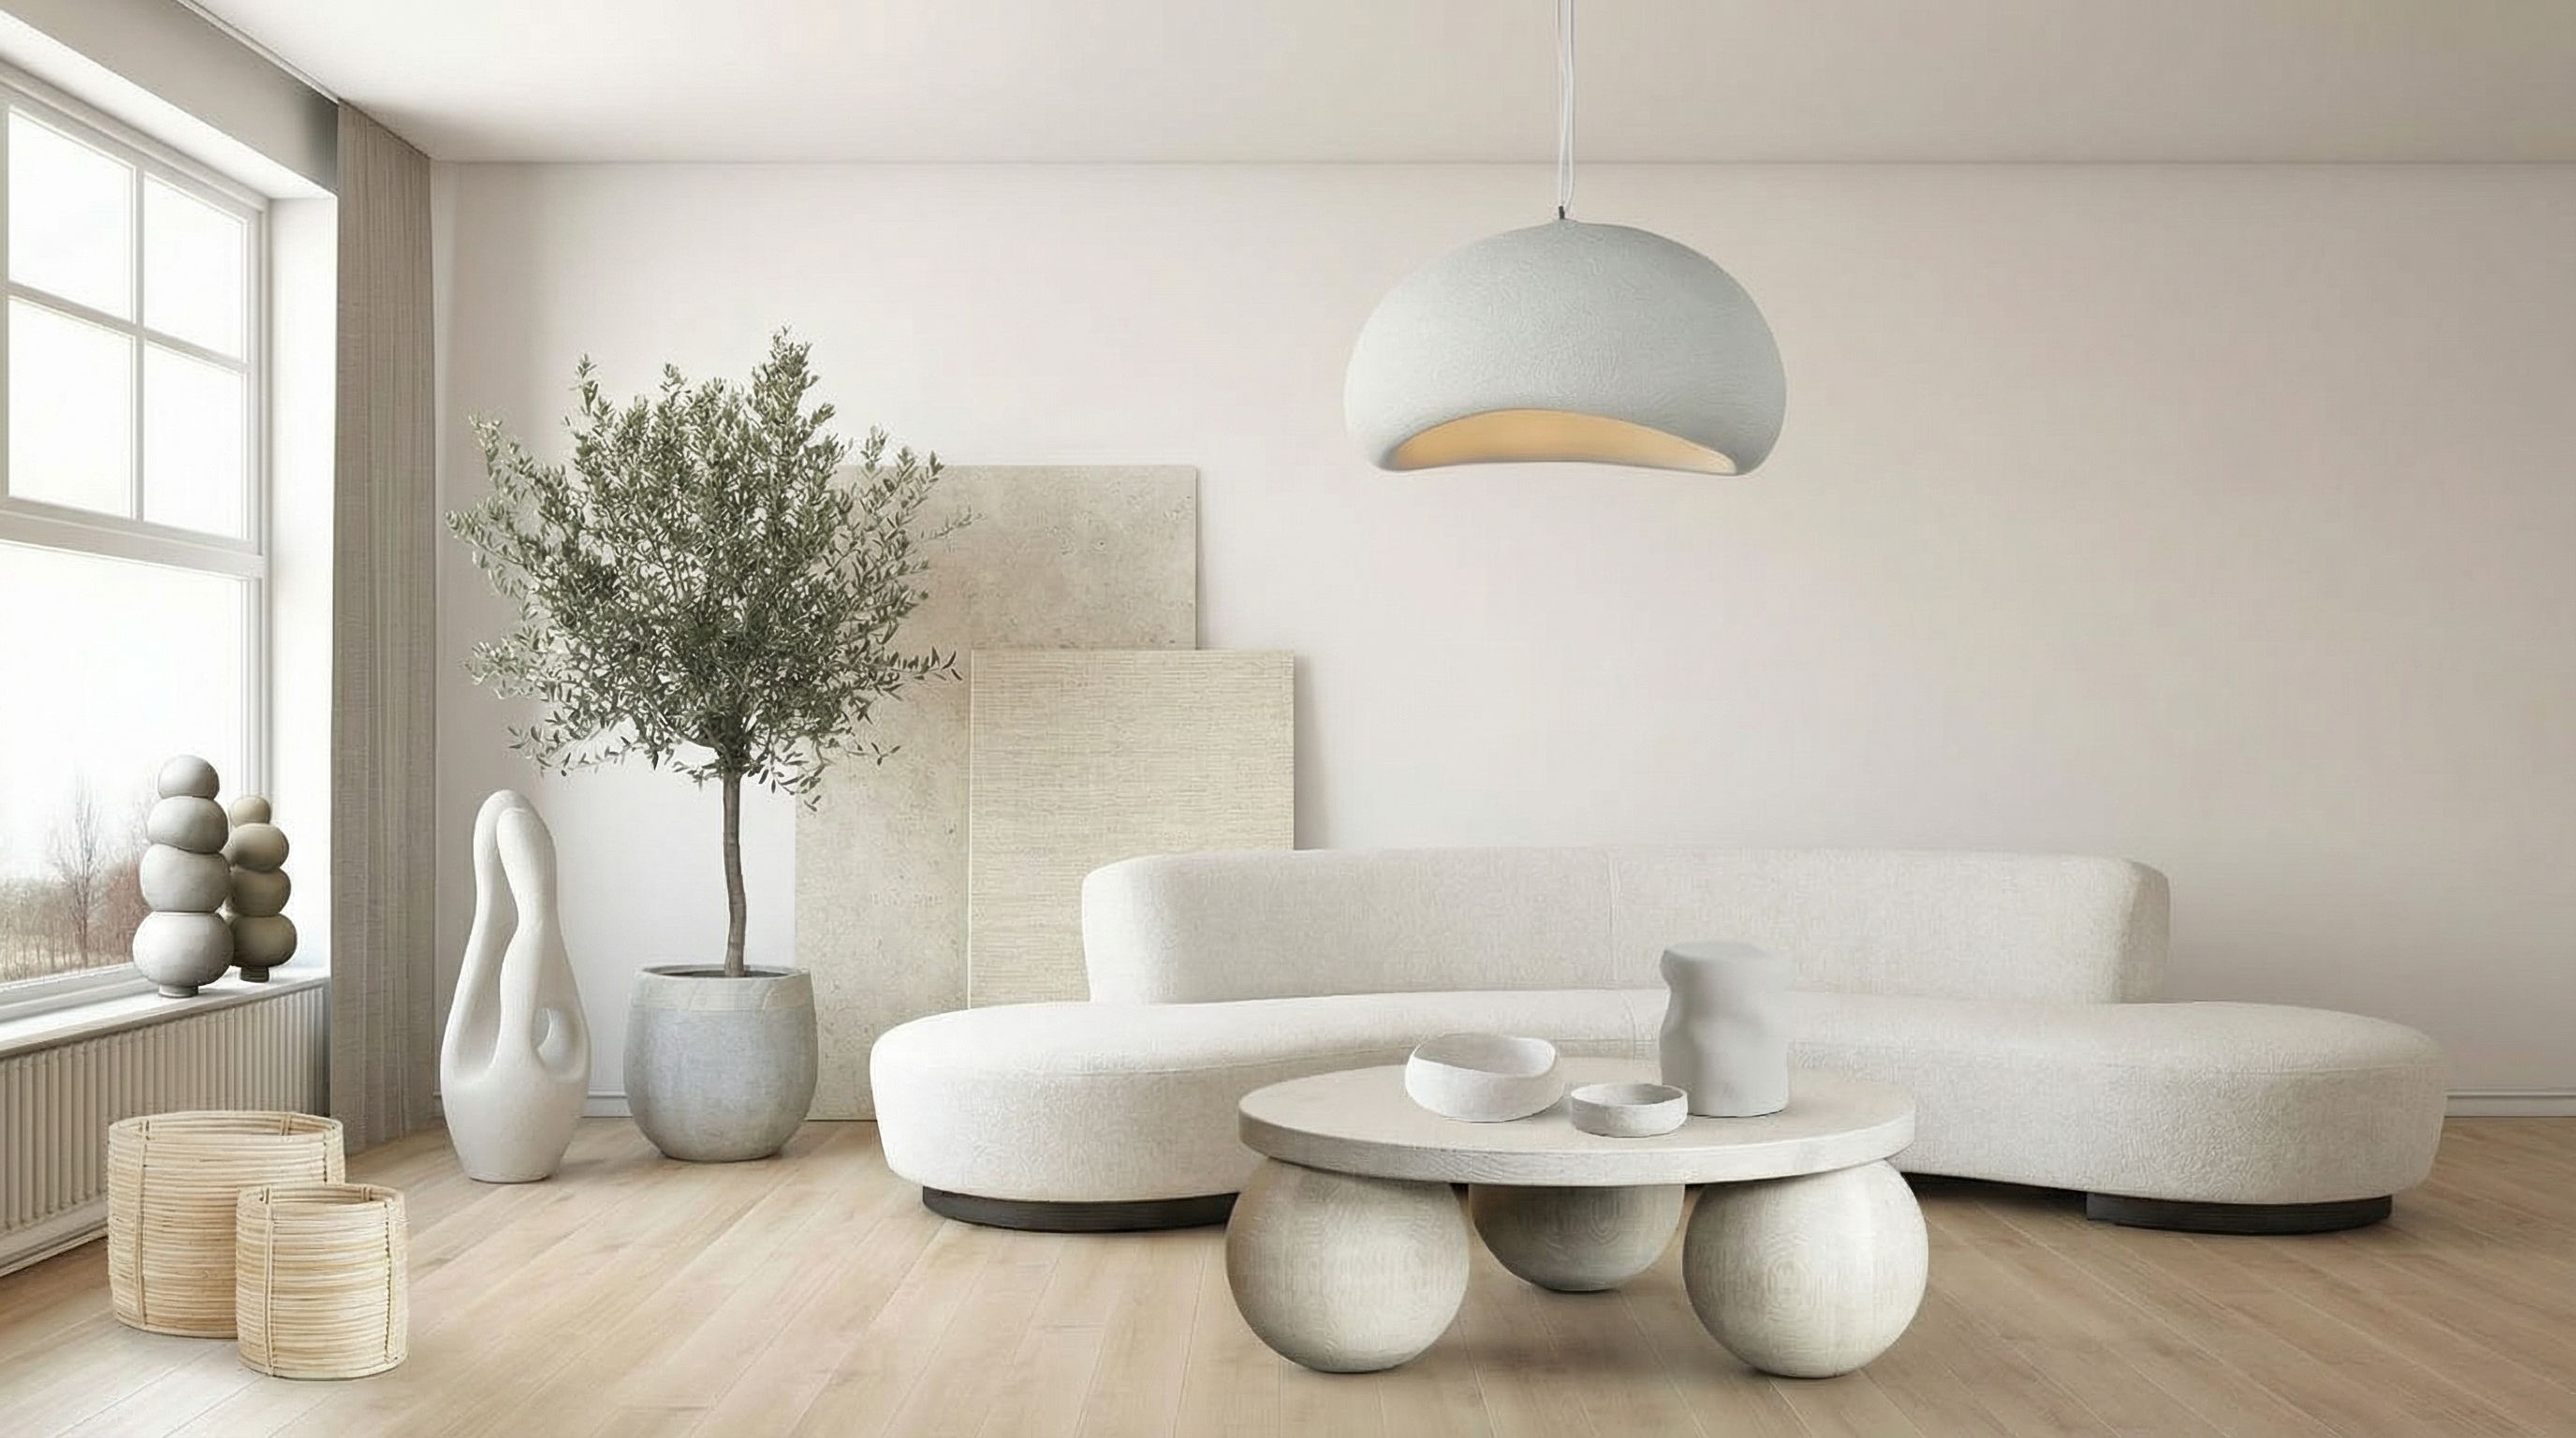
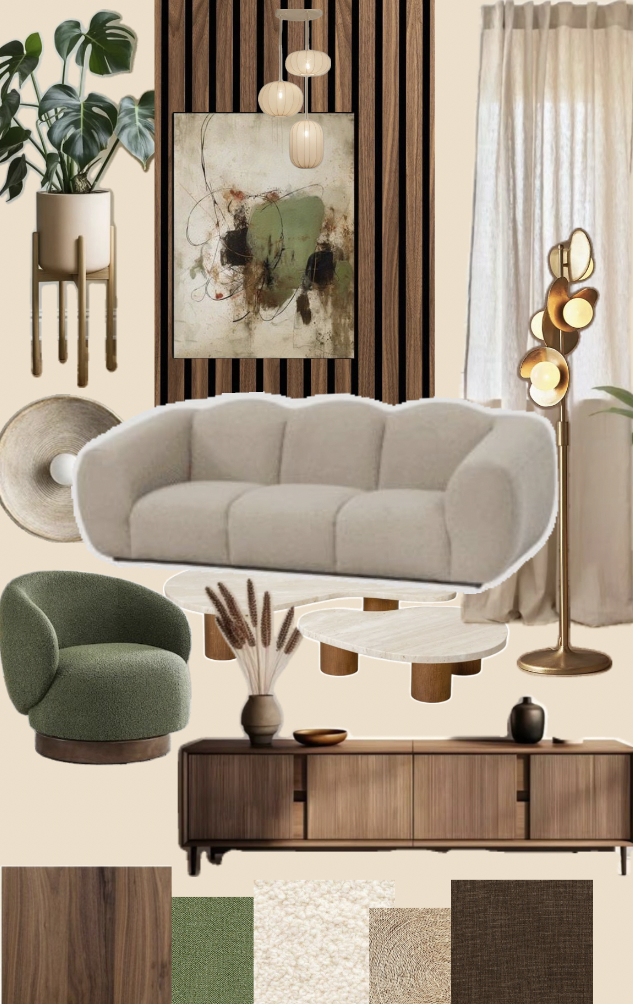
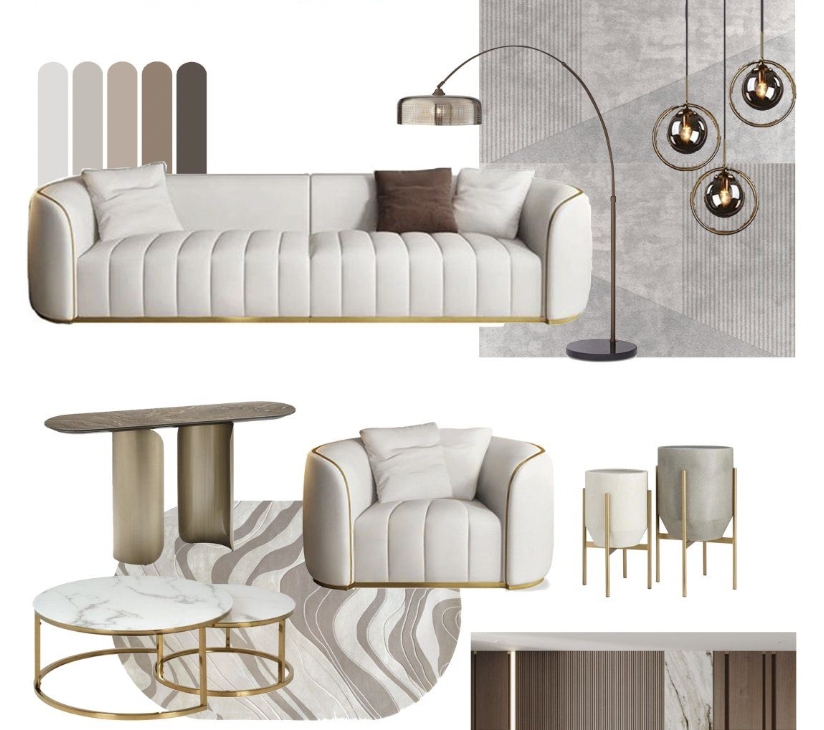
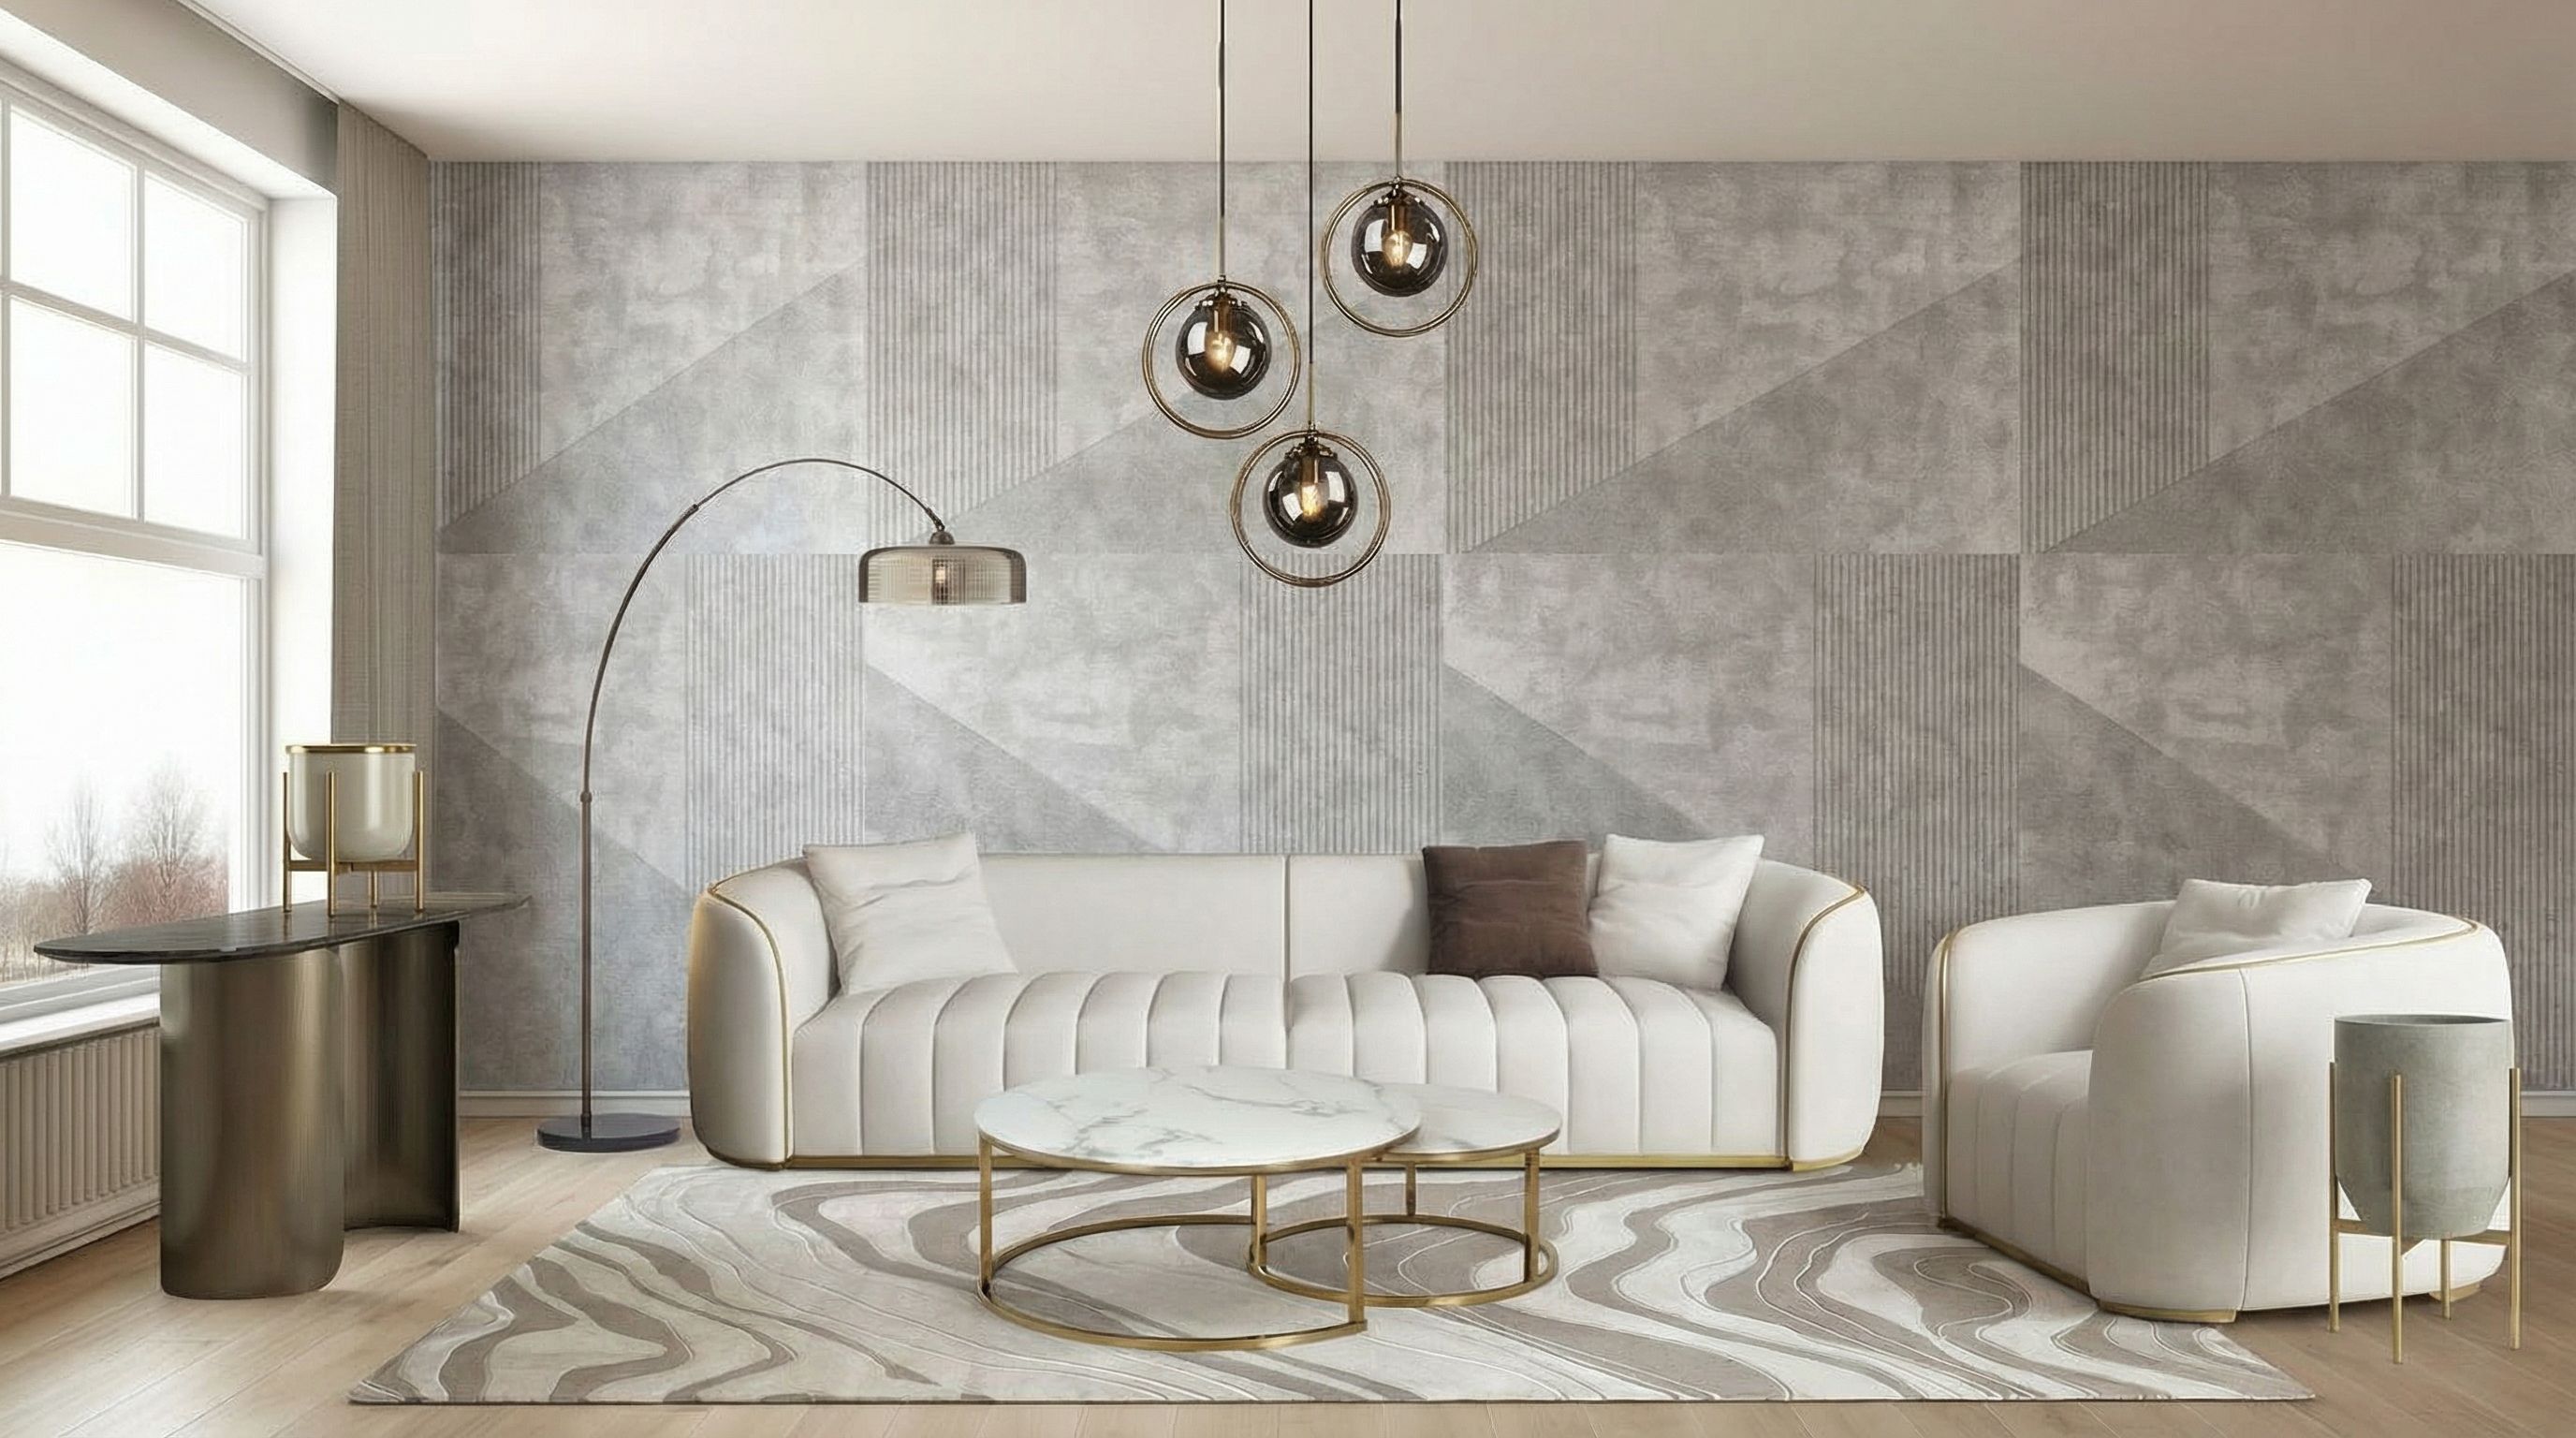
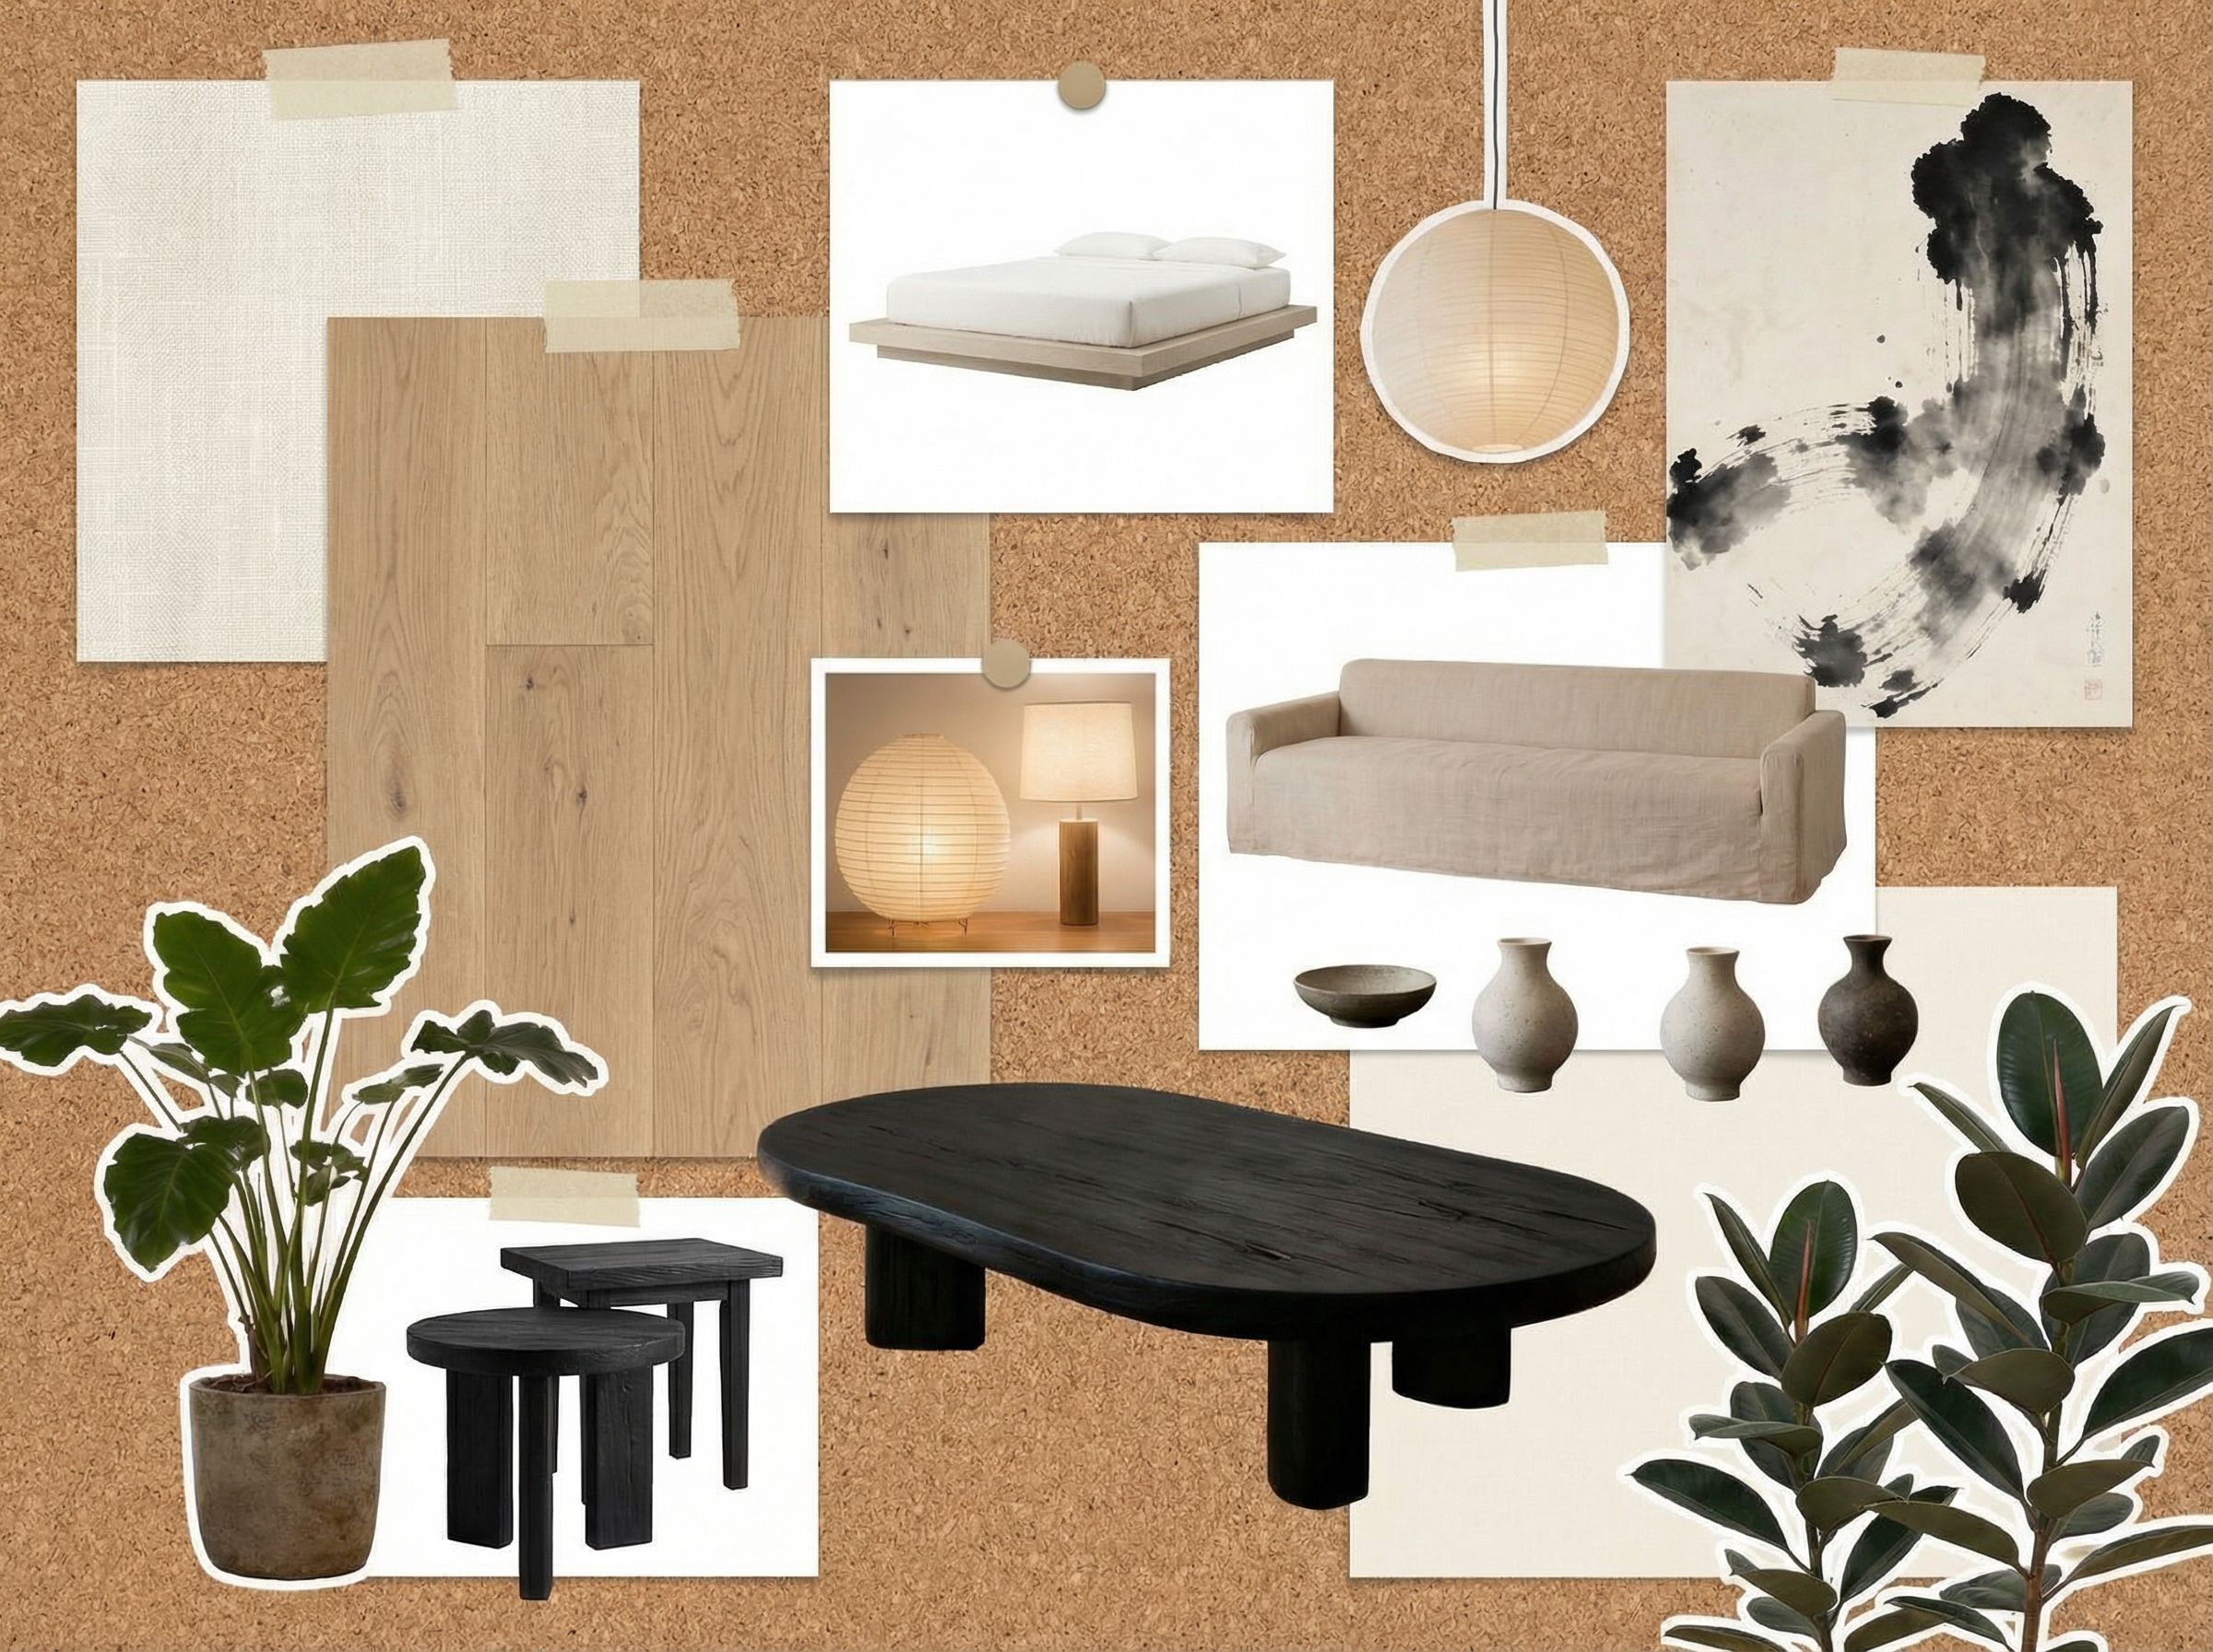
Concept Ideation from Mood Boards
Turn abstract design ideas into AI-generated spatial visuals. Use mood boards to explore color palettes, materials, and ambiance, similar to RoomGPT or other AI room design tools. Whether designing a commercial space or visualizing home decor for any room type, AI interior design tools generate multiple options from a single prompt, transforming the design process entirely. These same techniques apply to AI pool design and restaurant design projects.
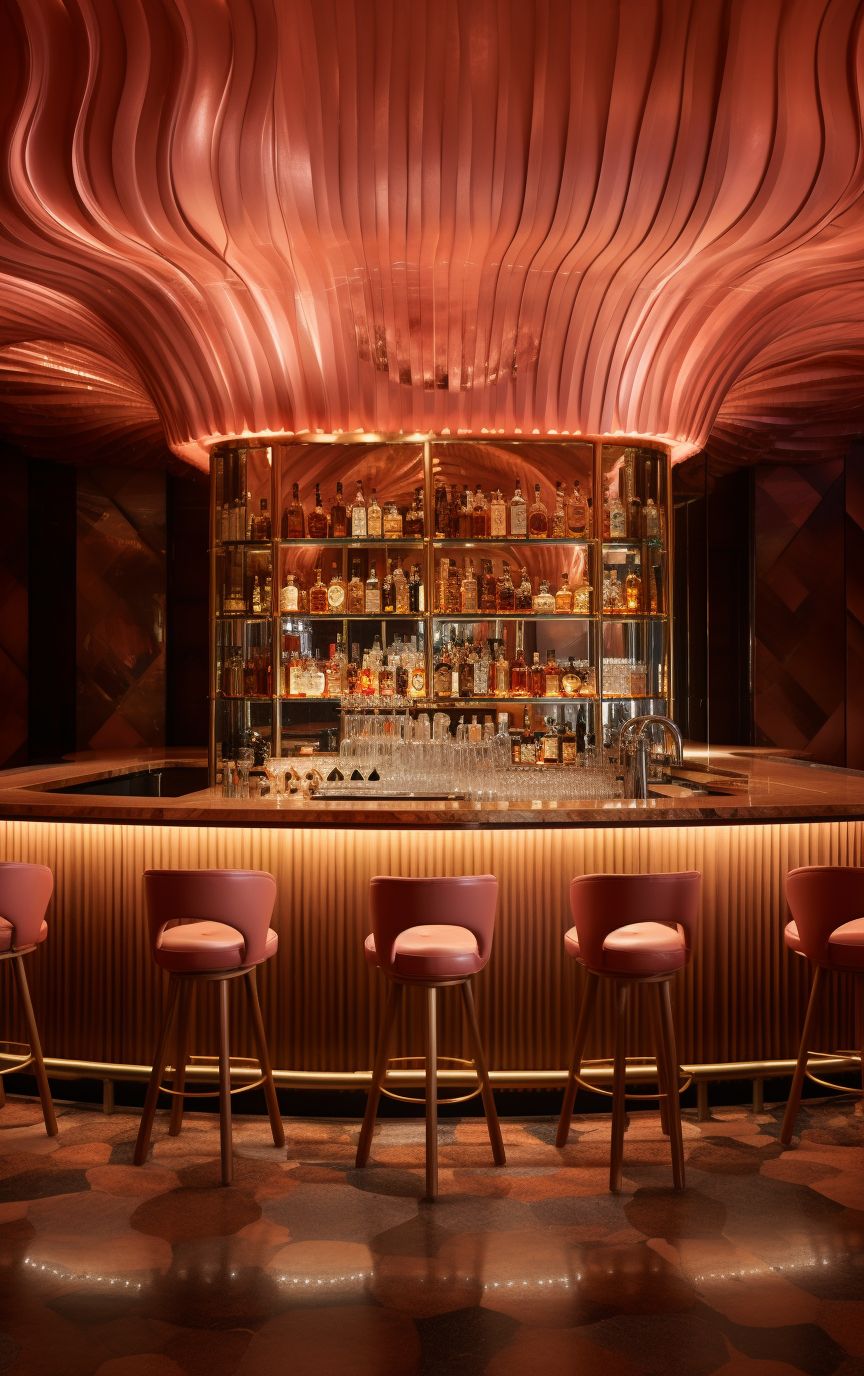
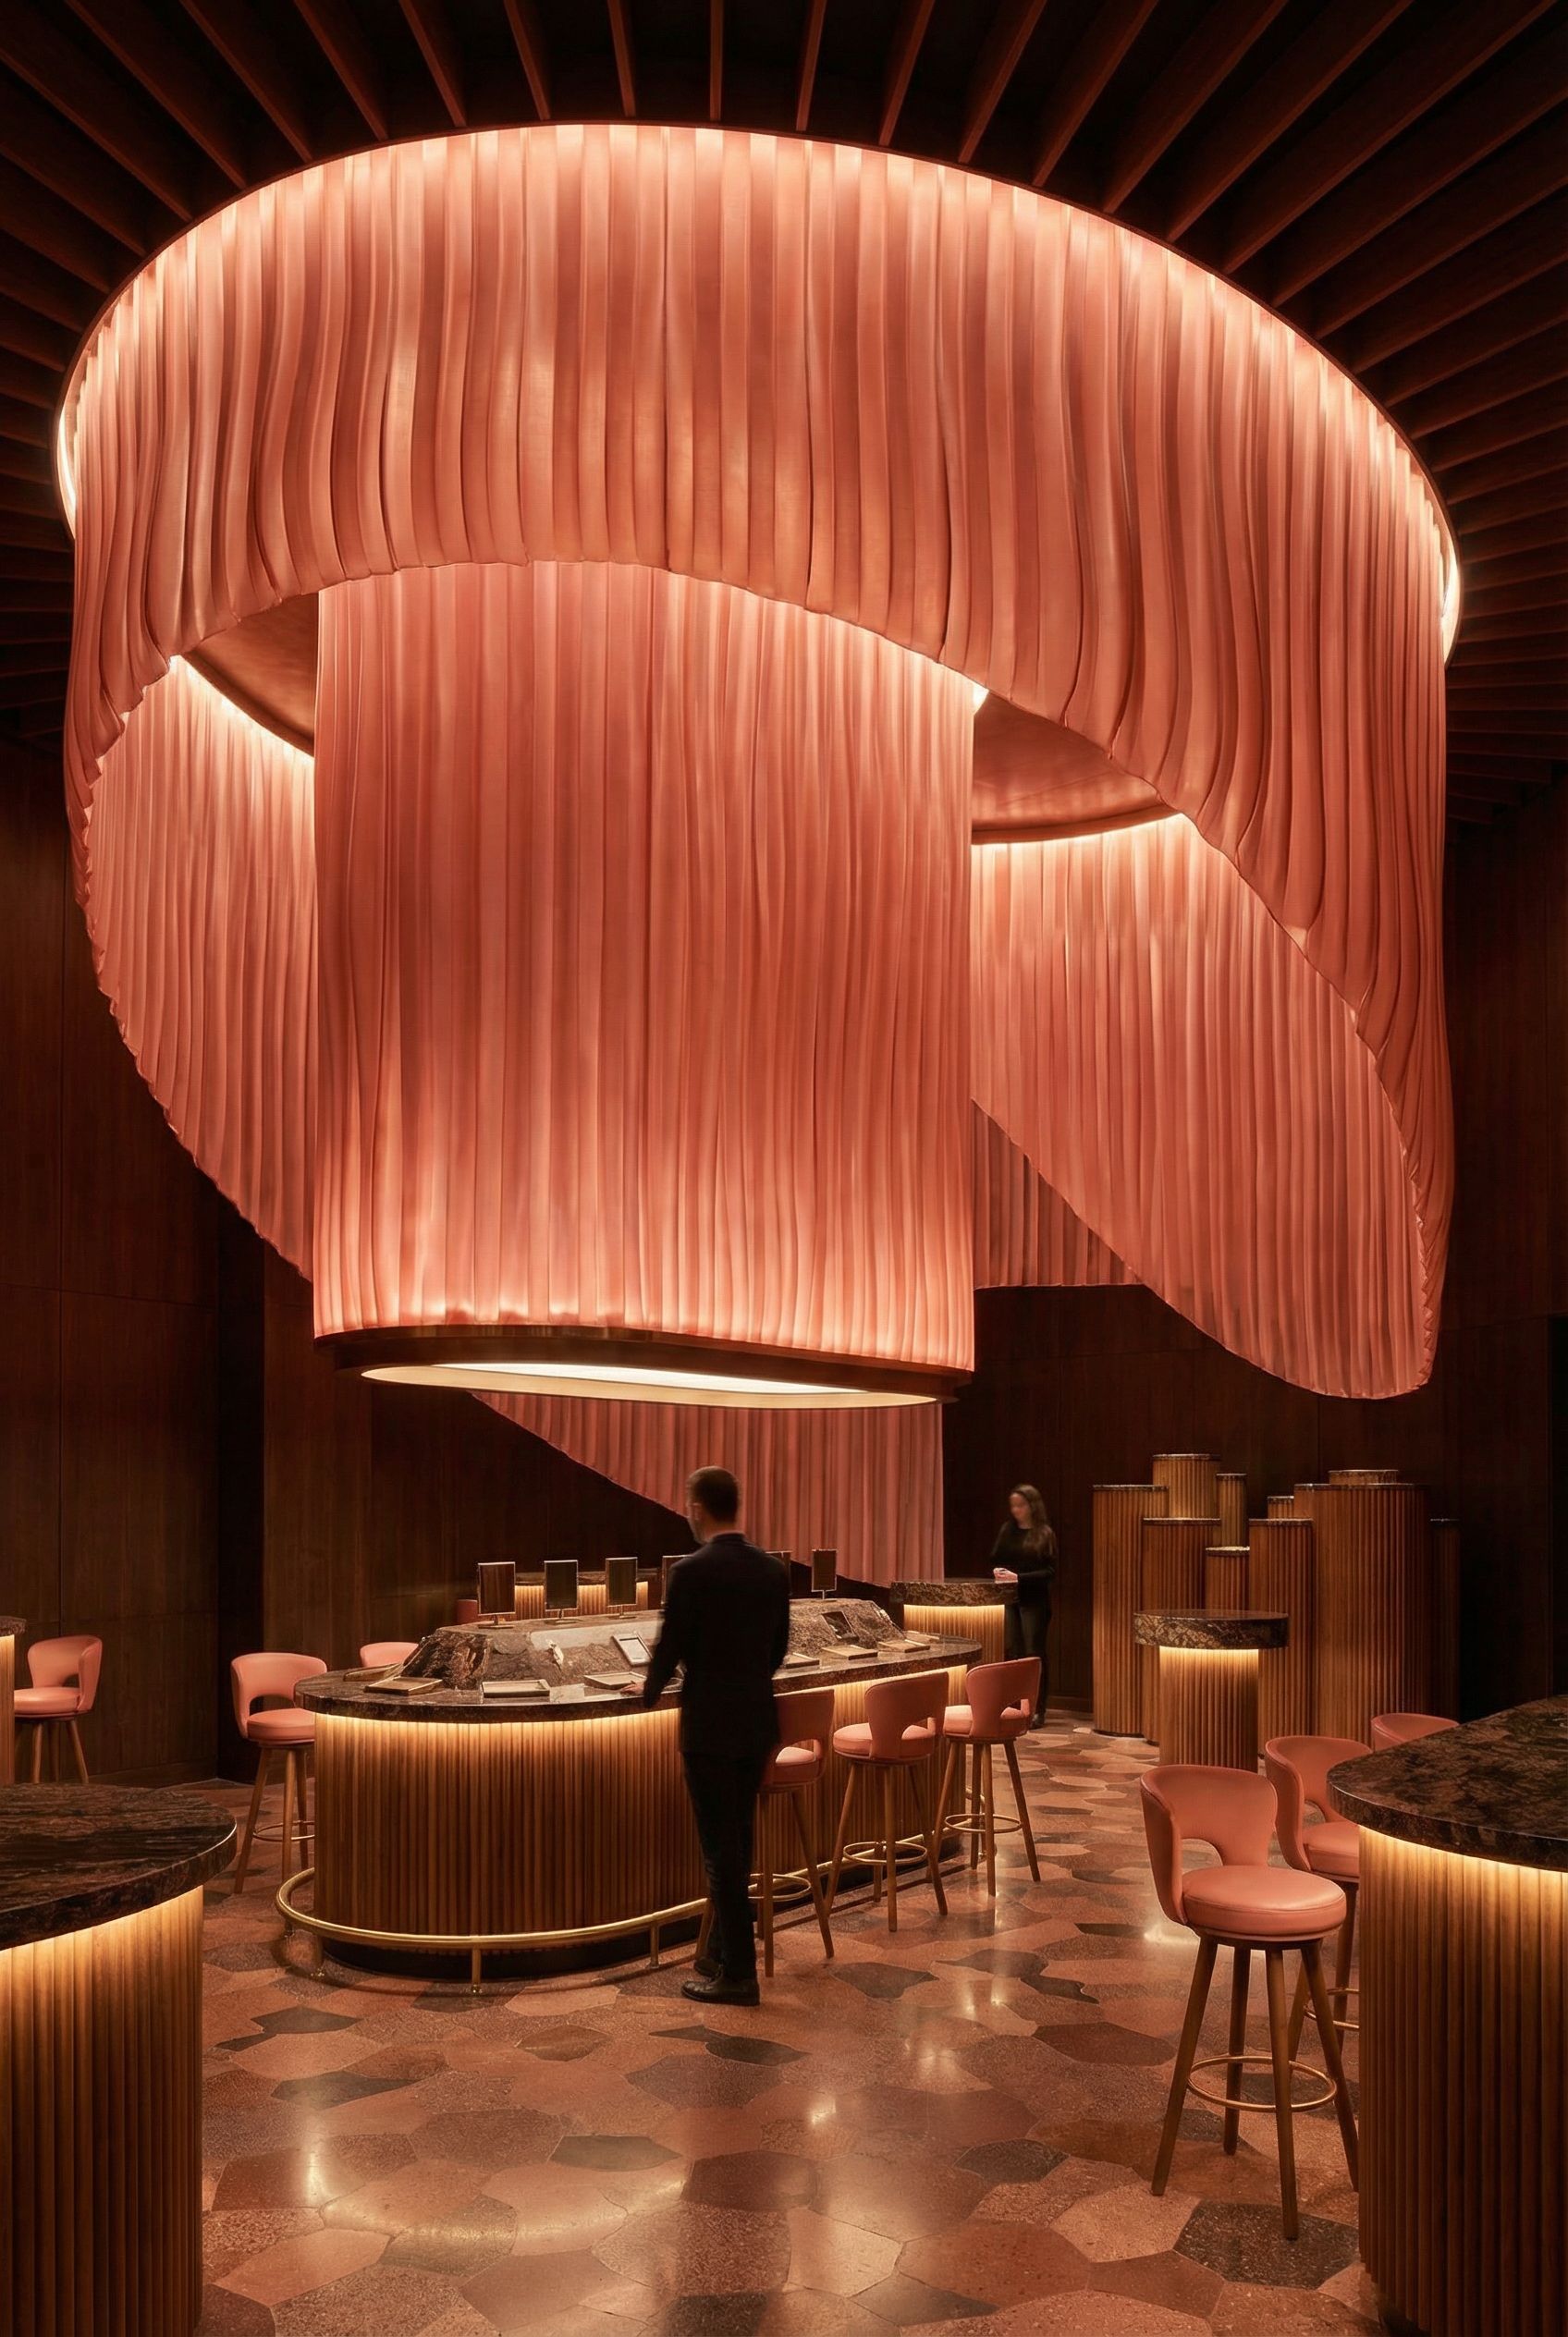
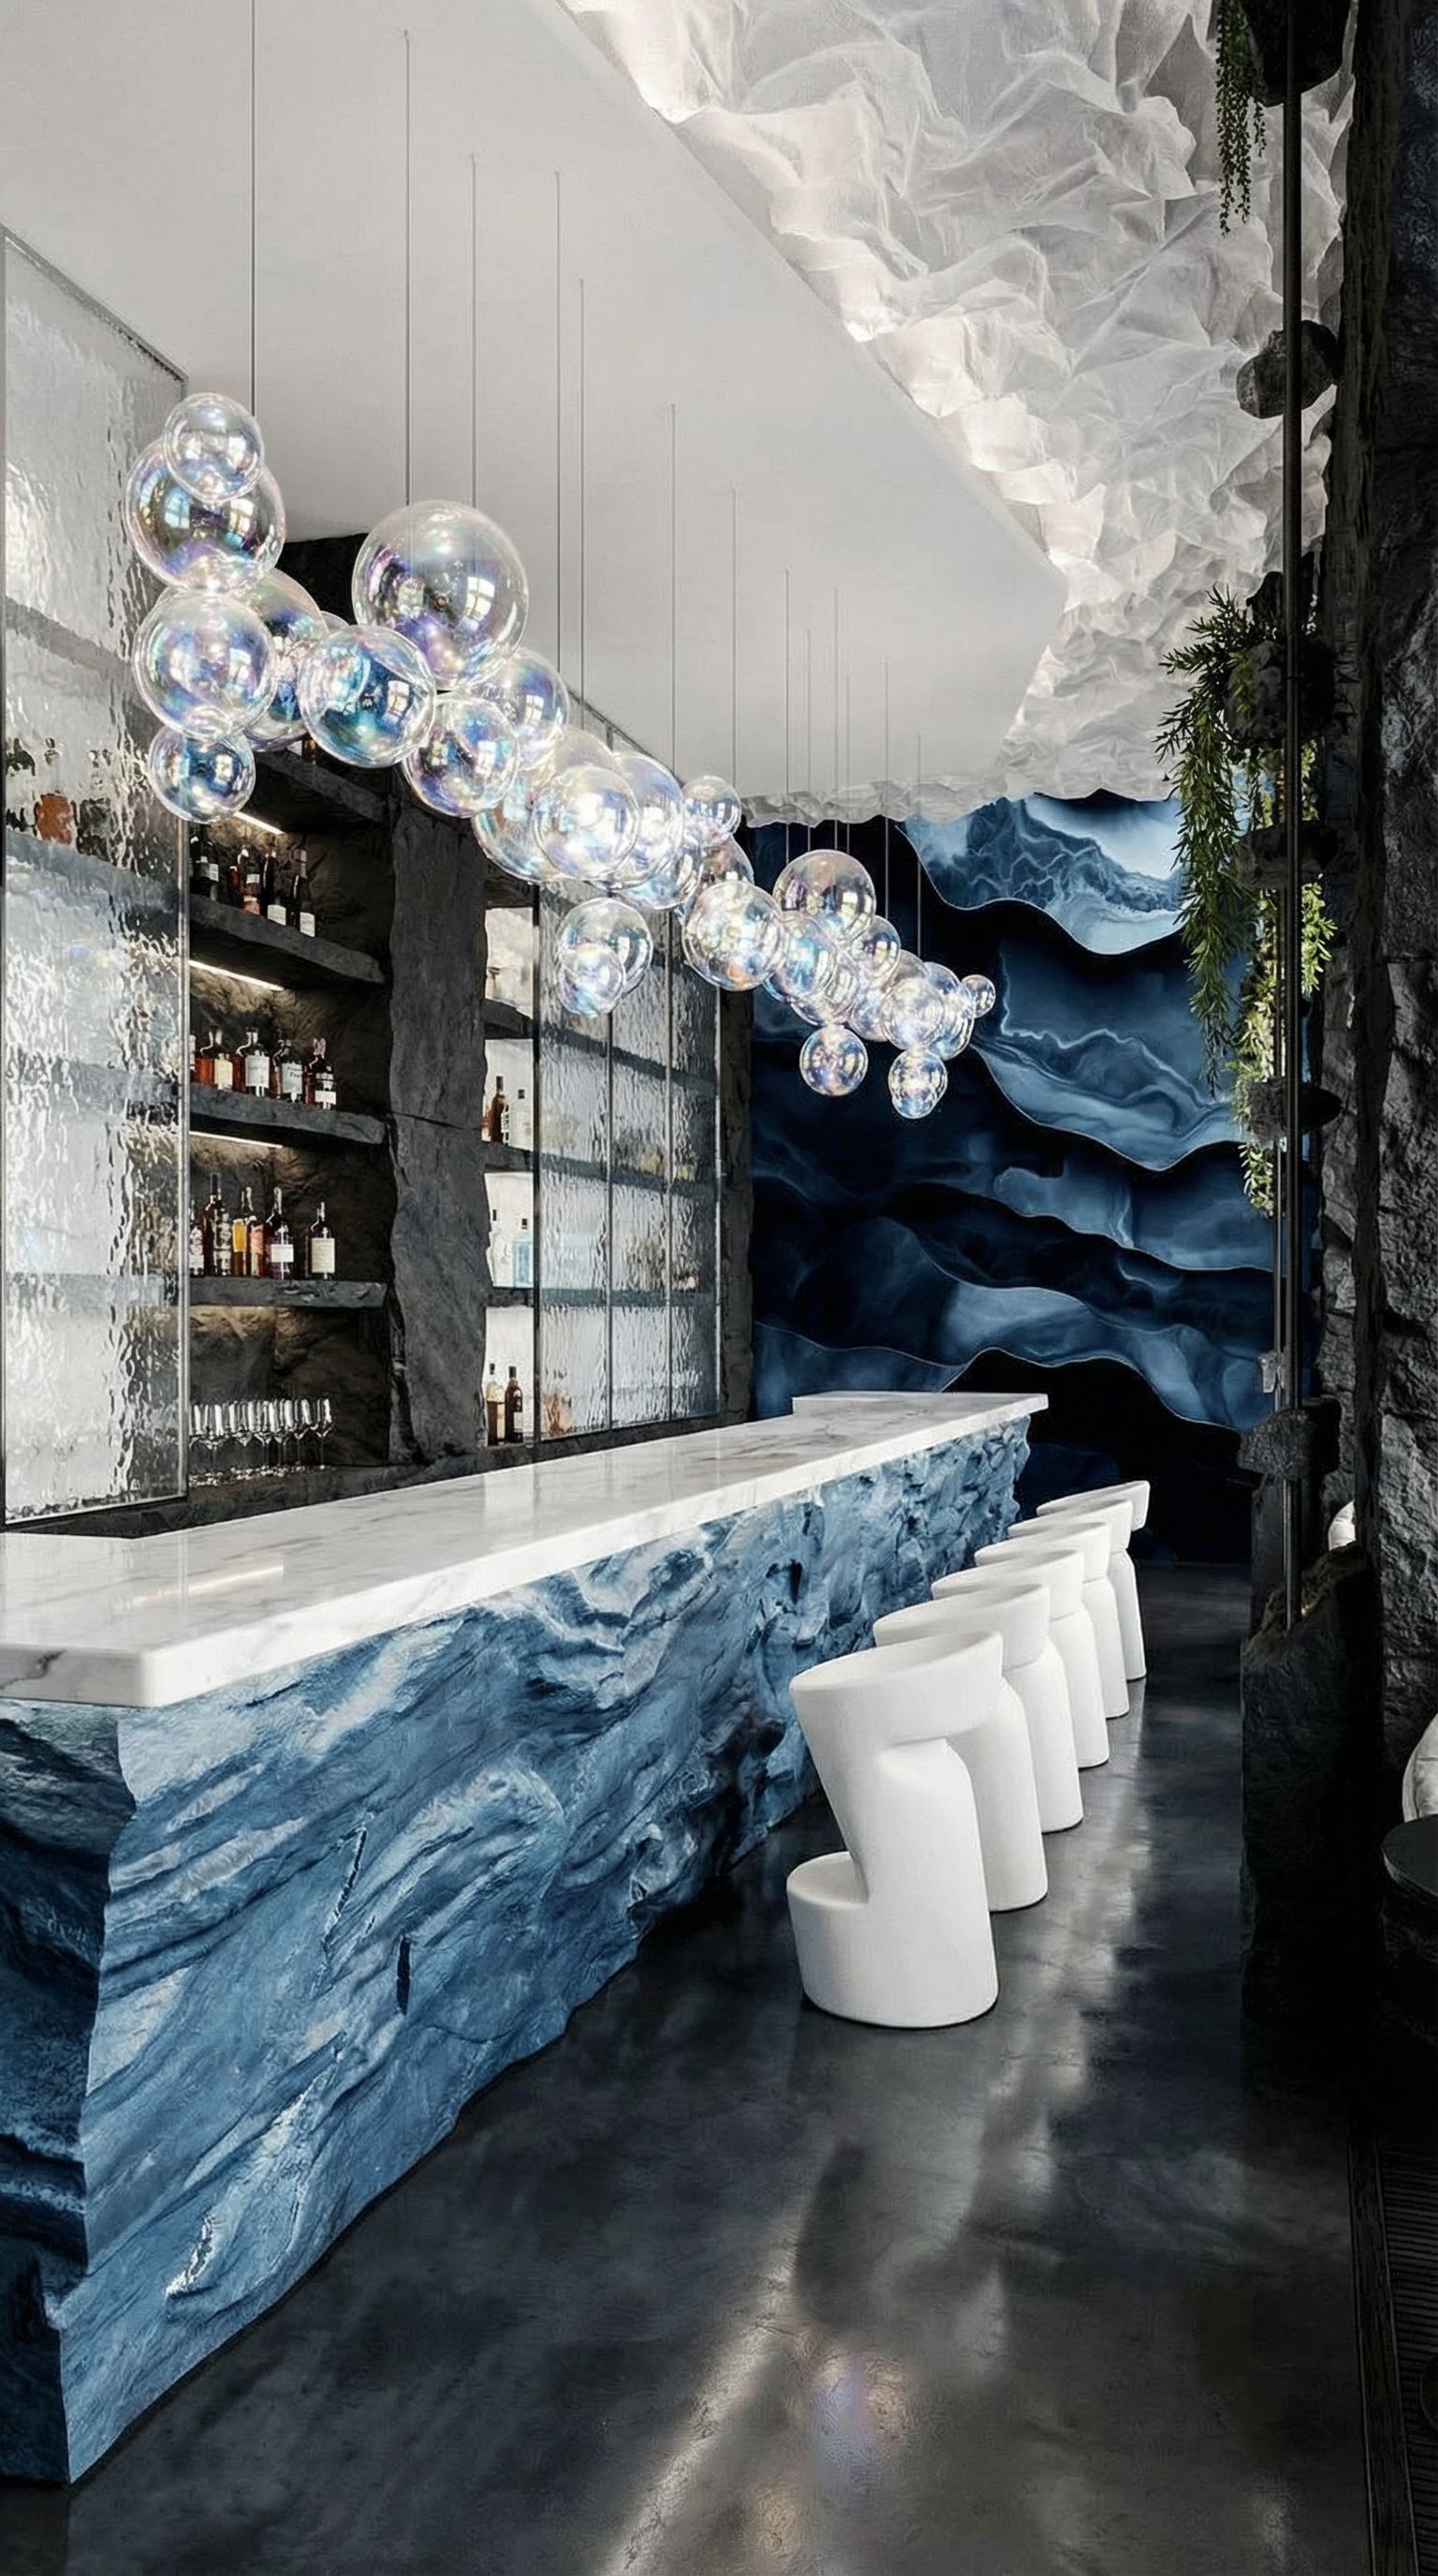
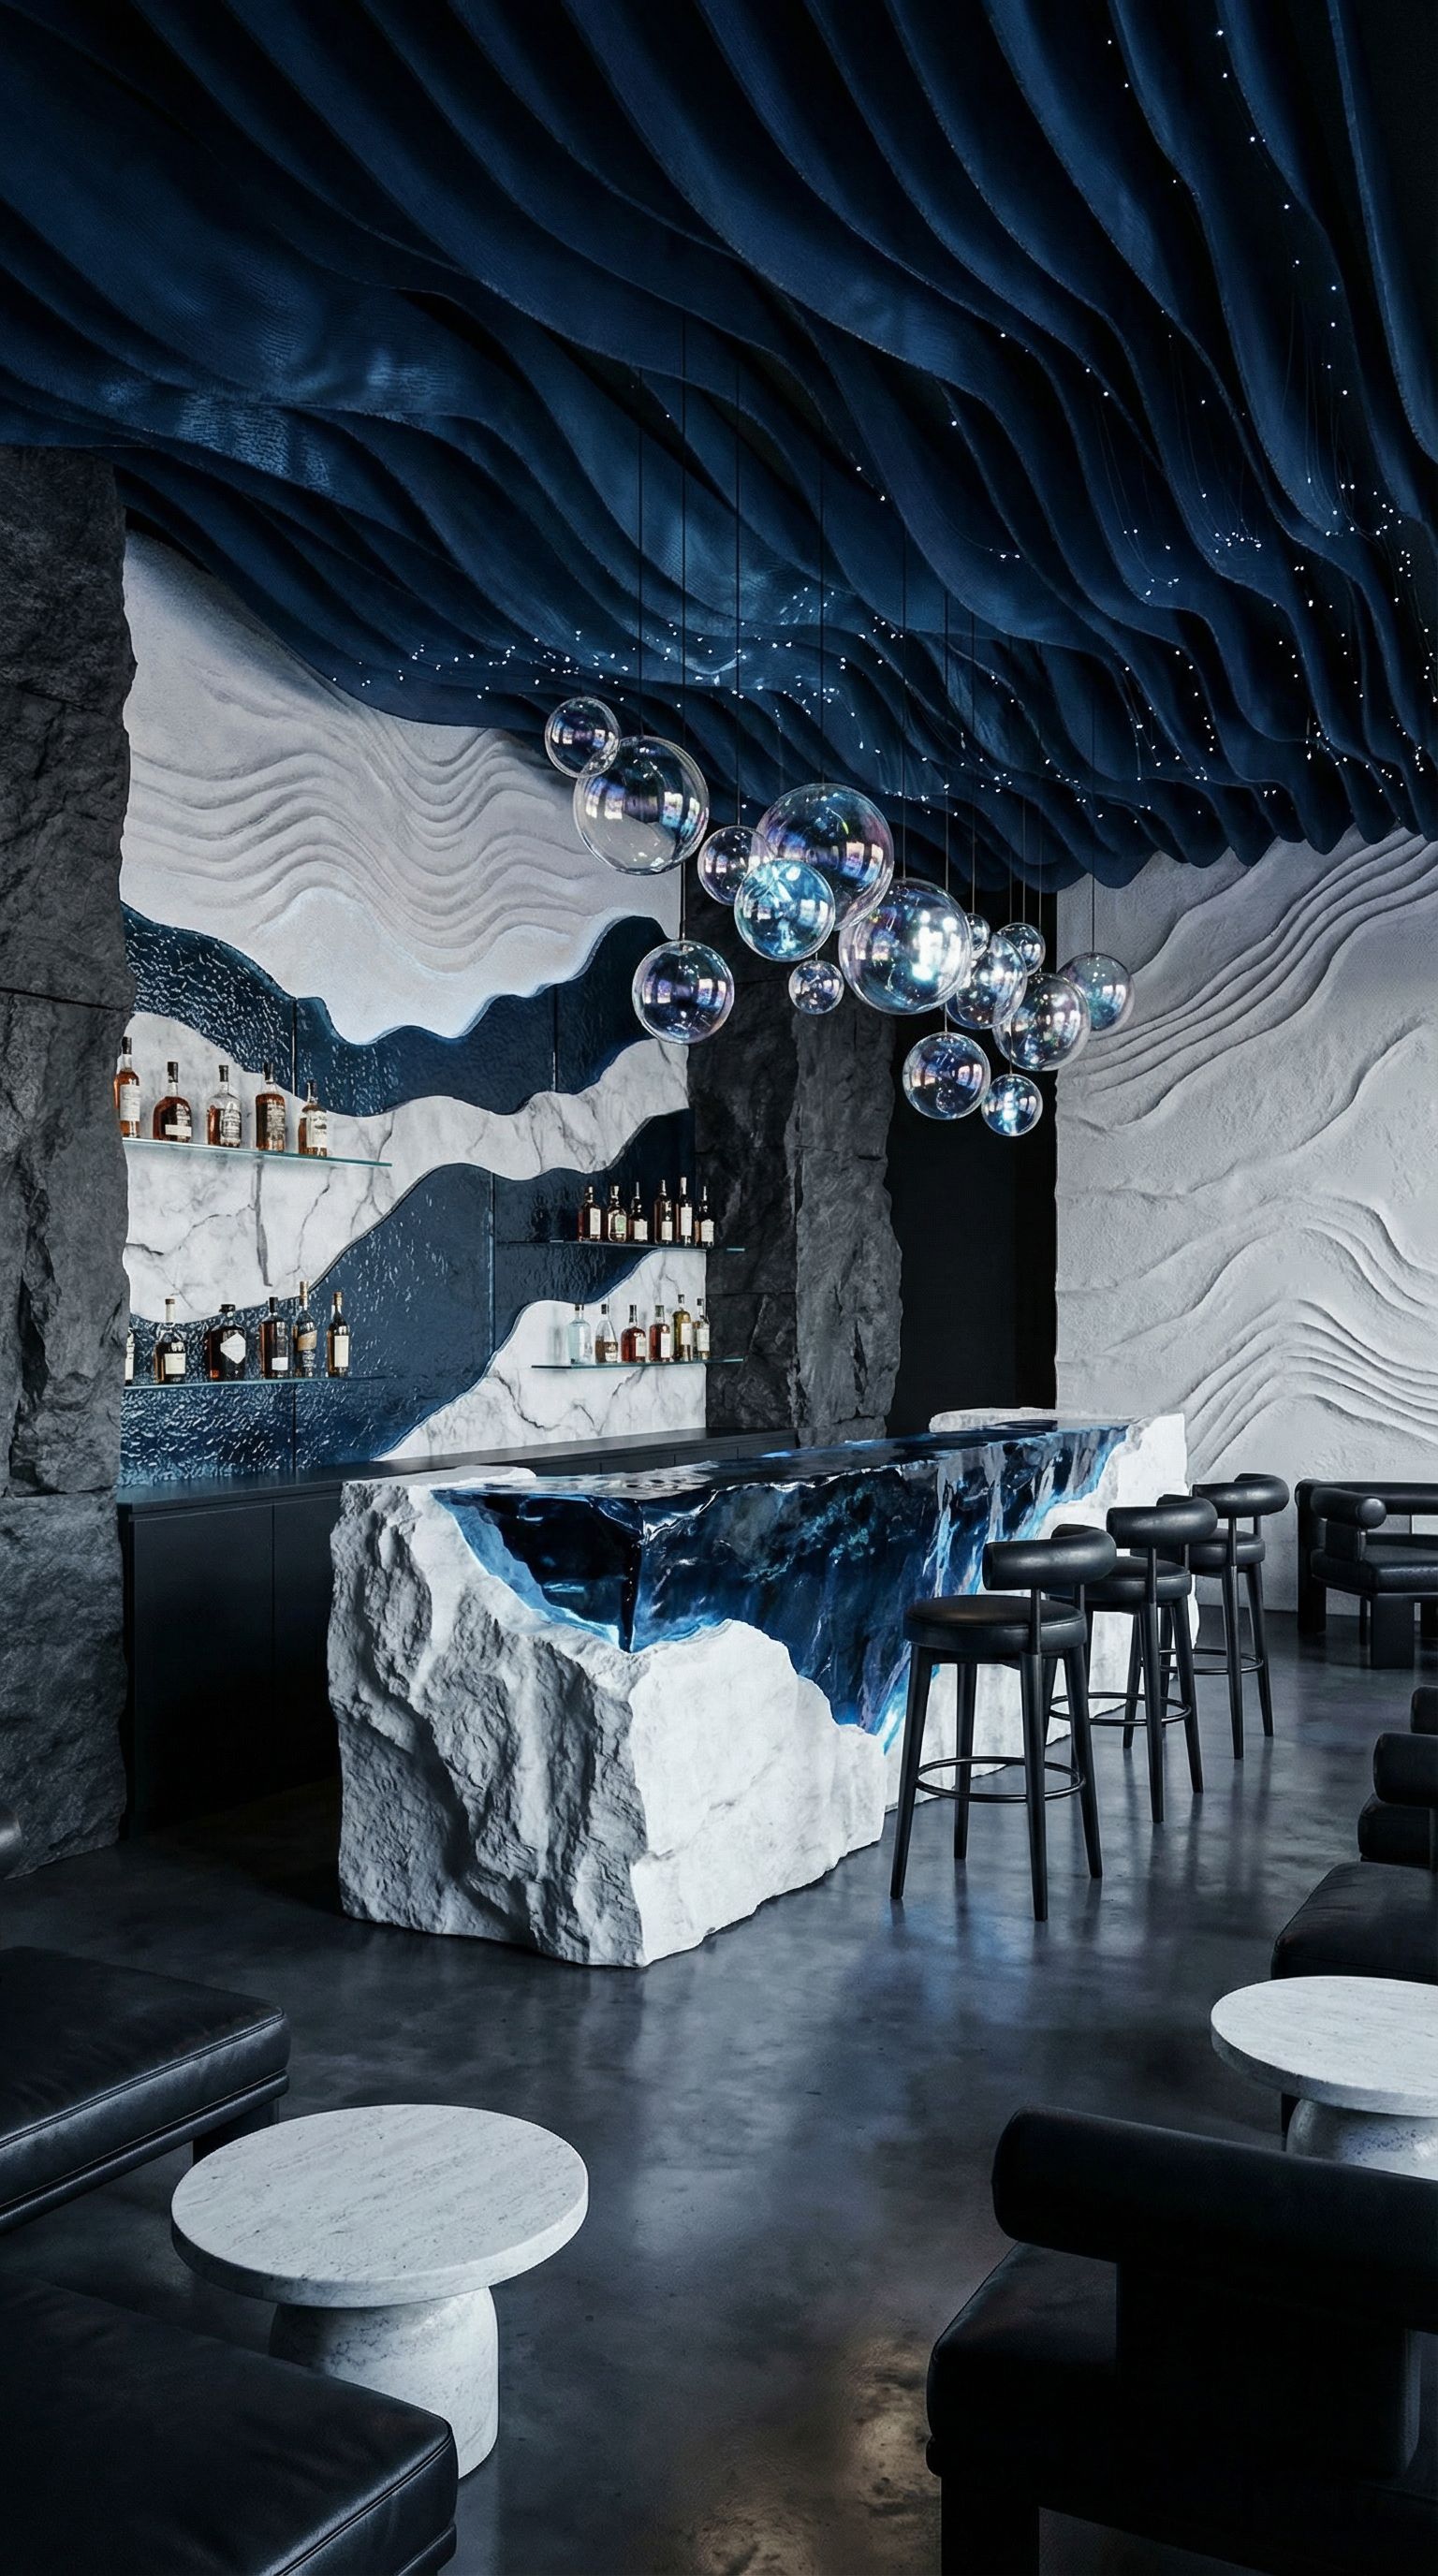
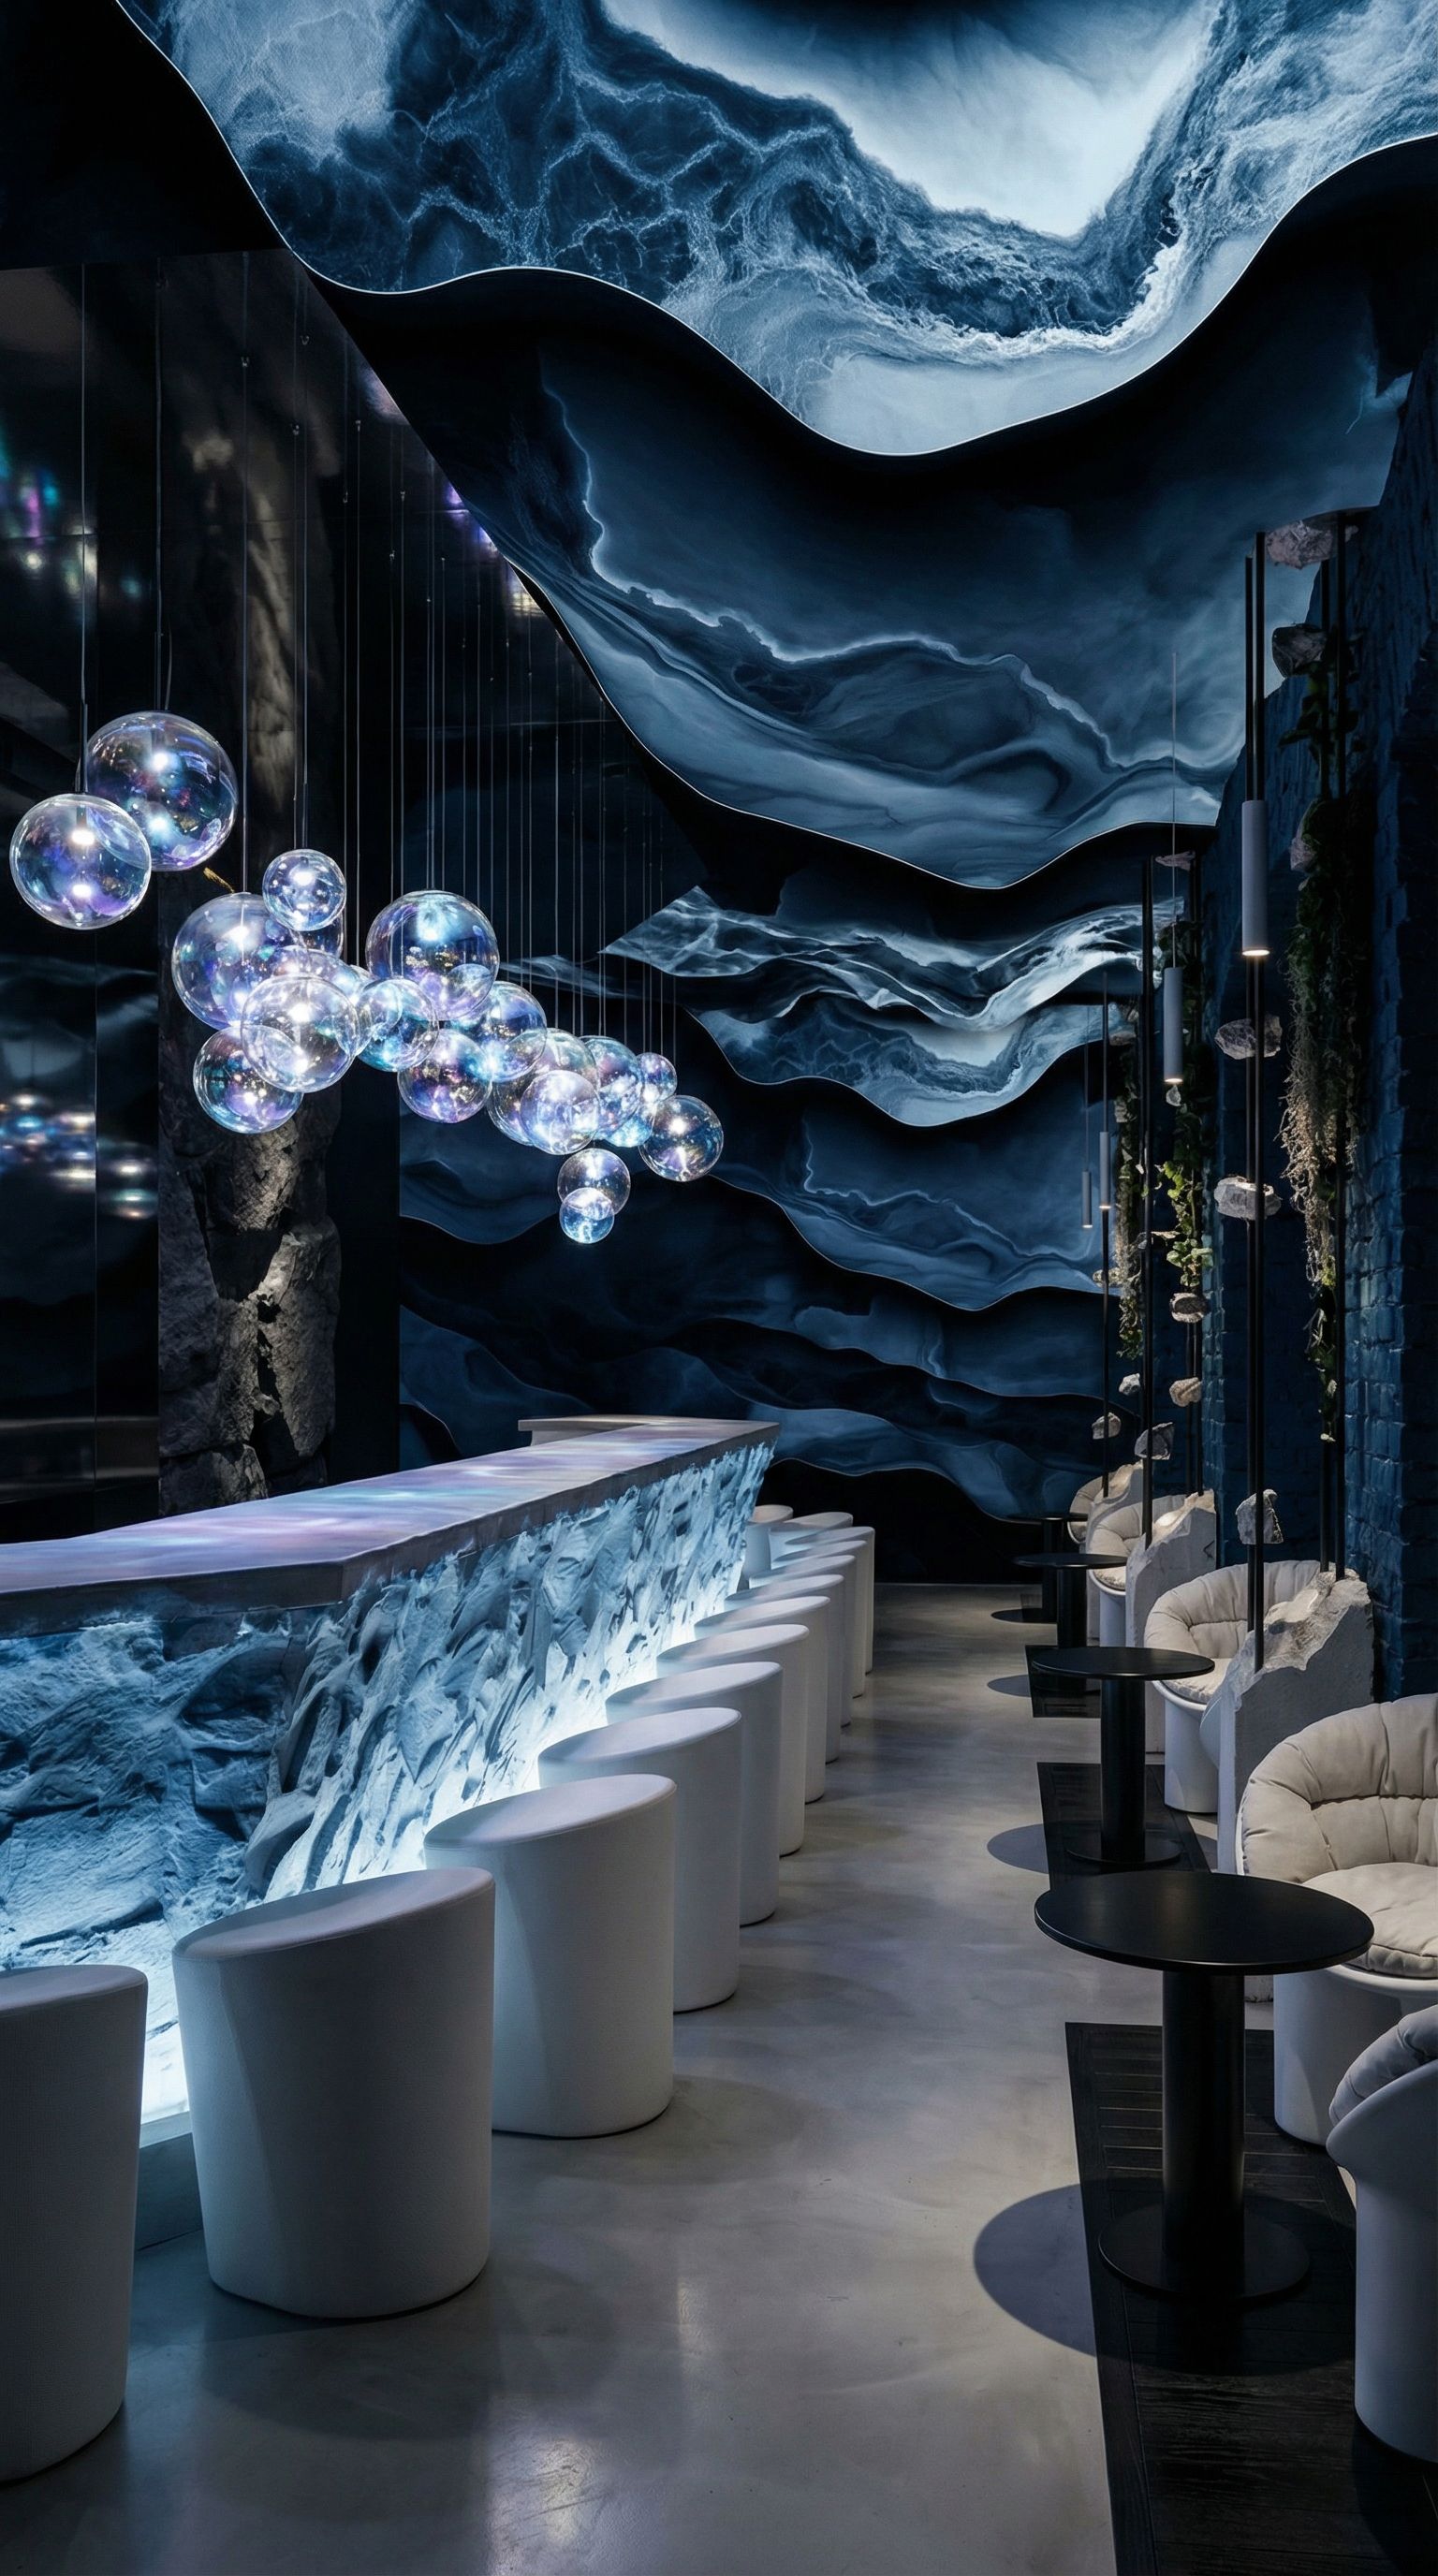
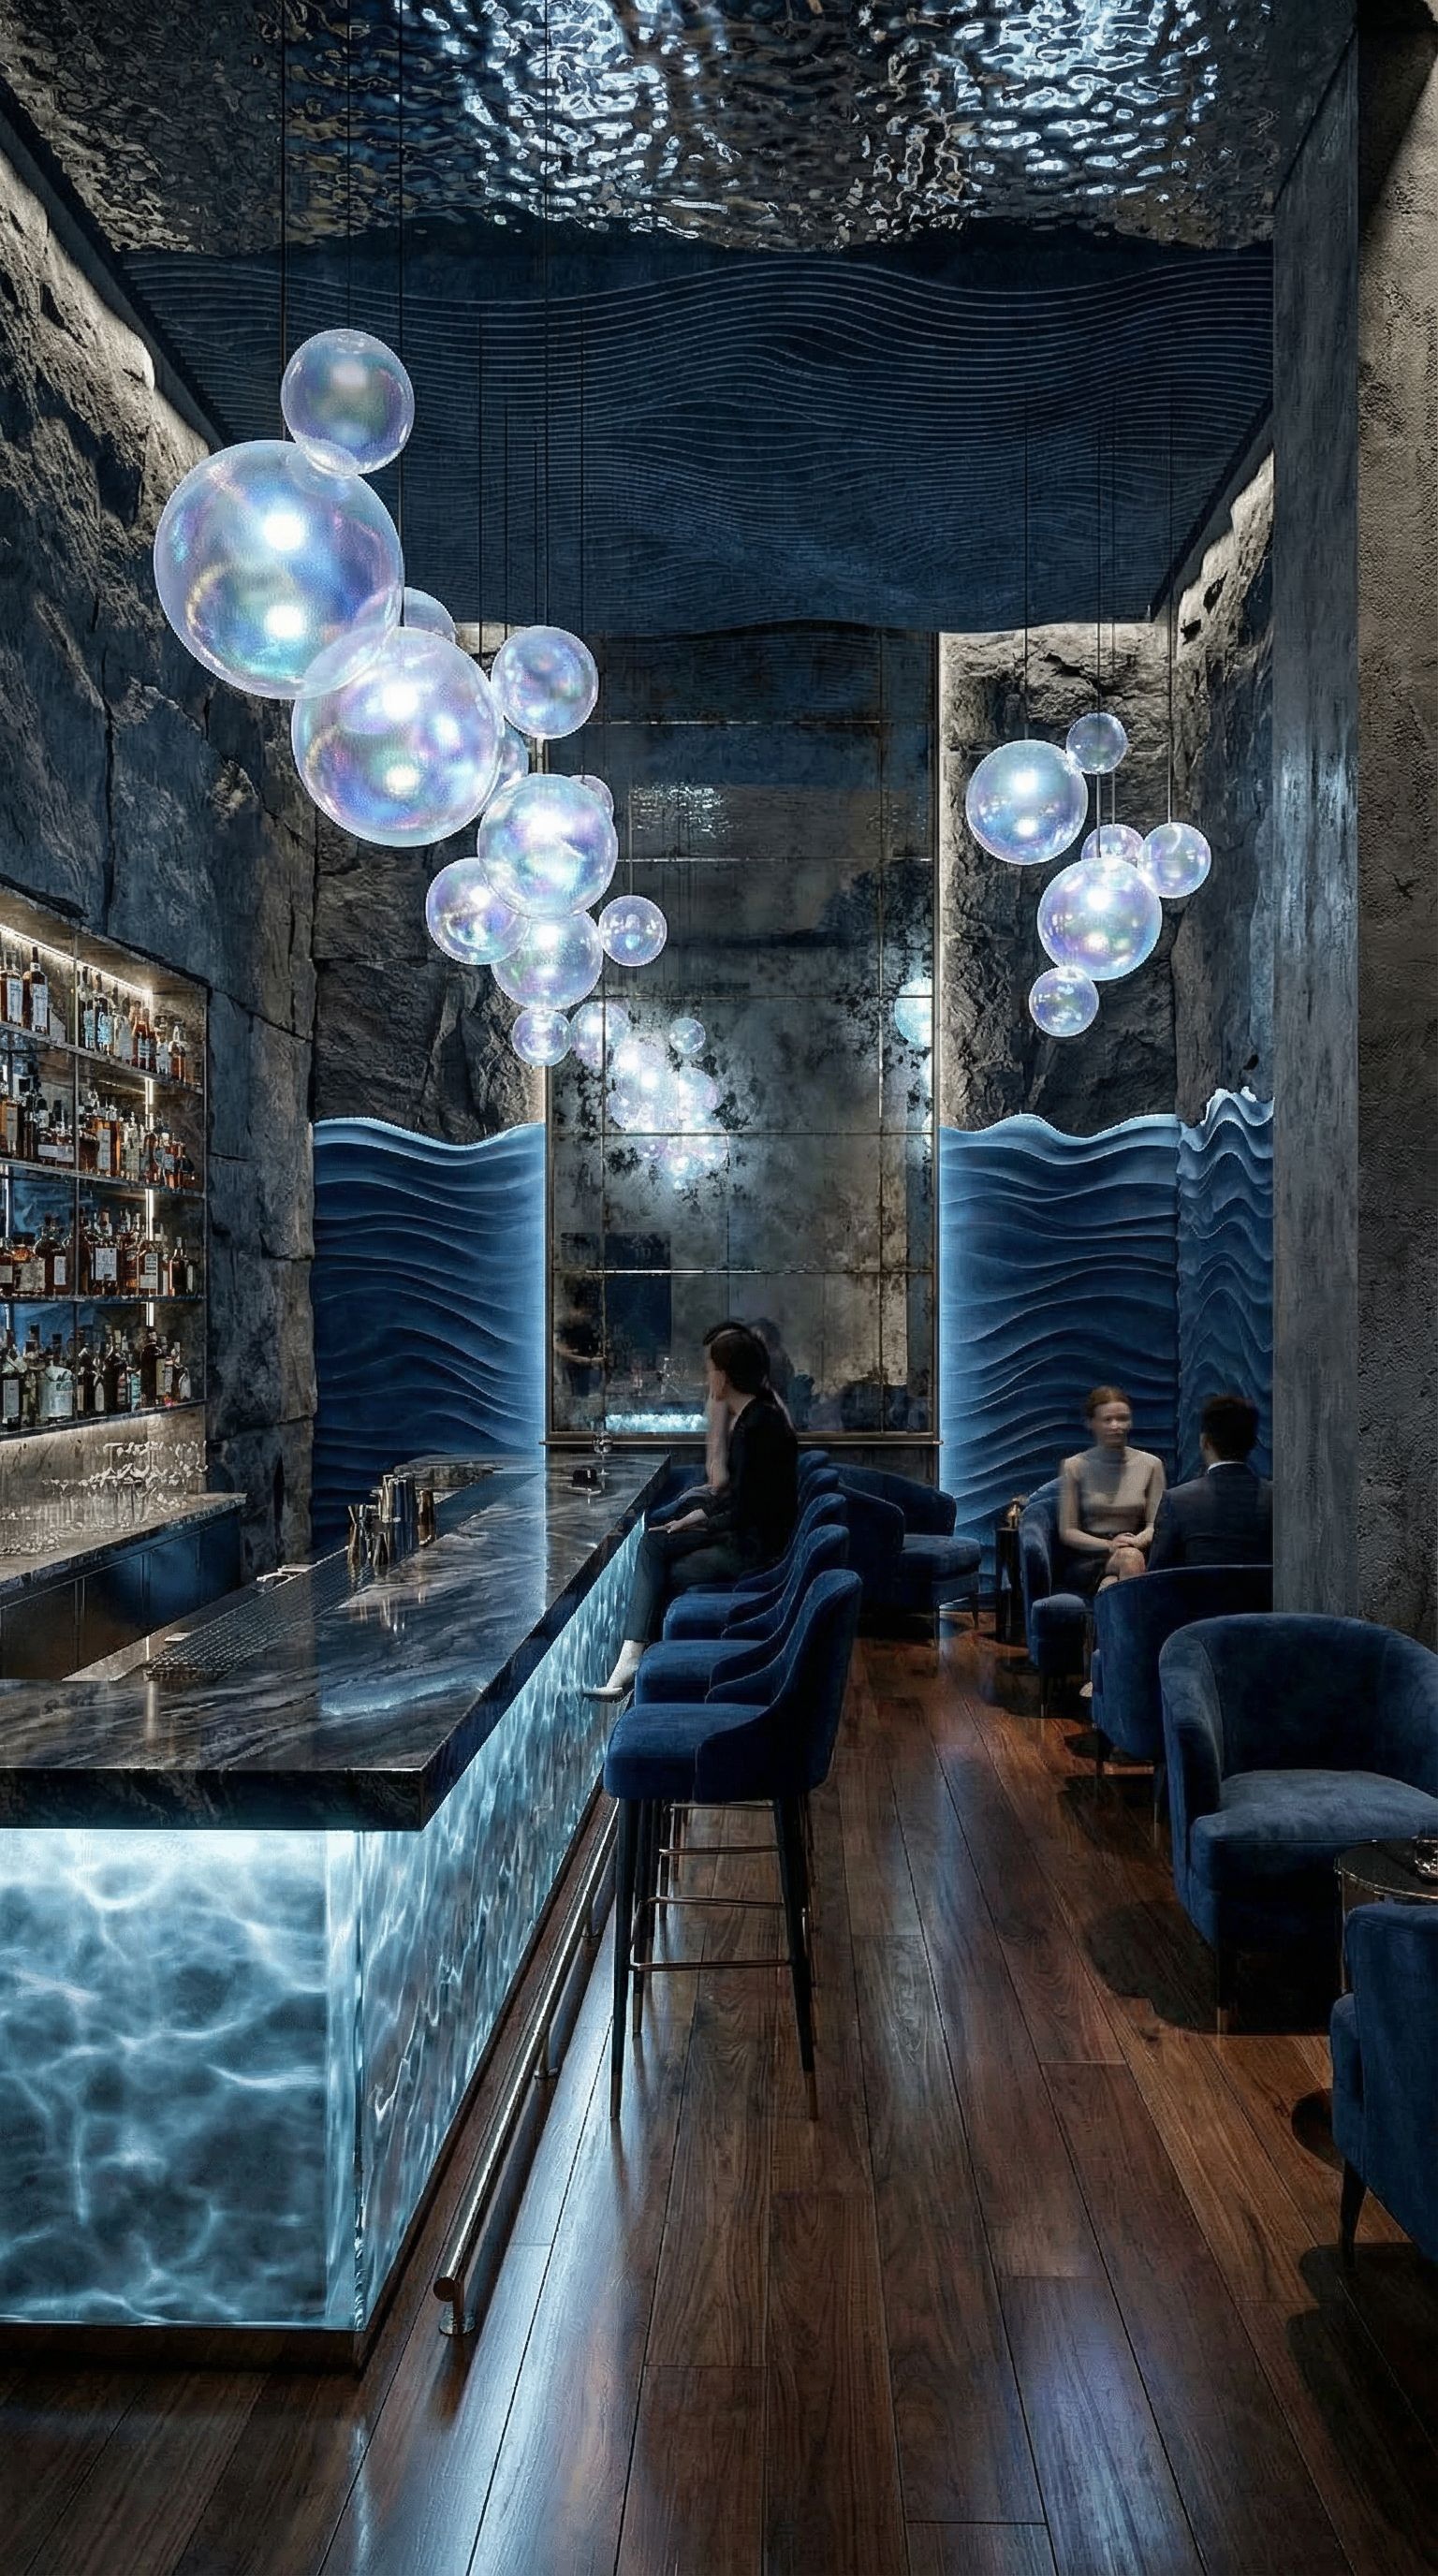
Example 1Stone & Glass Bar
Mood Board: Stone, Glass & Wave Elements
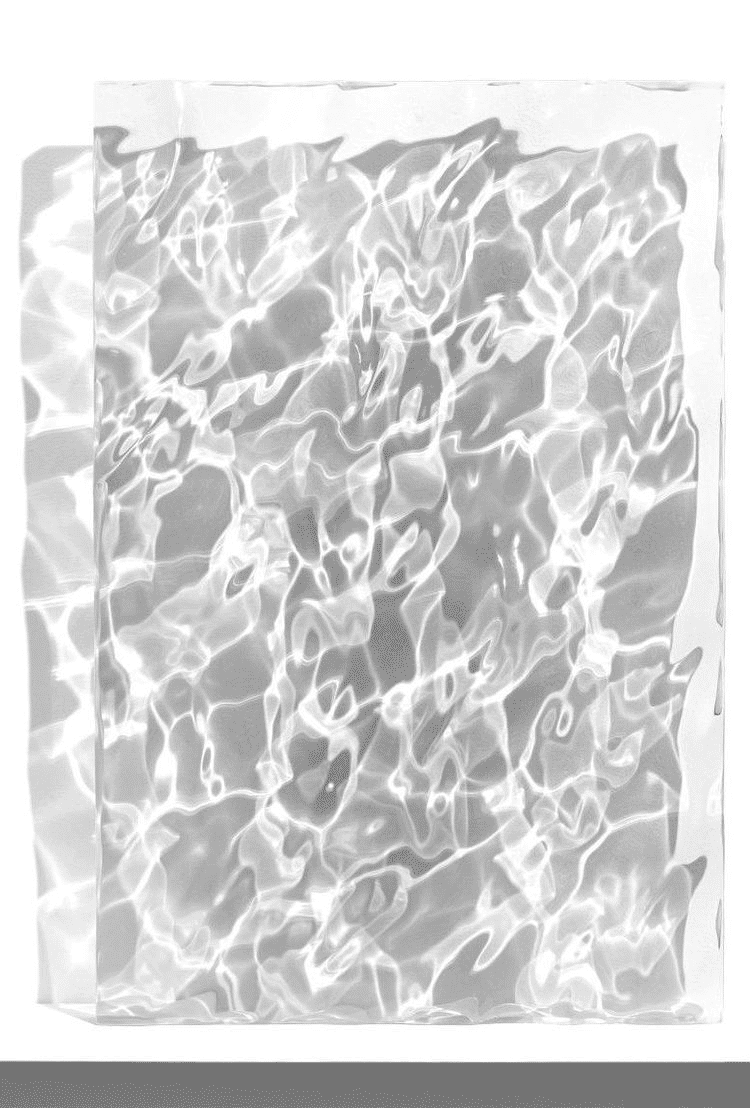
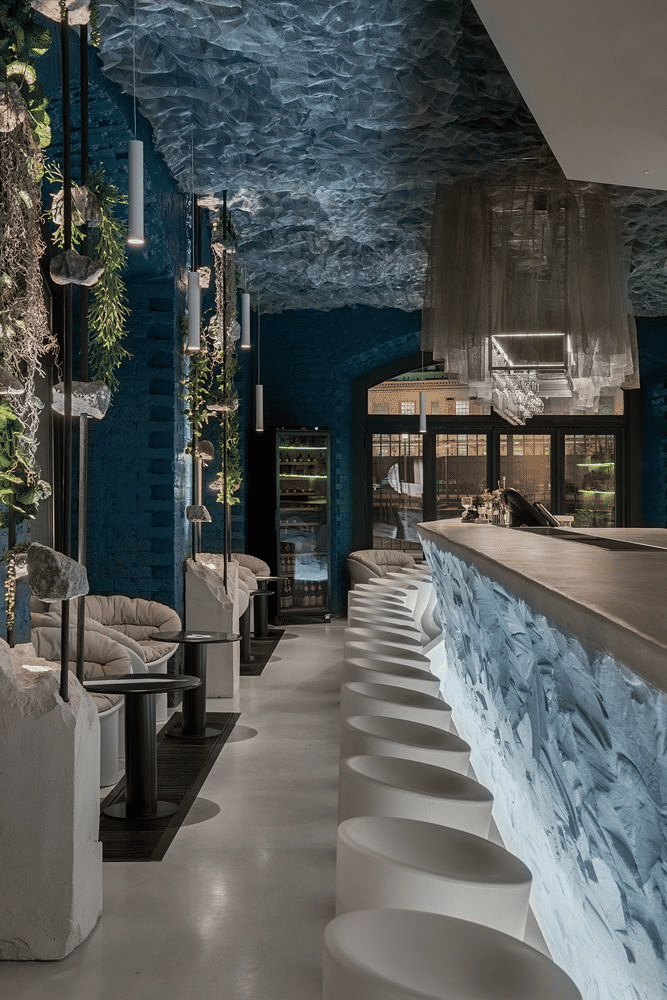
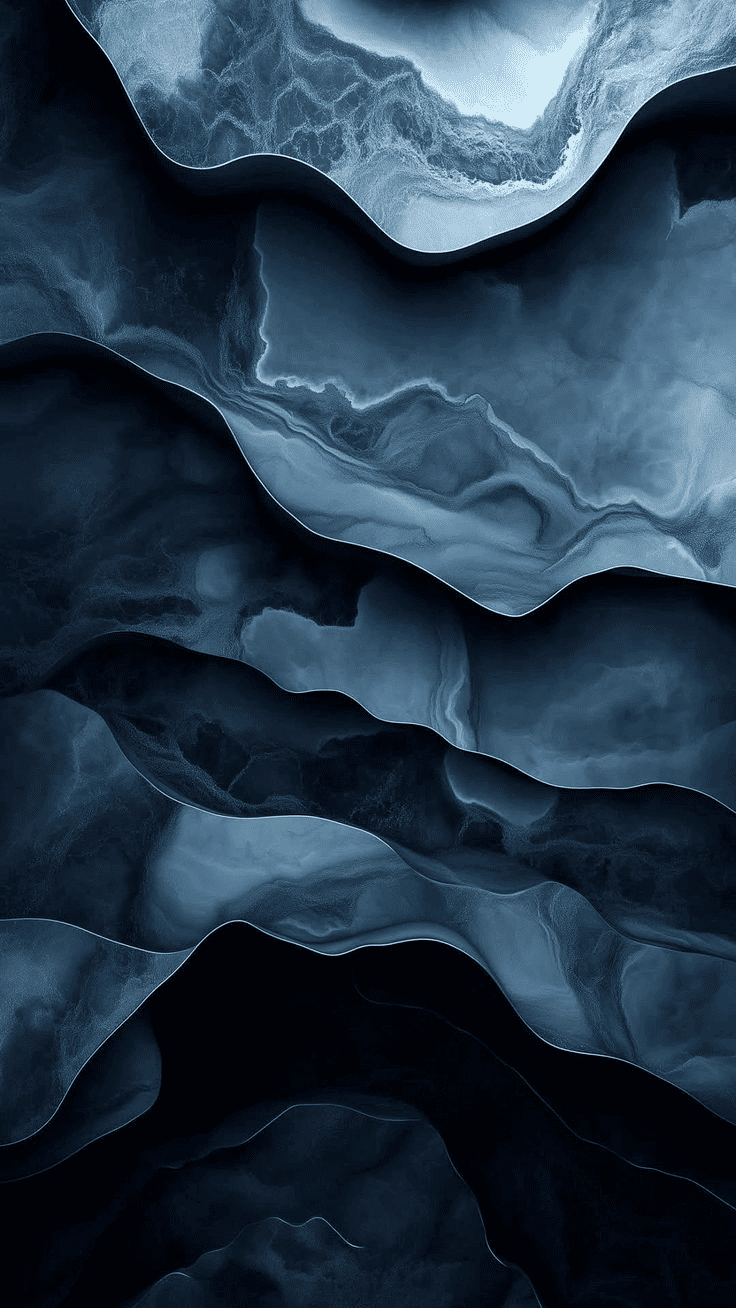

Reference images capturing mysterious atmosphere with stone, glass, and wave elements
Generated Bar Concepts
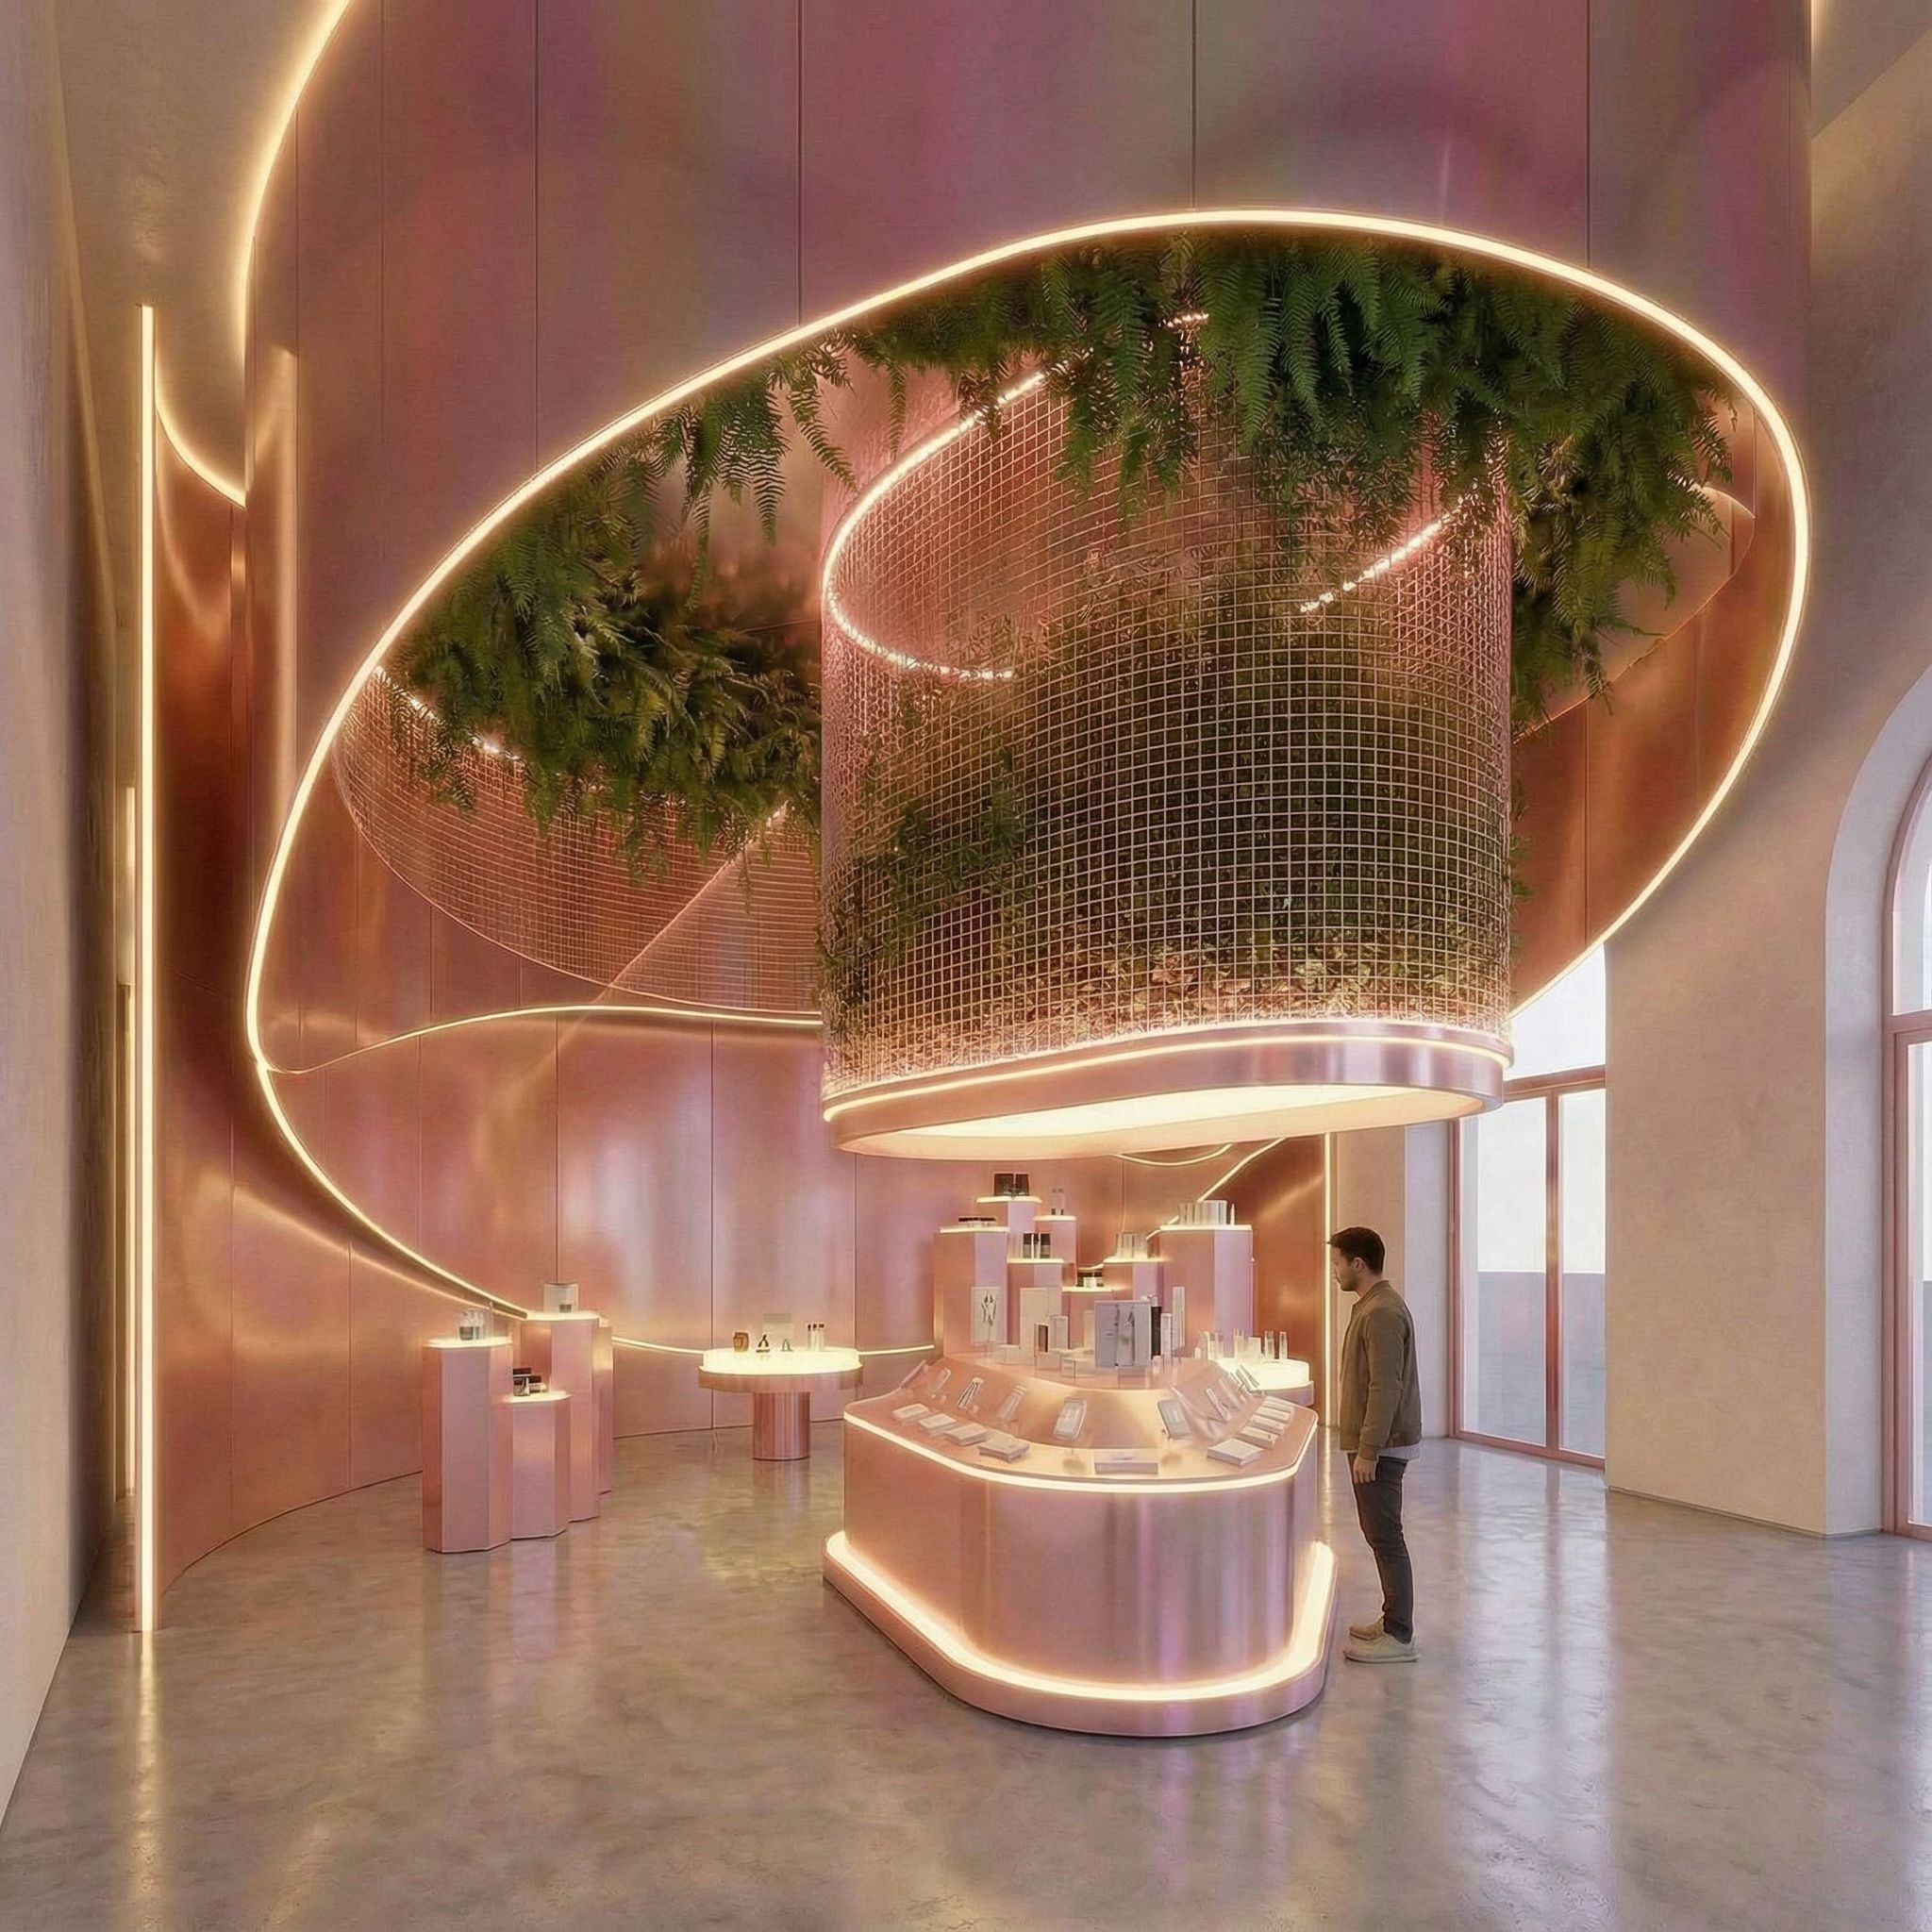
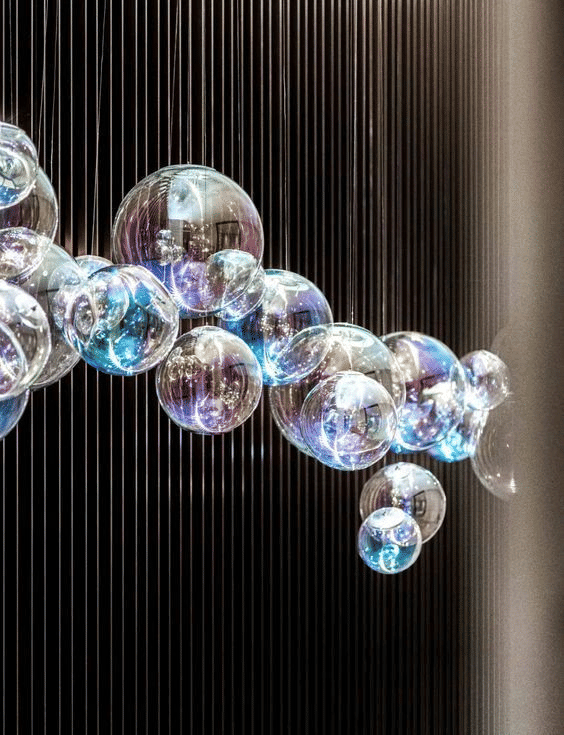
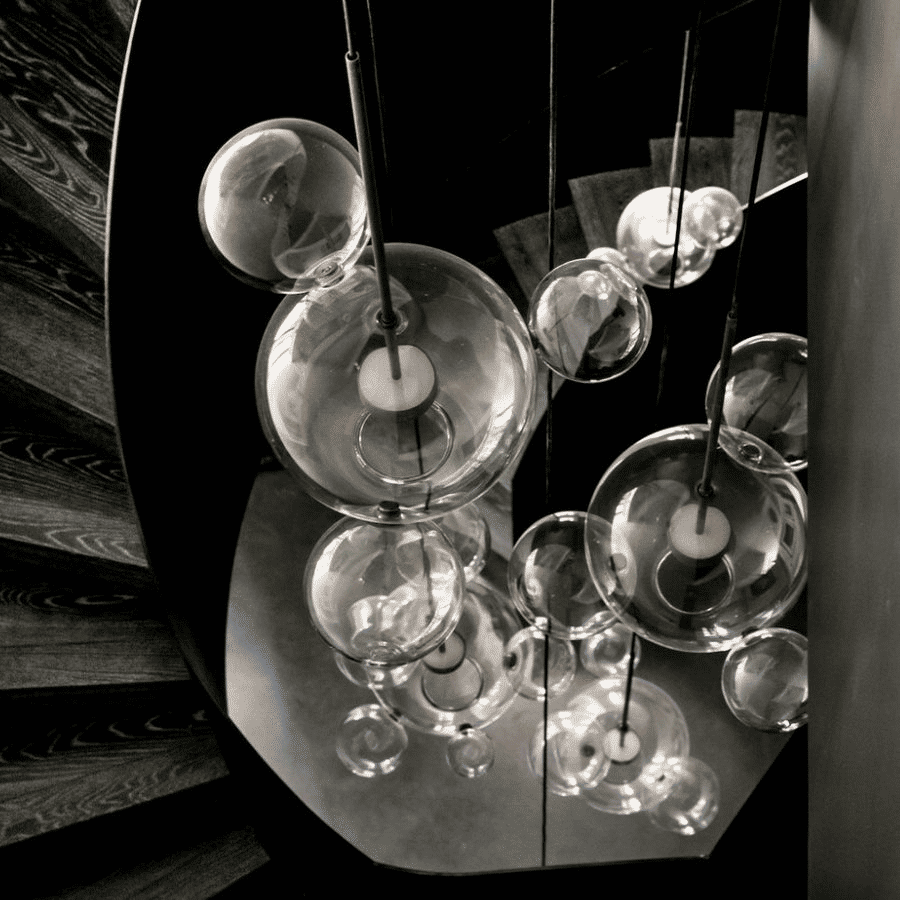
"Create the interior design of a bar in this style. Mysterious atmosphere with stone, glass, and wave elements in white, black and blue. Add Soap Bubble Pendant Lights"
Concept 1
~42s
Concept 2
~38s
Concept 3
~45s
Concept 4
~40s
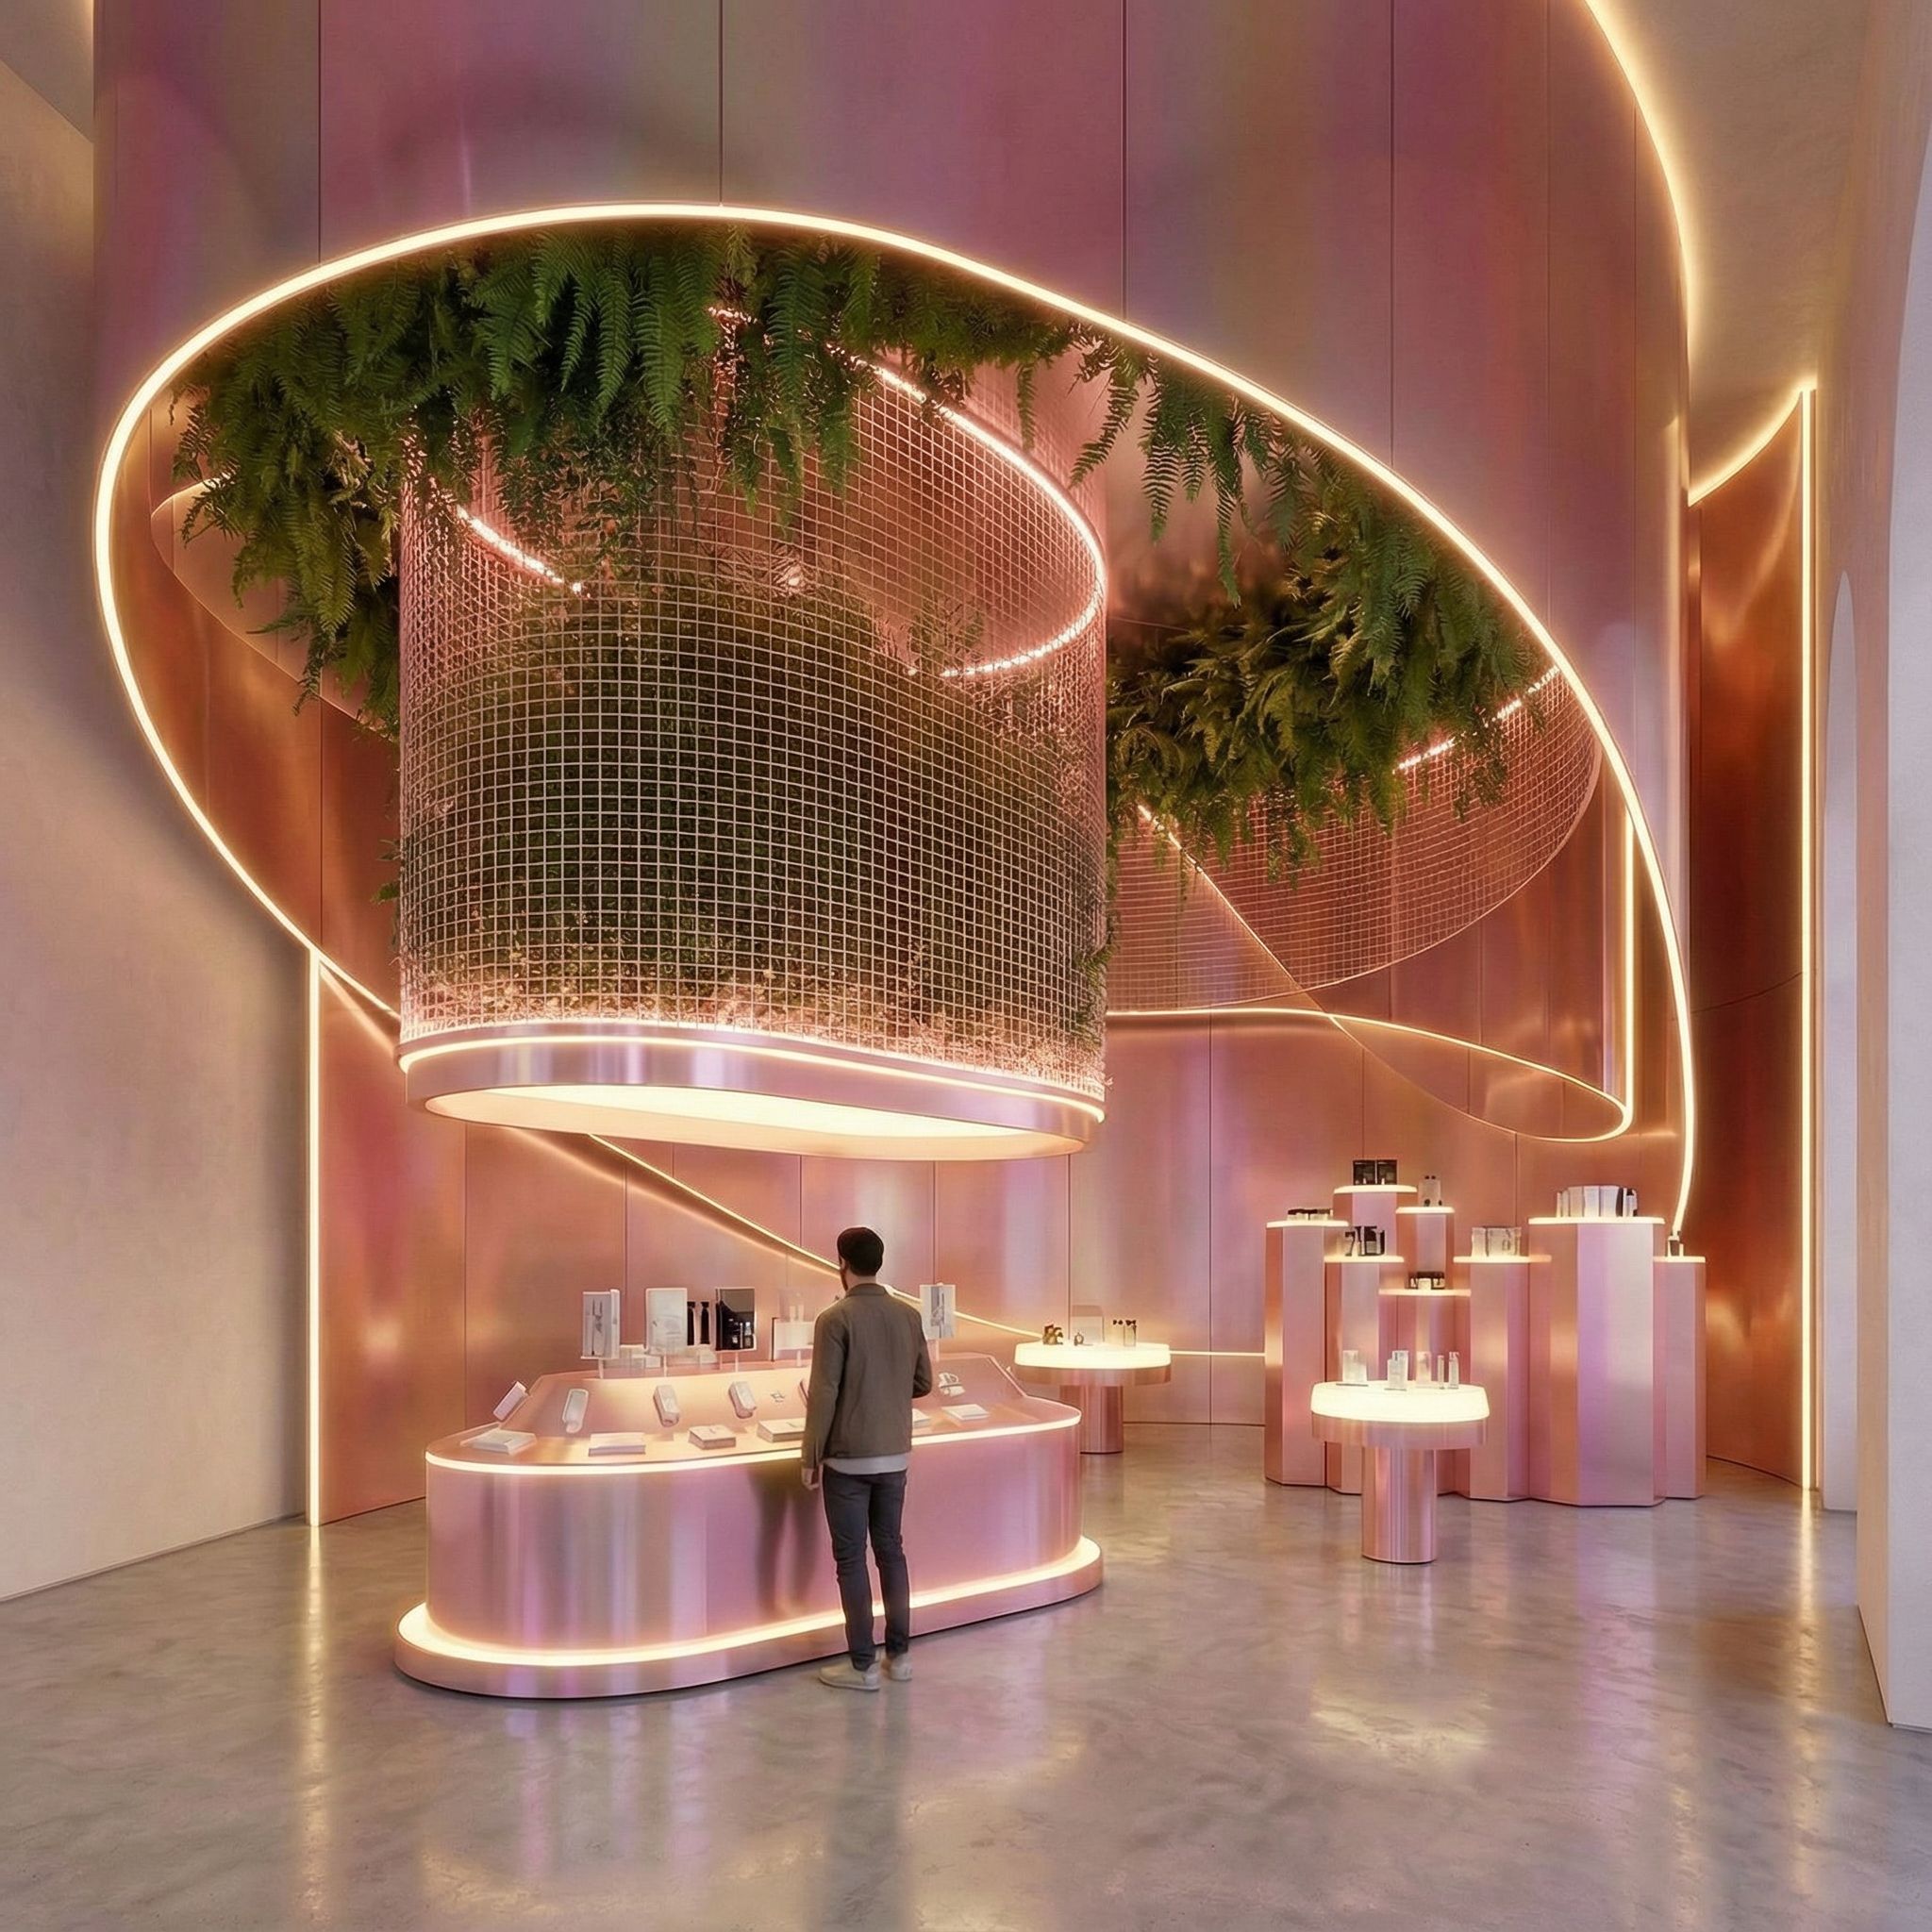
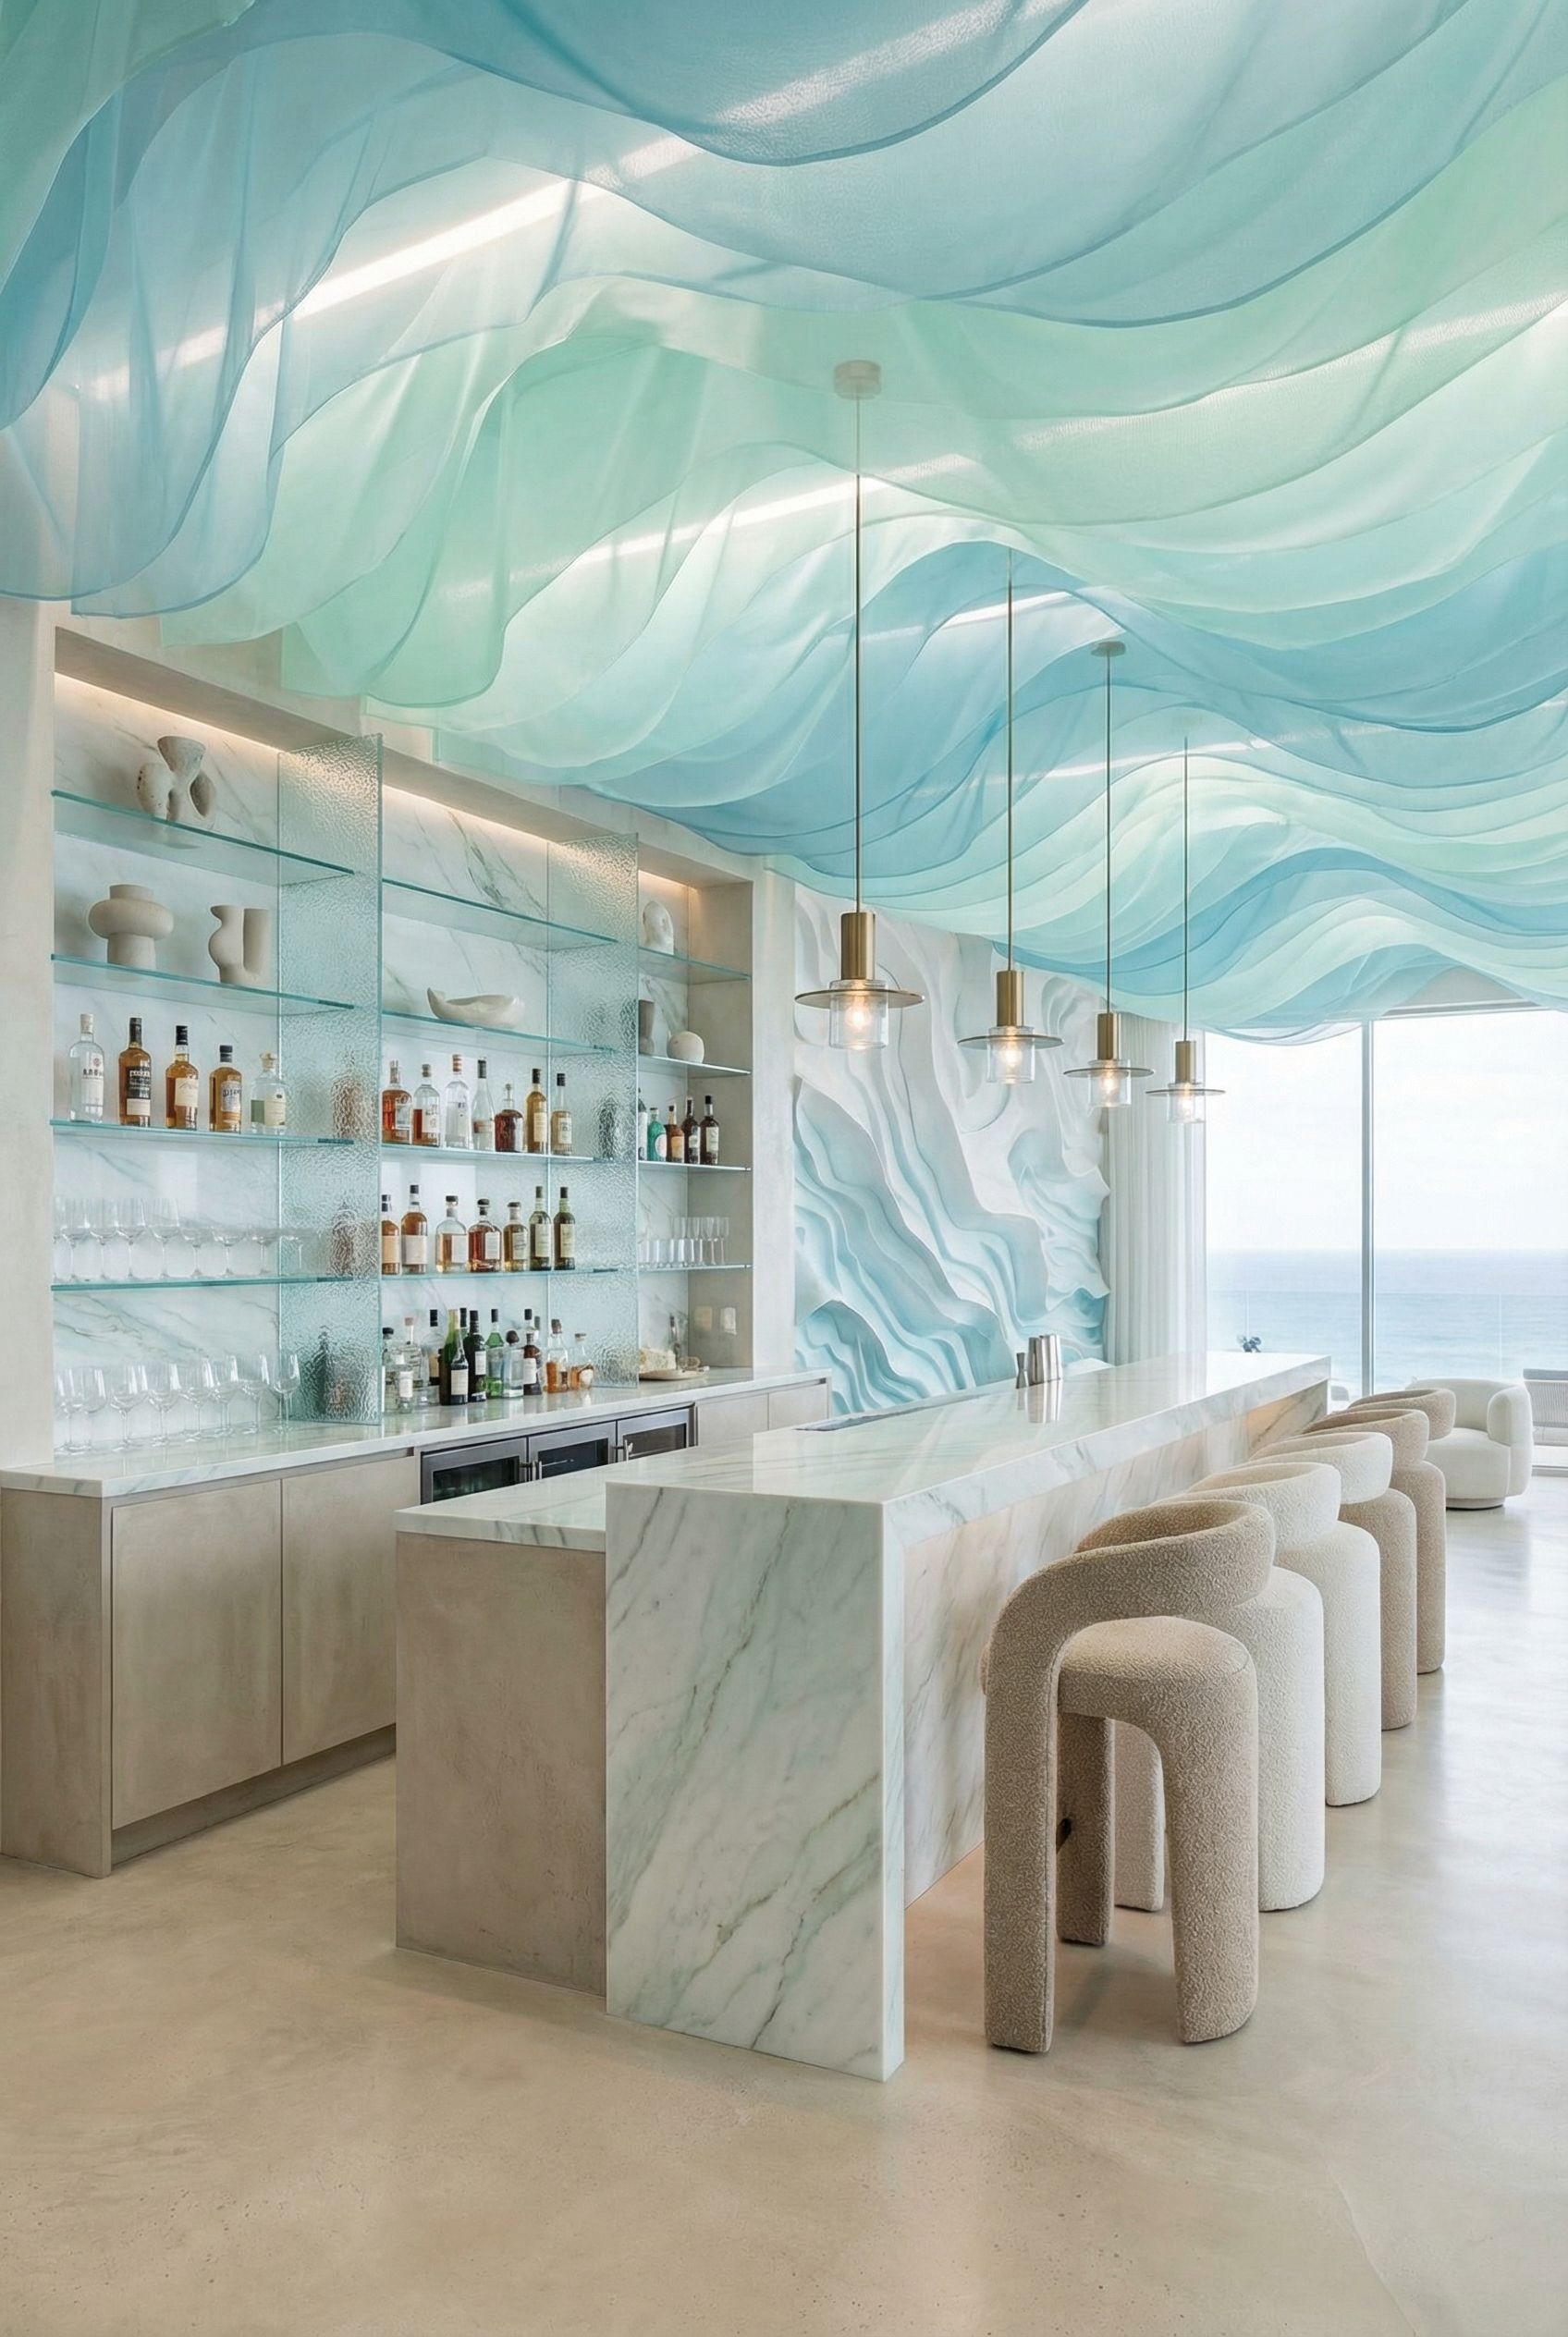
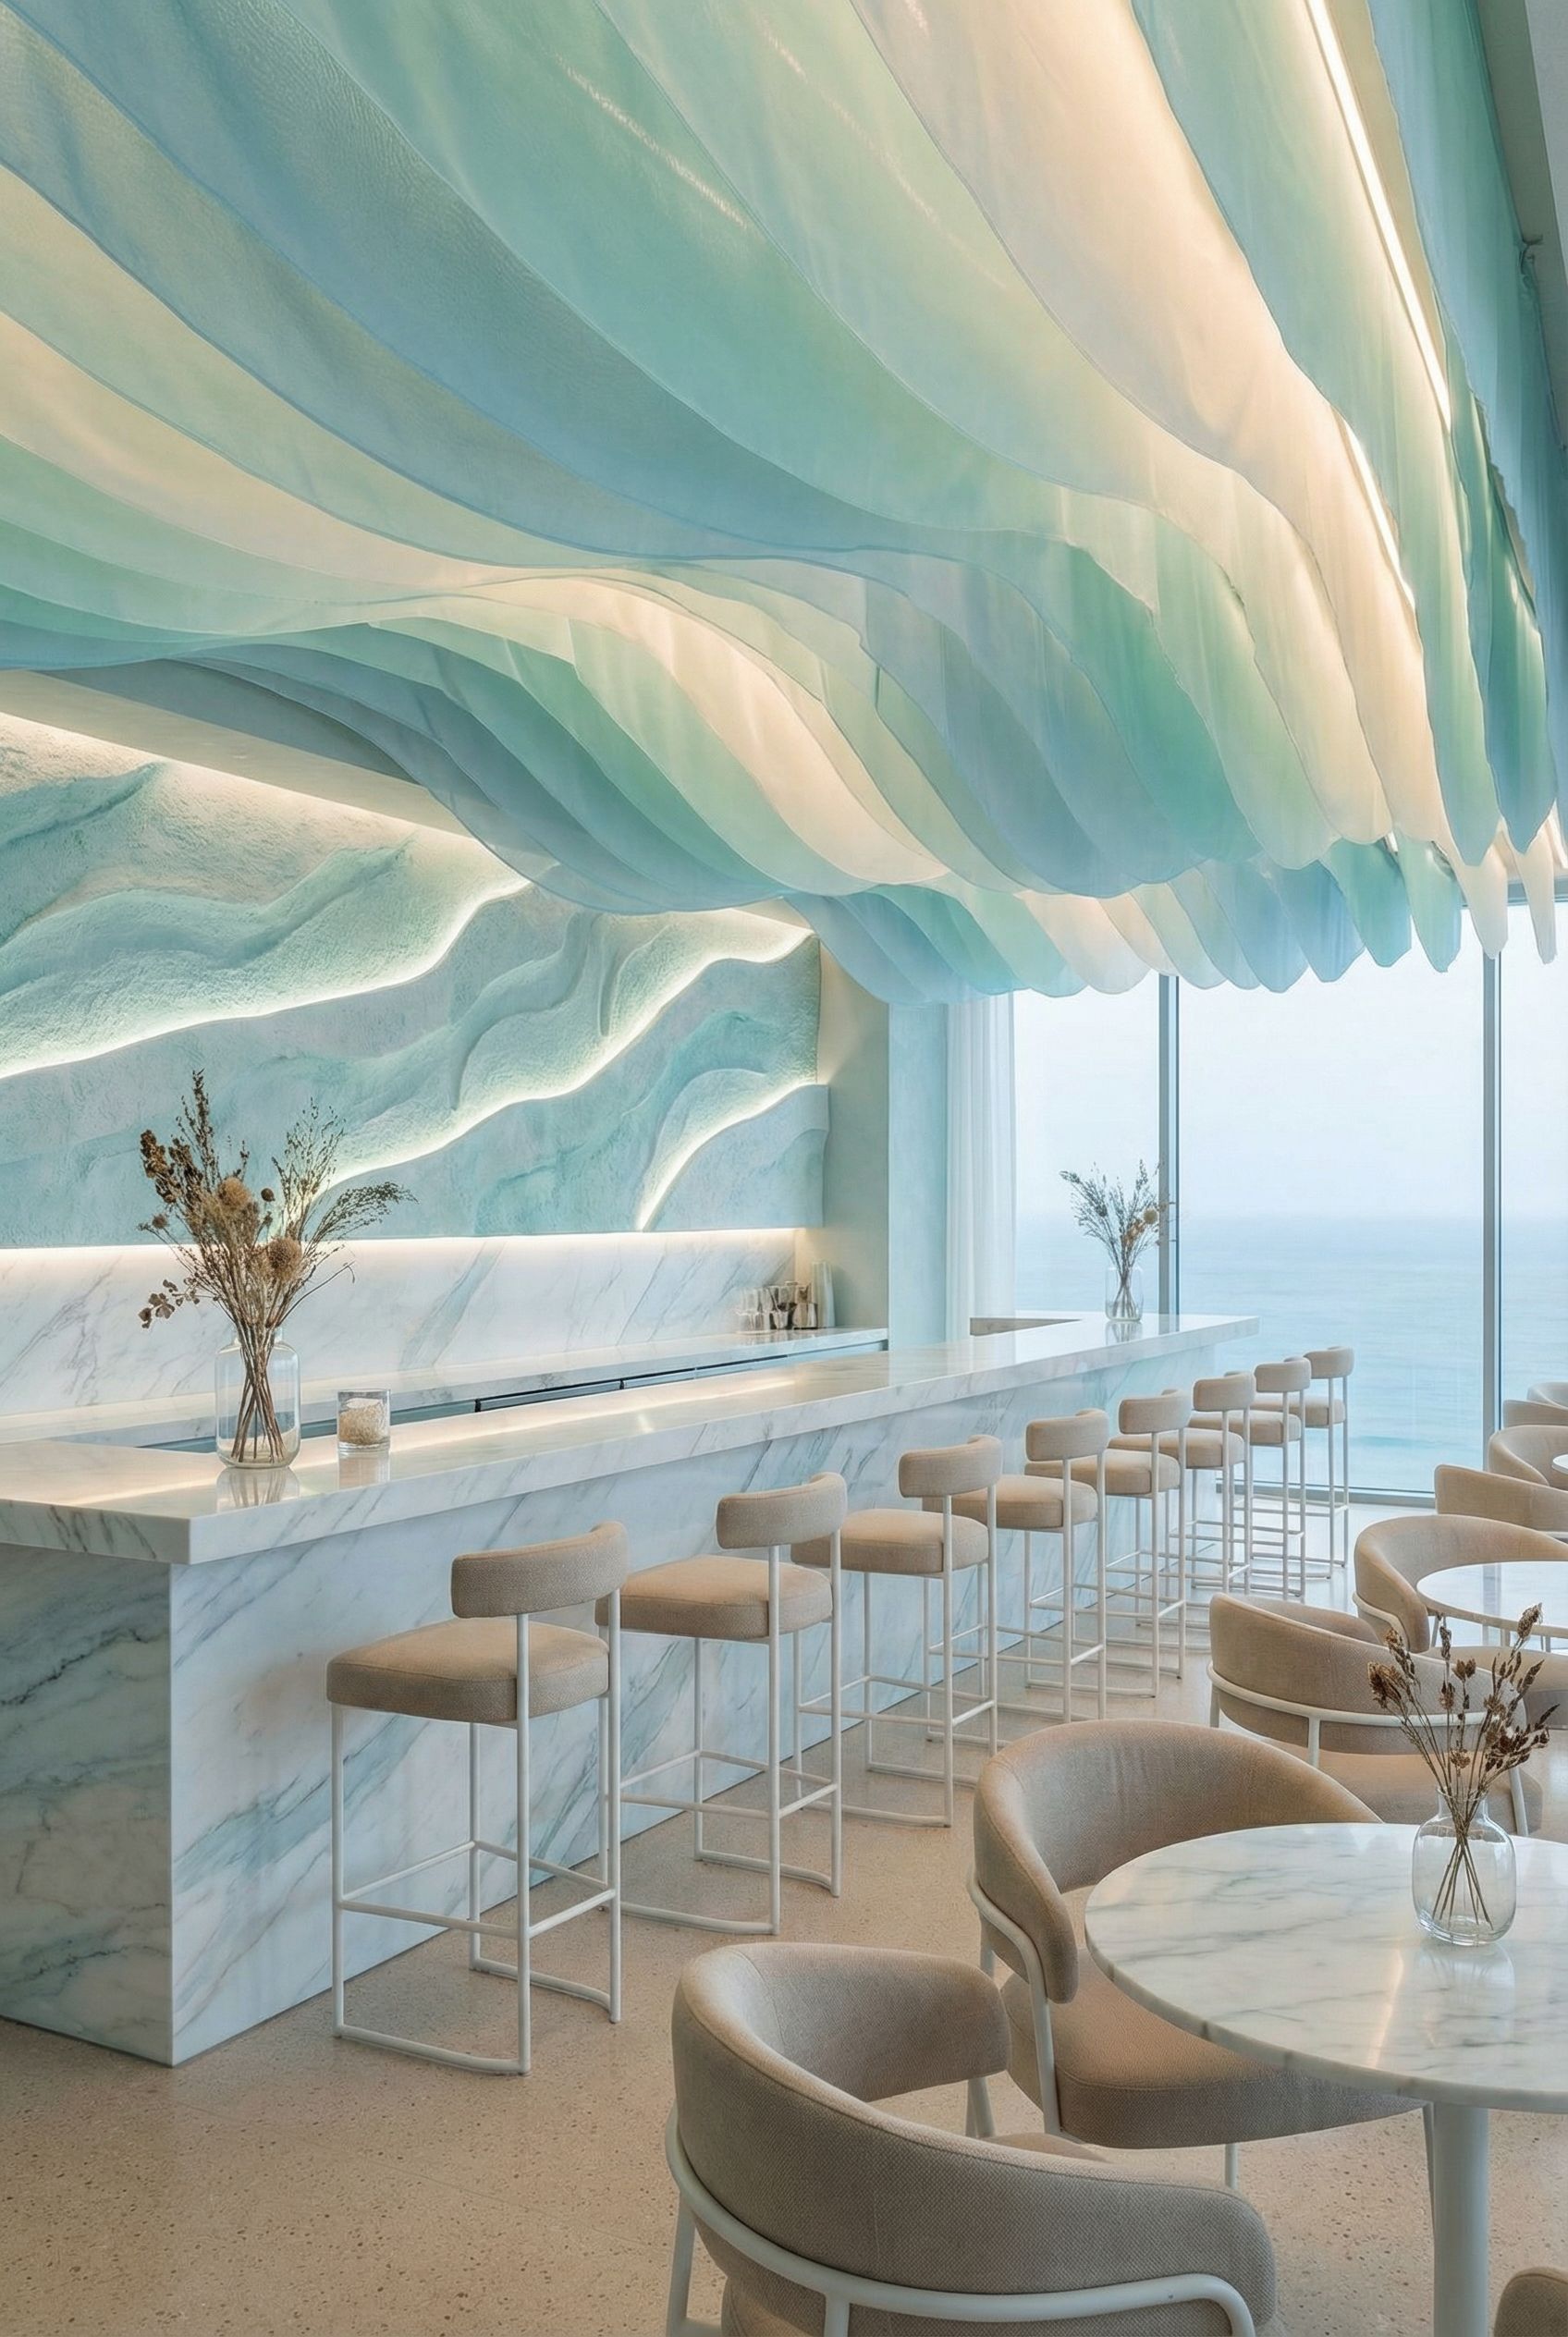
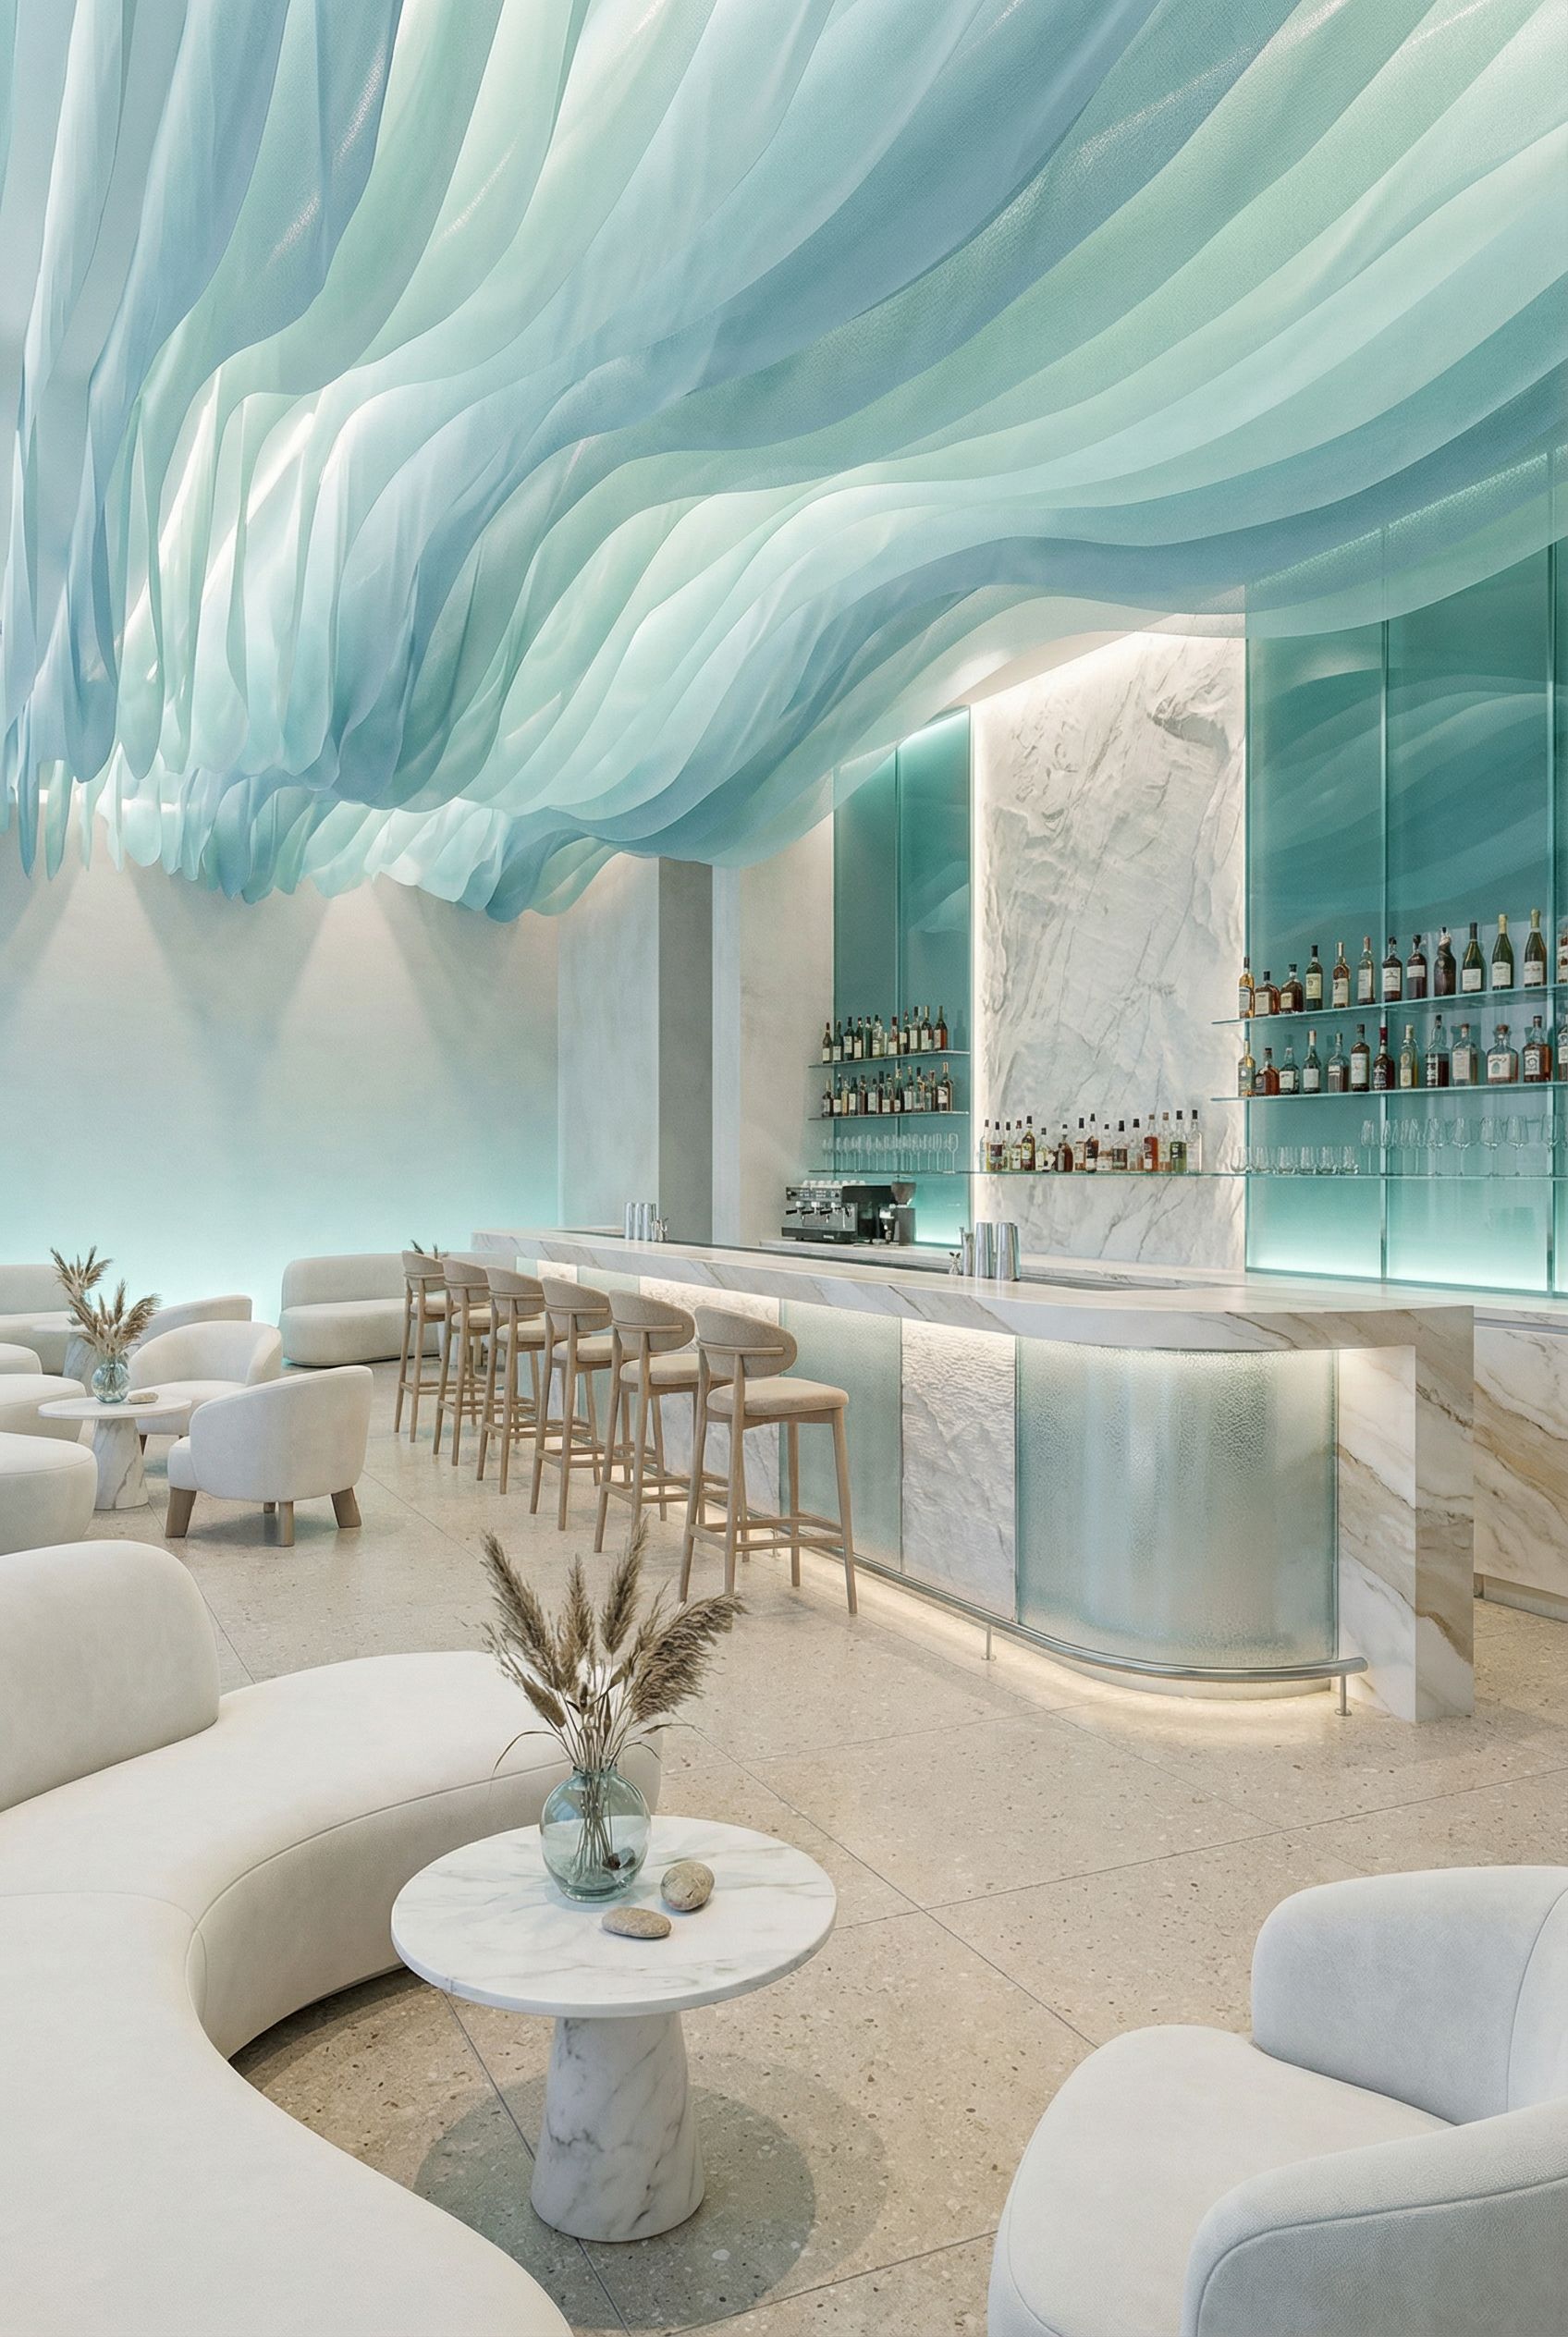
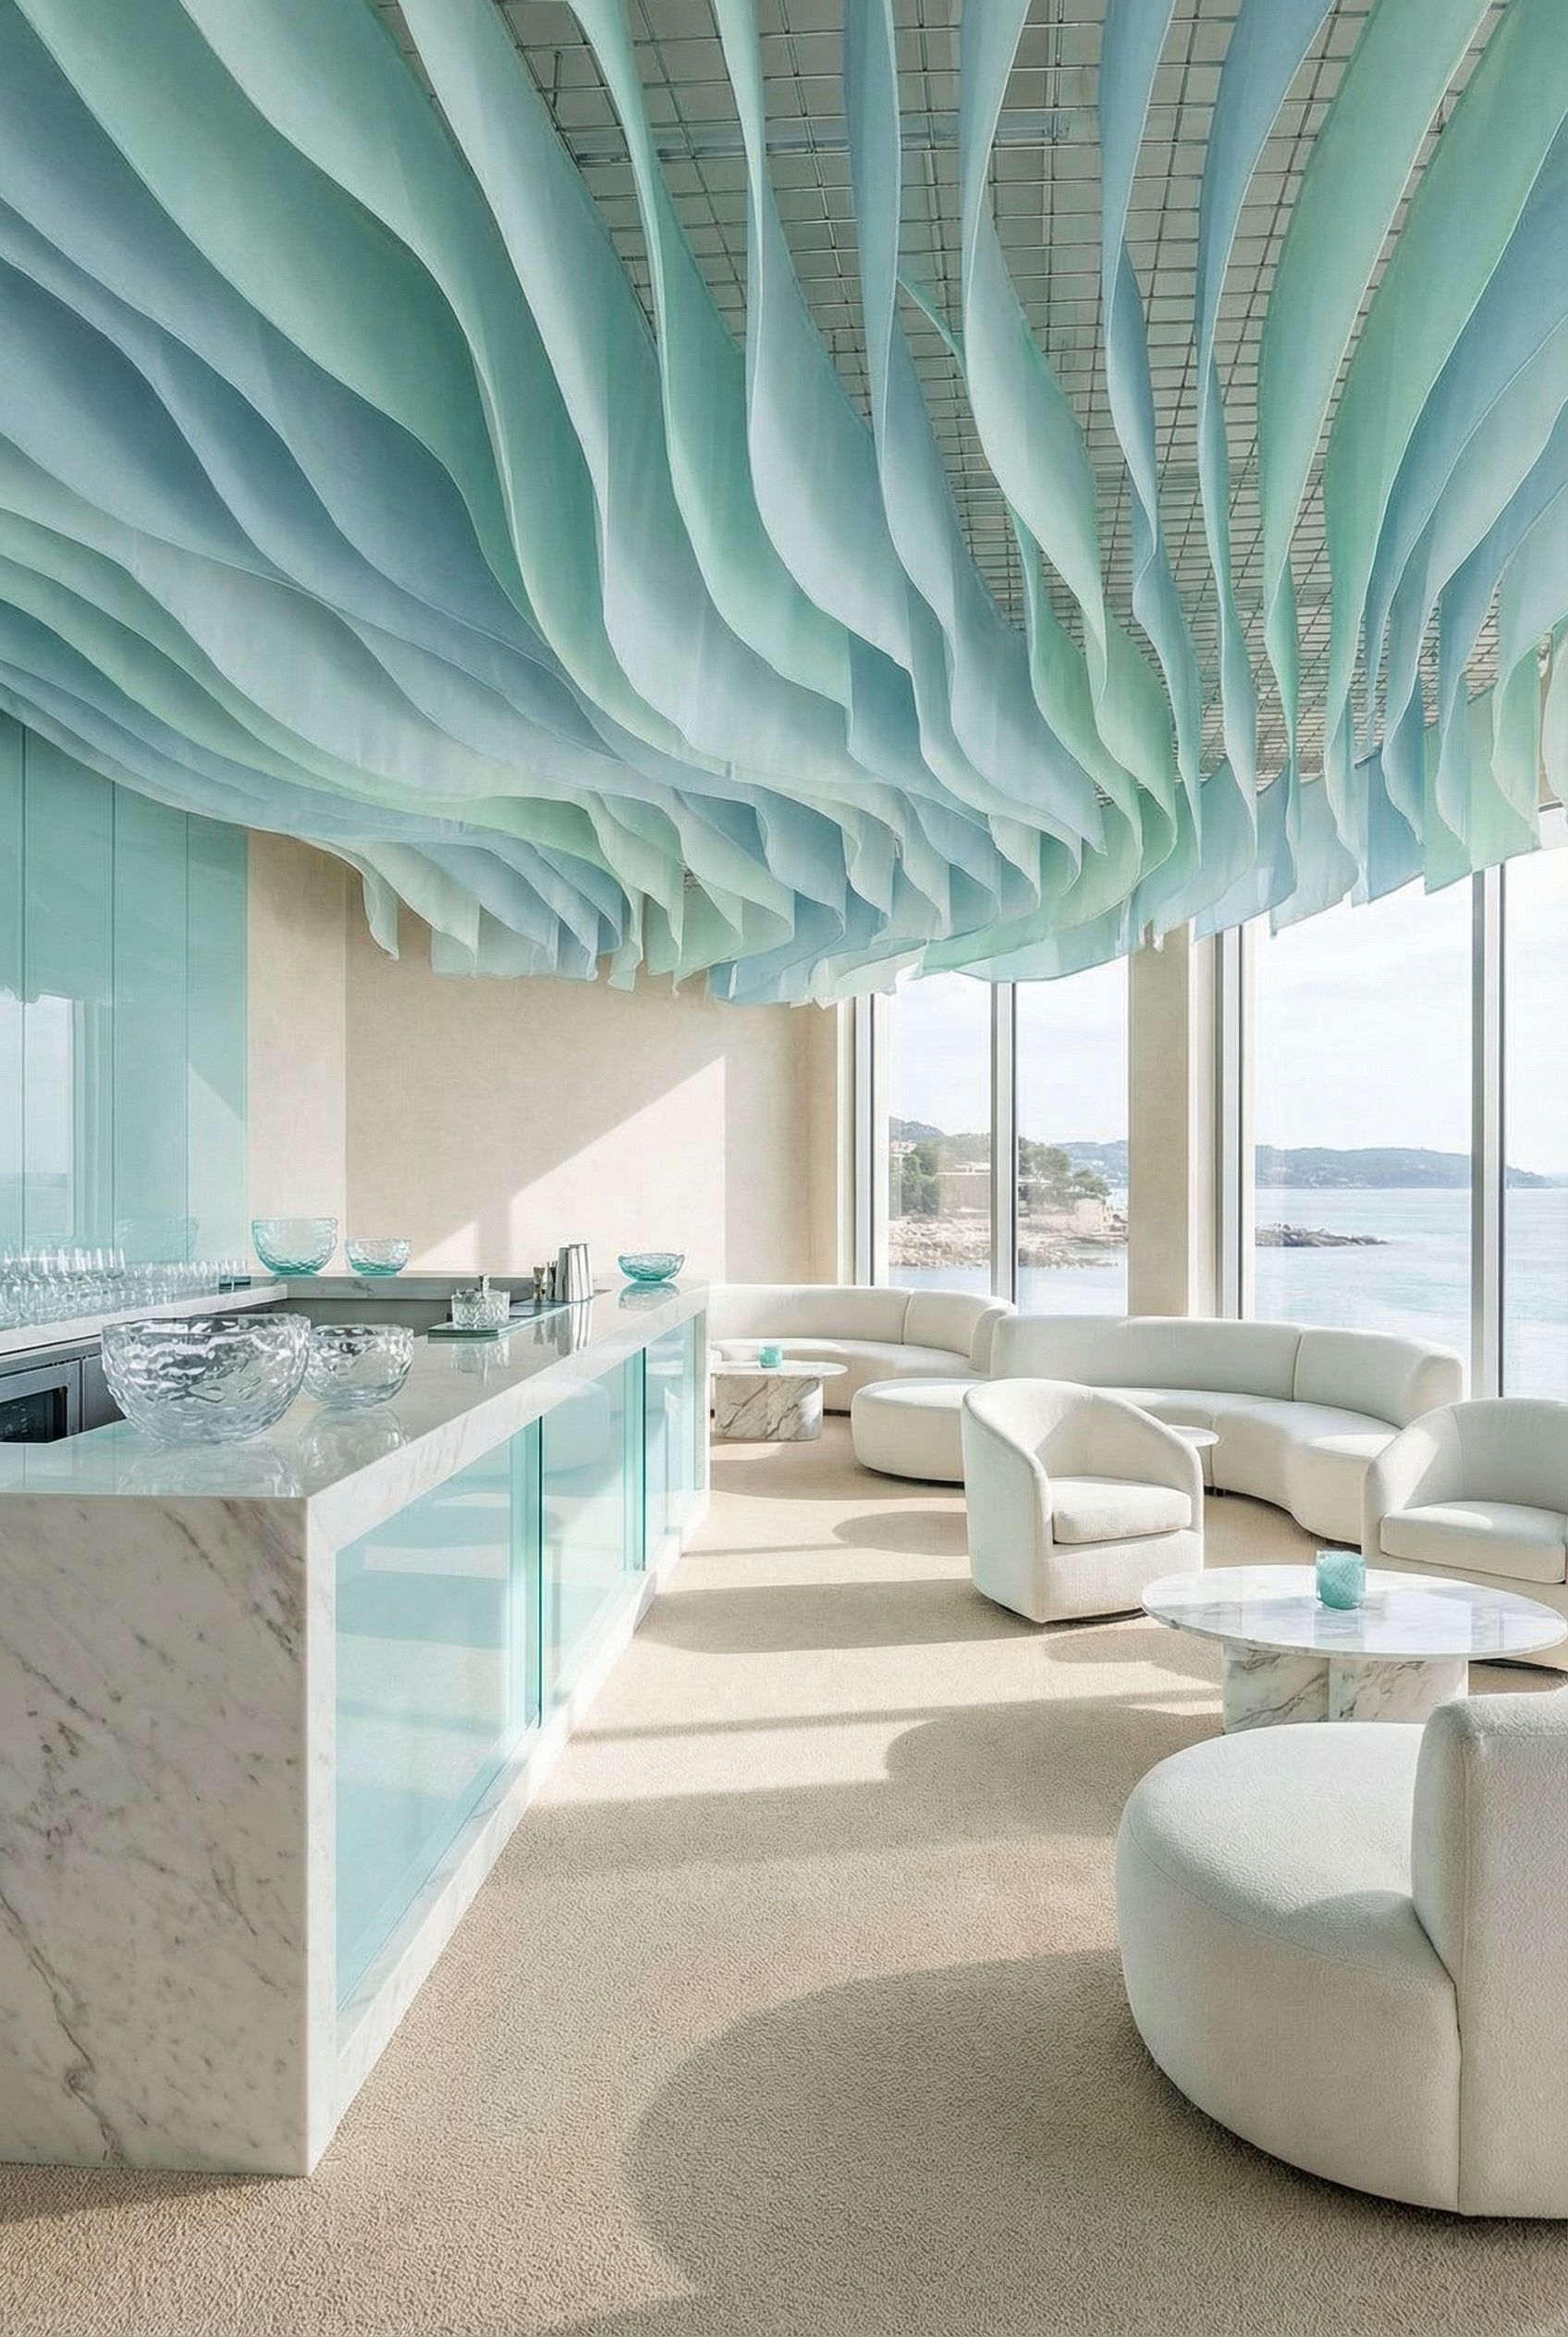
Example 2Ocean-Inspired Bar
Mood Board: Ocean & Coastal Vibes
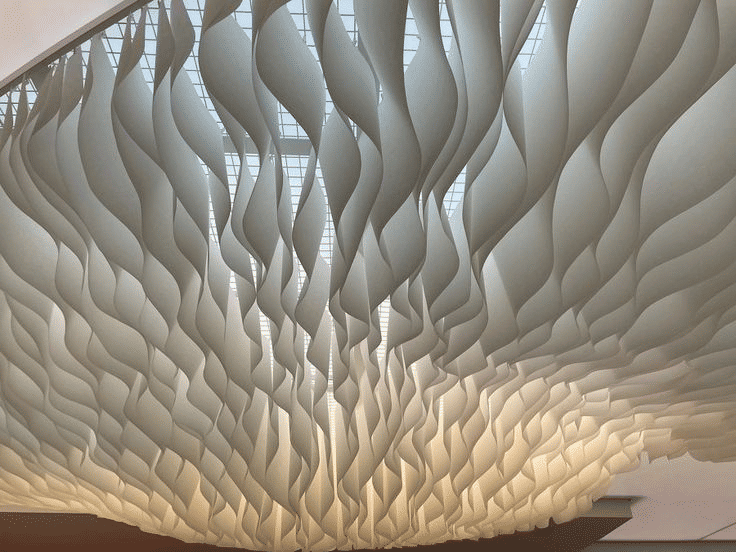
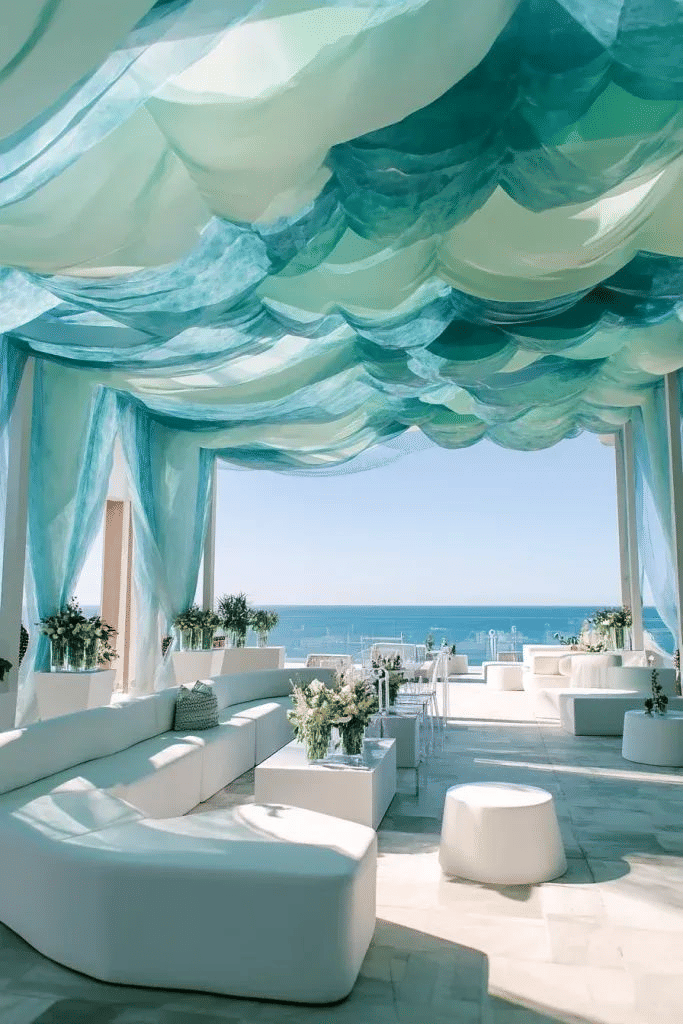
Reference images capturing ocean colors, textures, and coastal atmosphere
Generated Bar Concepts
"Create an ocean inspired bar. Primary colors: light blue/mint, white, beige. Materials: marble and fabric. Ceiling installation looking like a wave from fabric. Modern and minimalistic style"
Concept 1
~44s
Concept 2
~41s
Concept 3
~46s
Concept 4
~43s
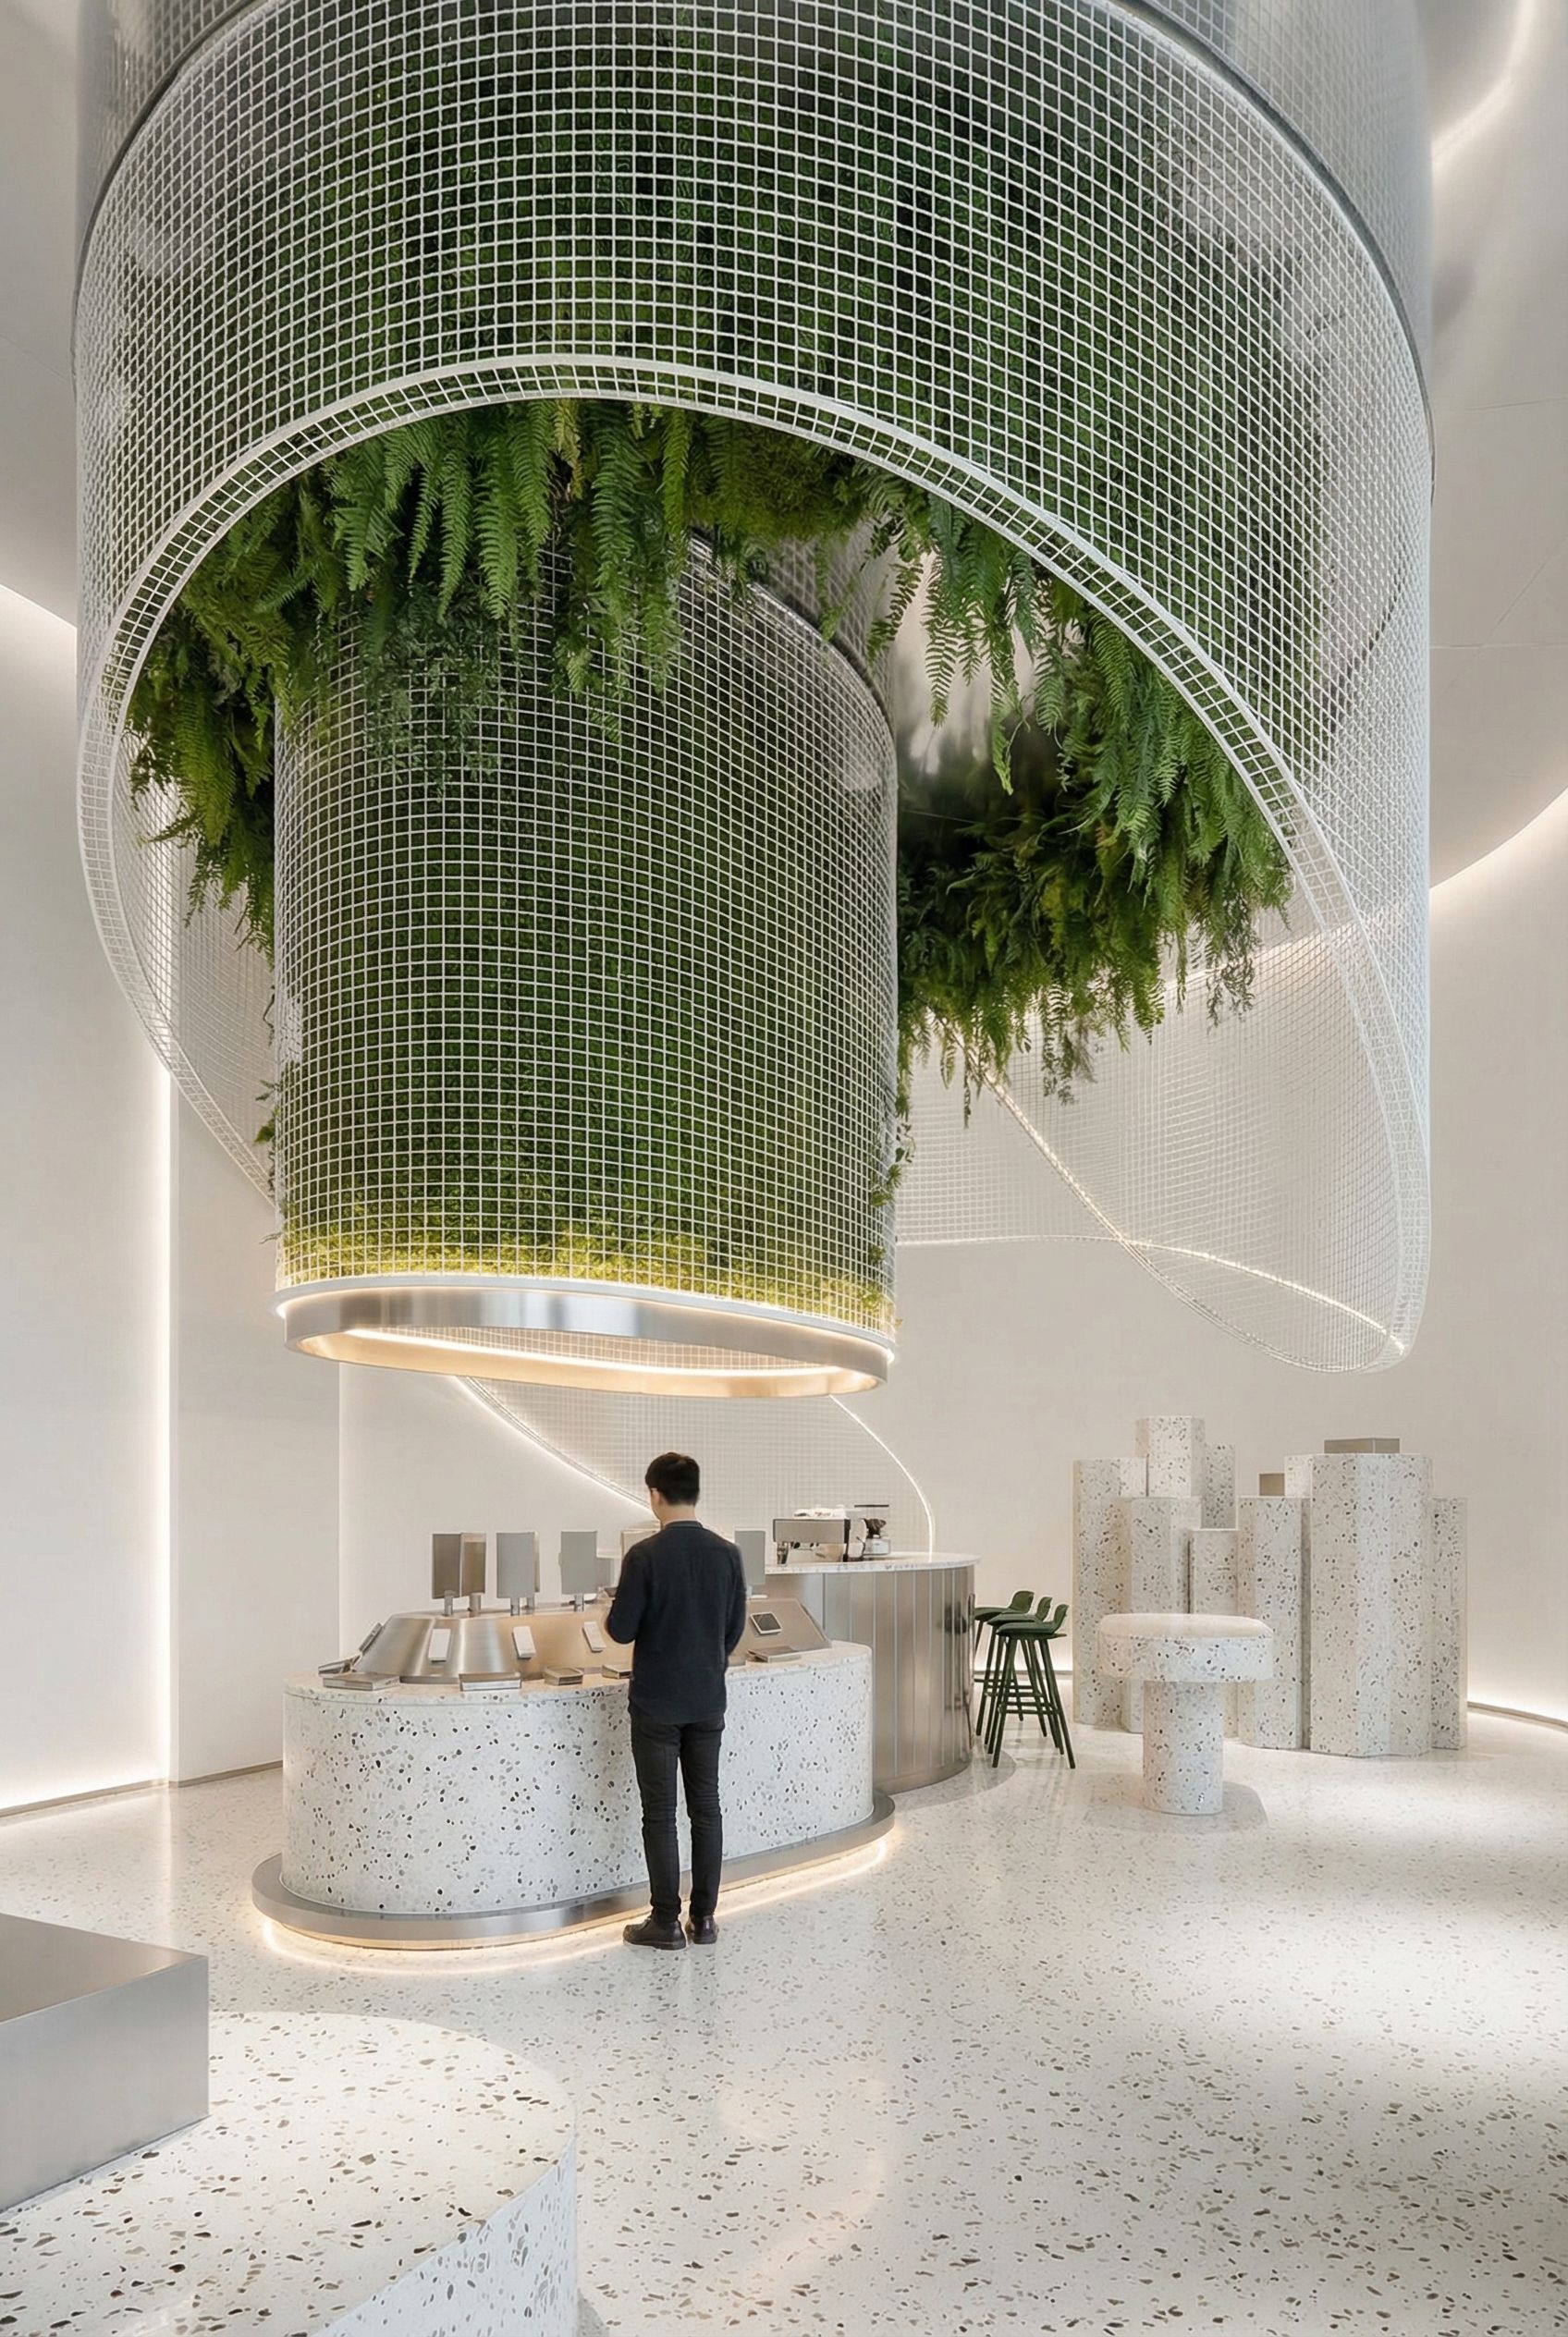
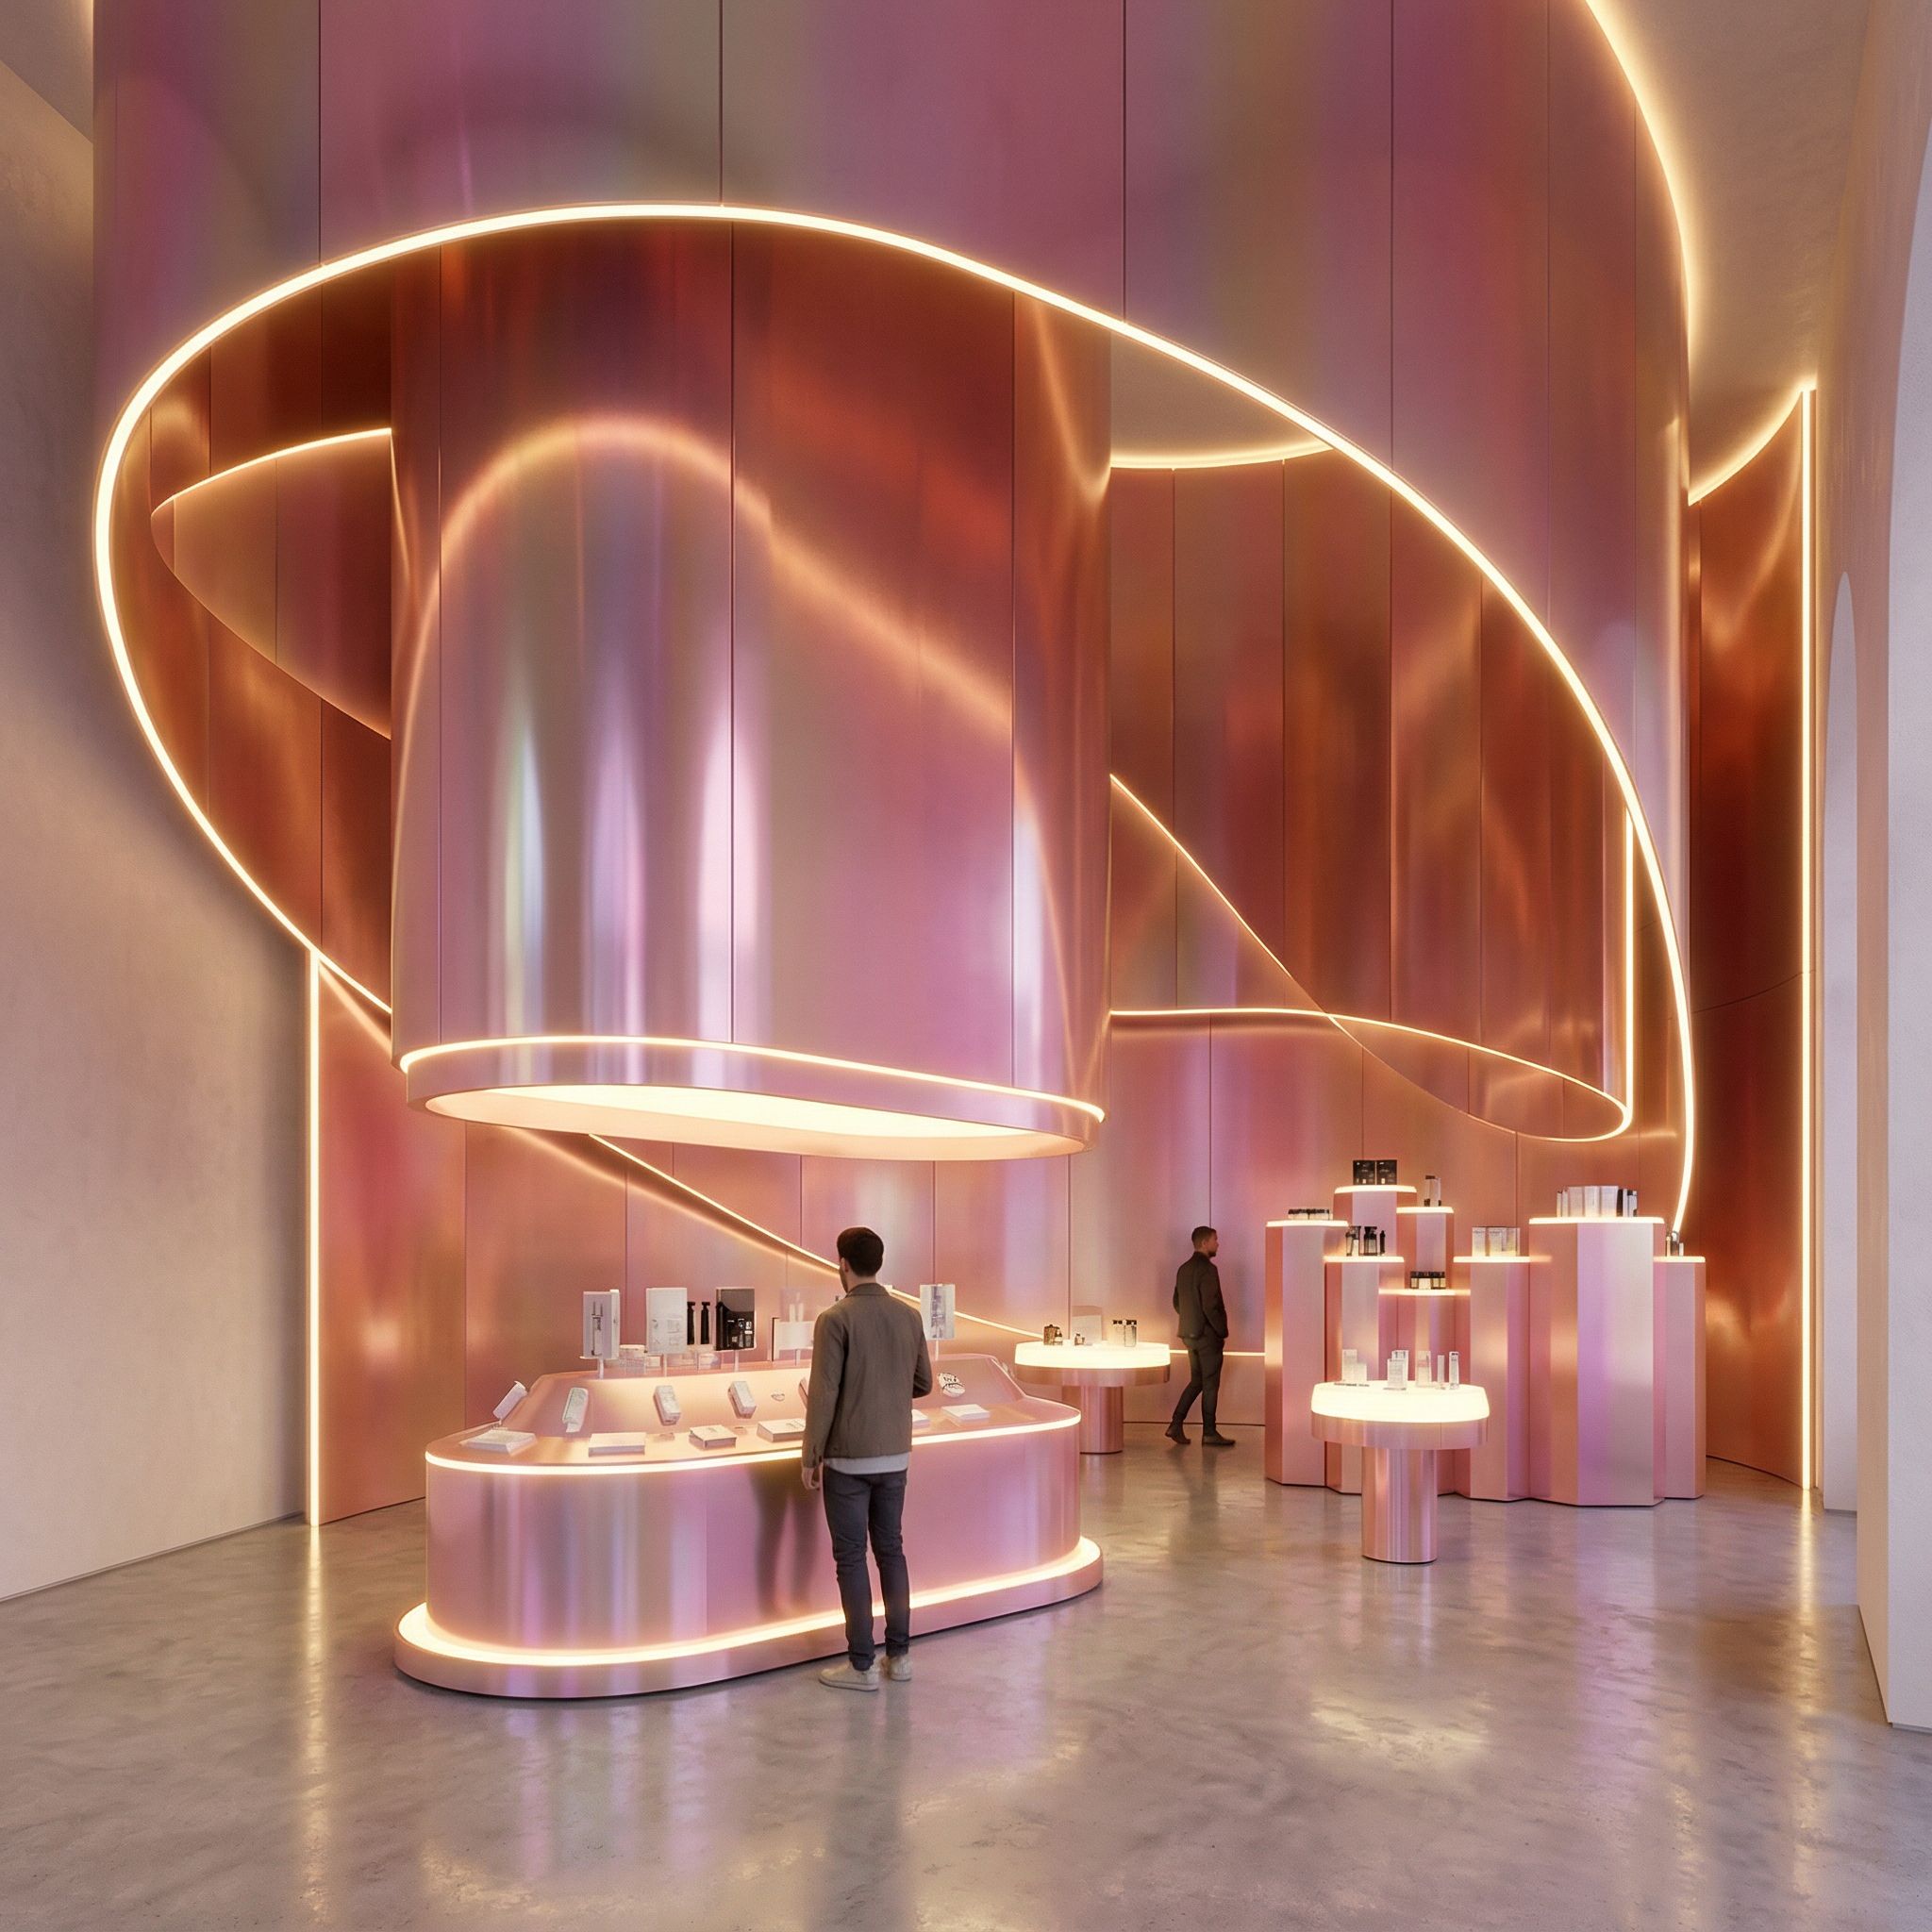
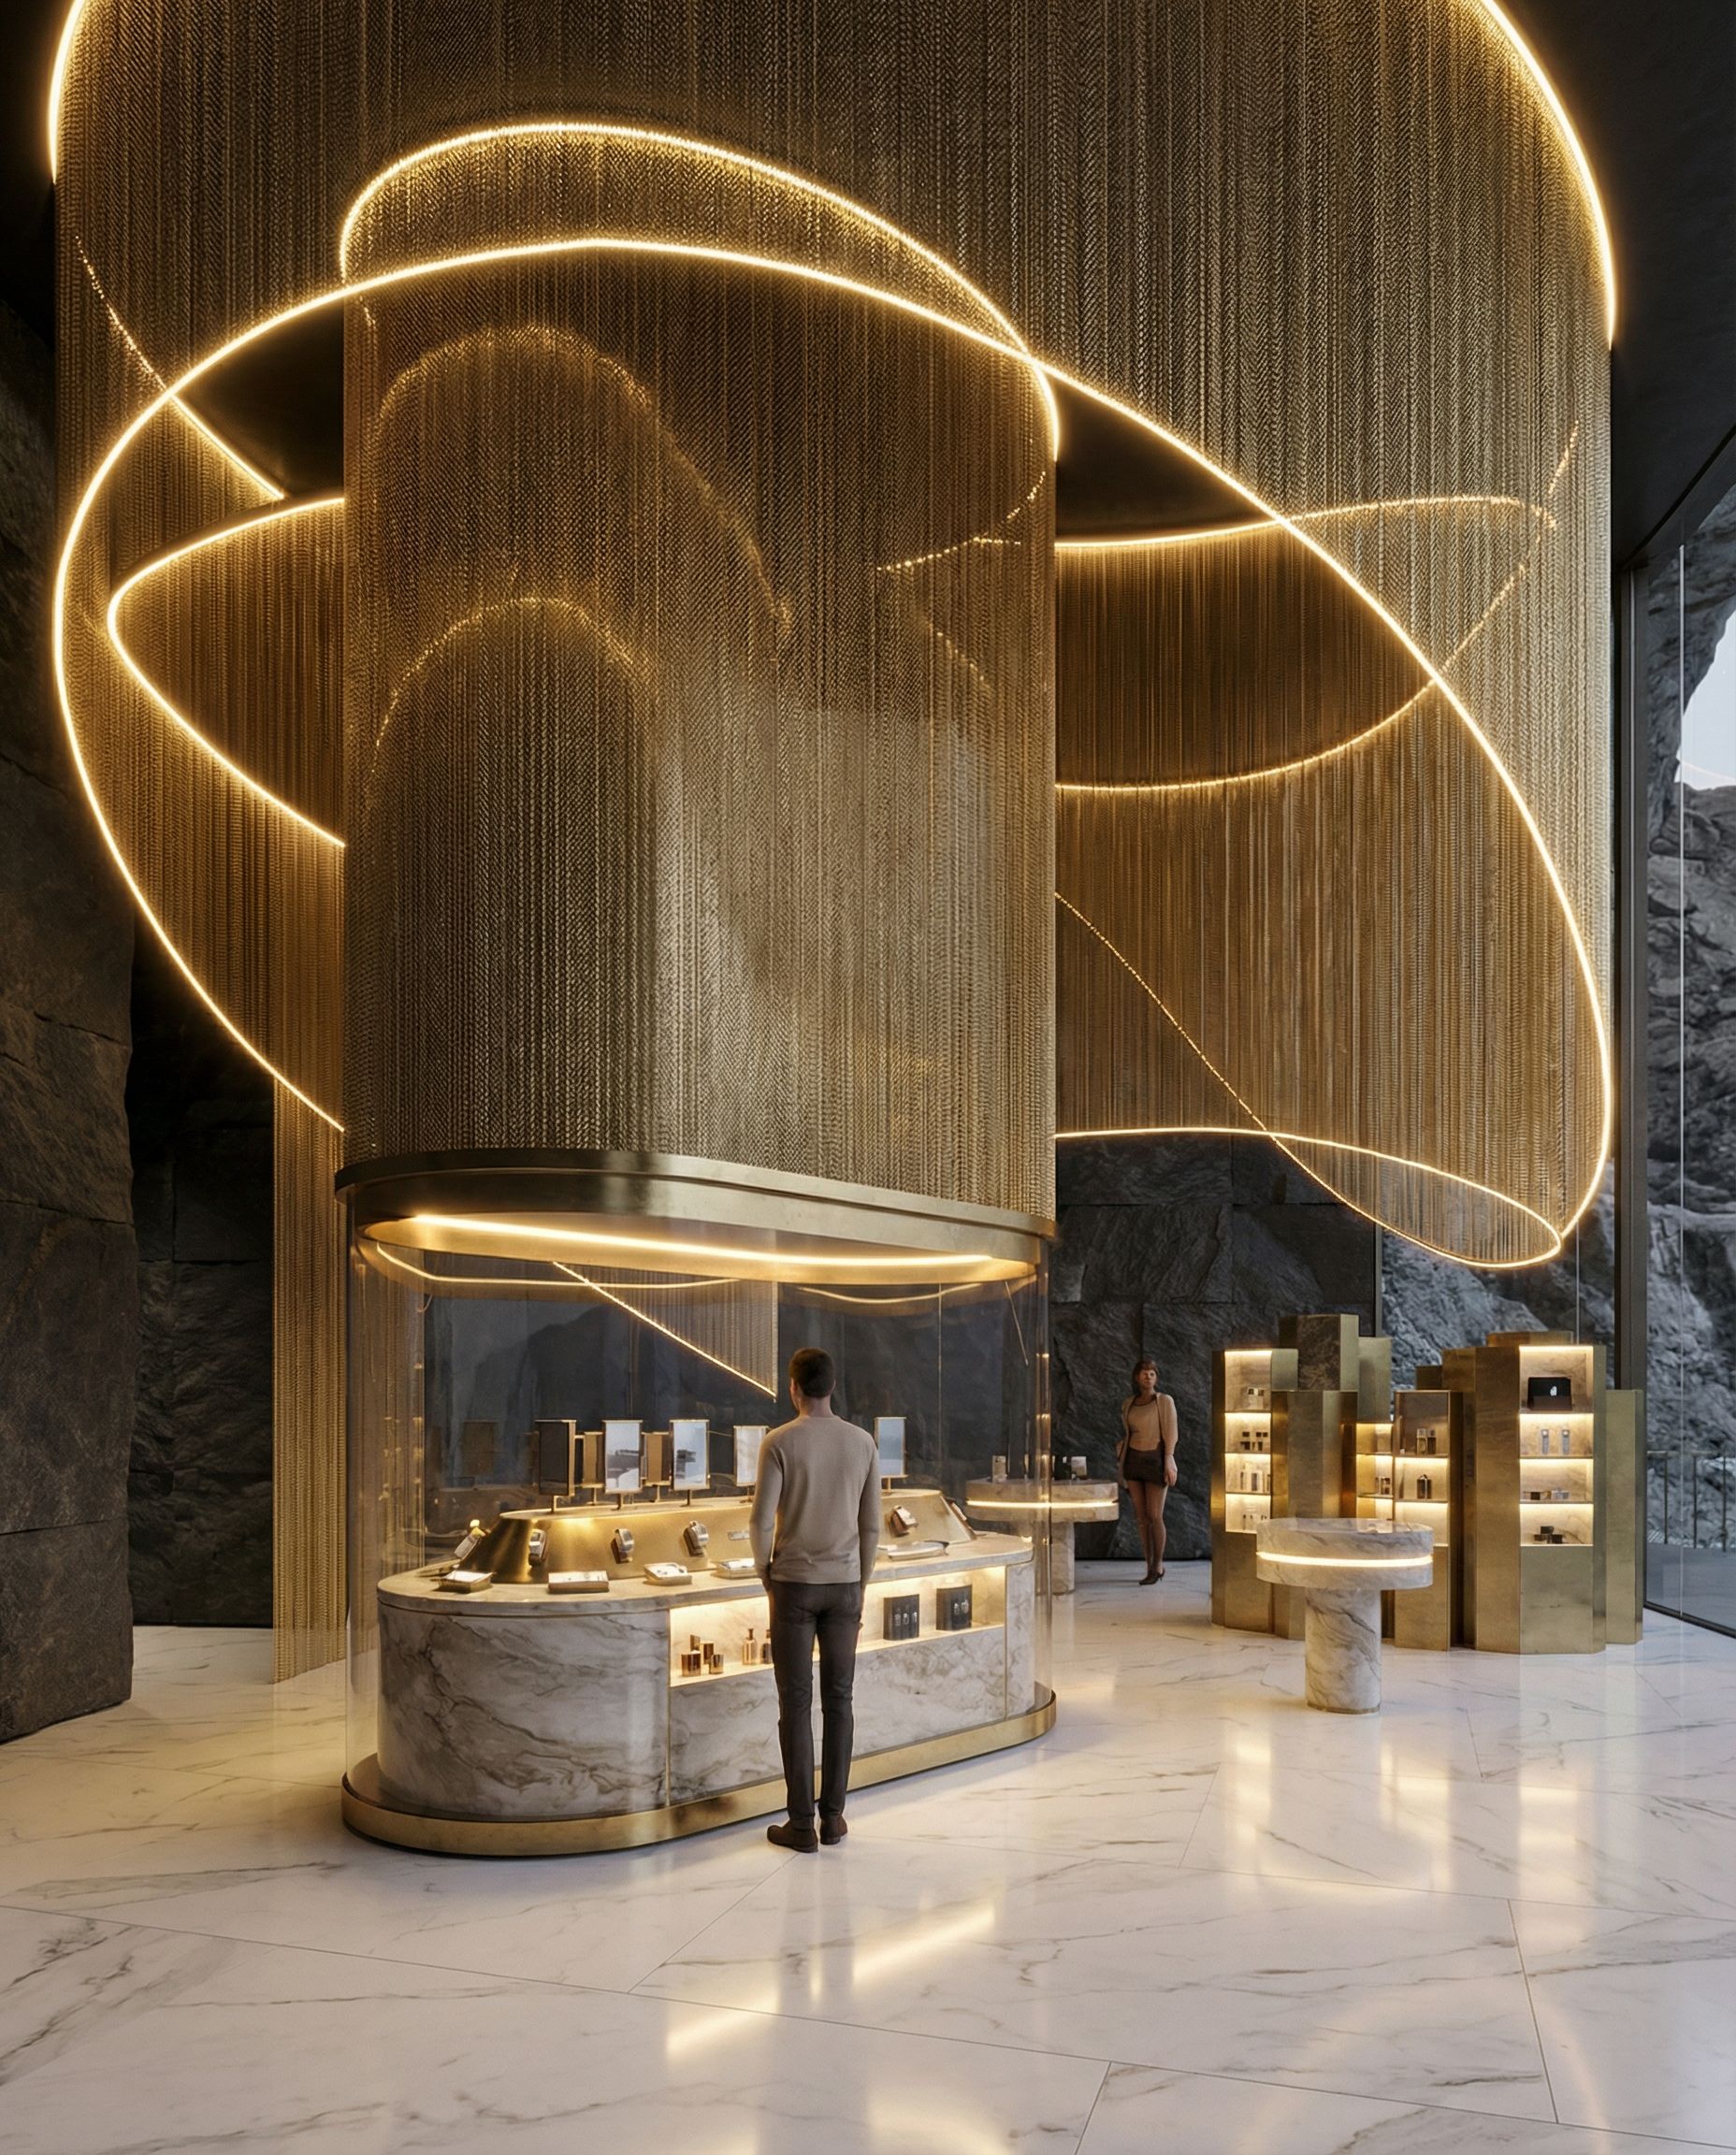
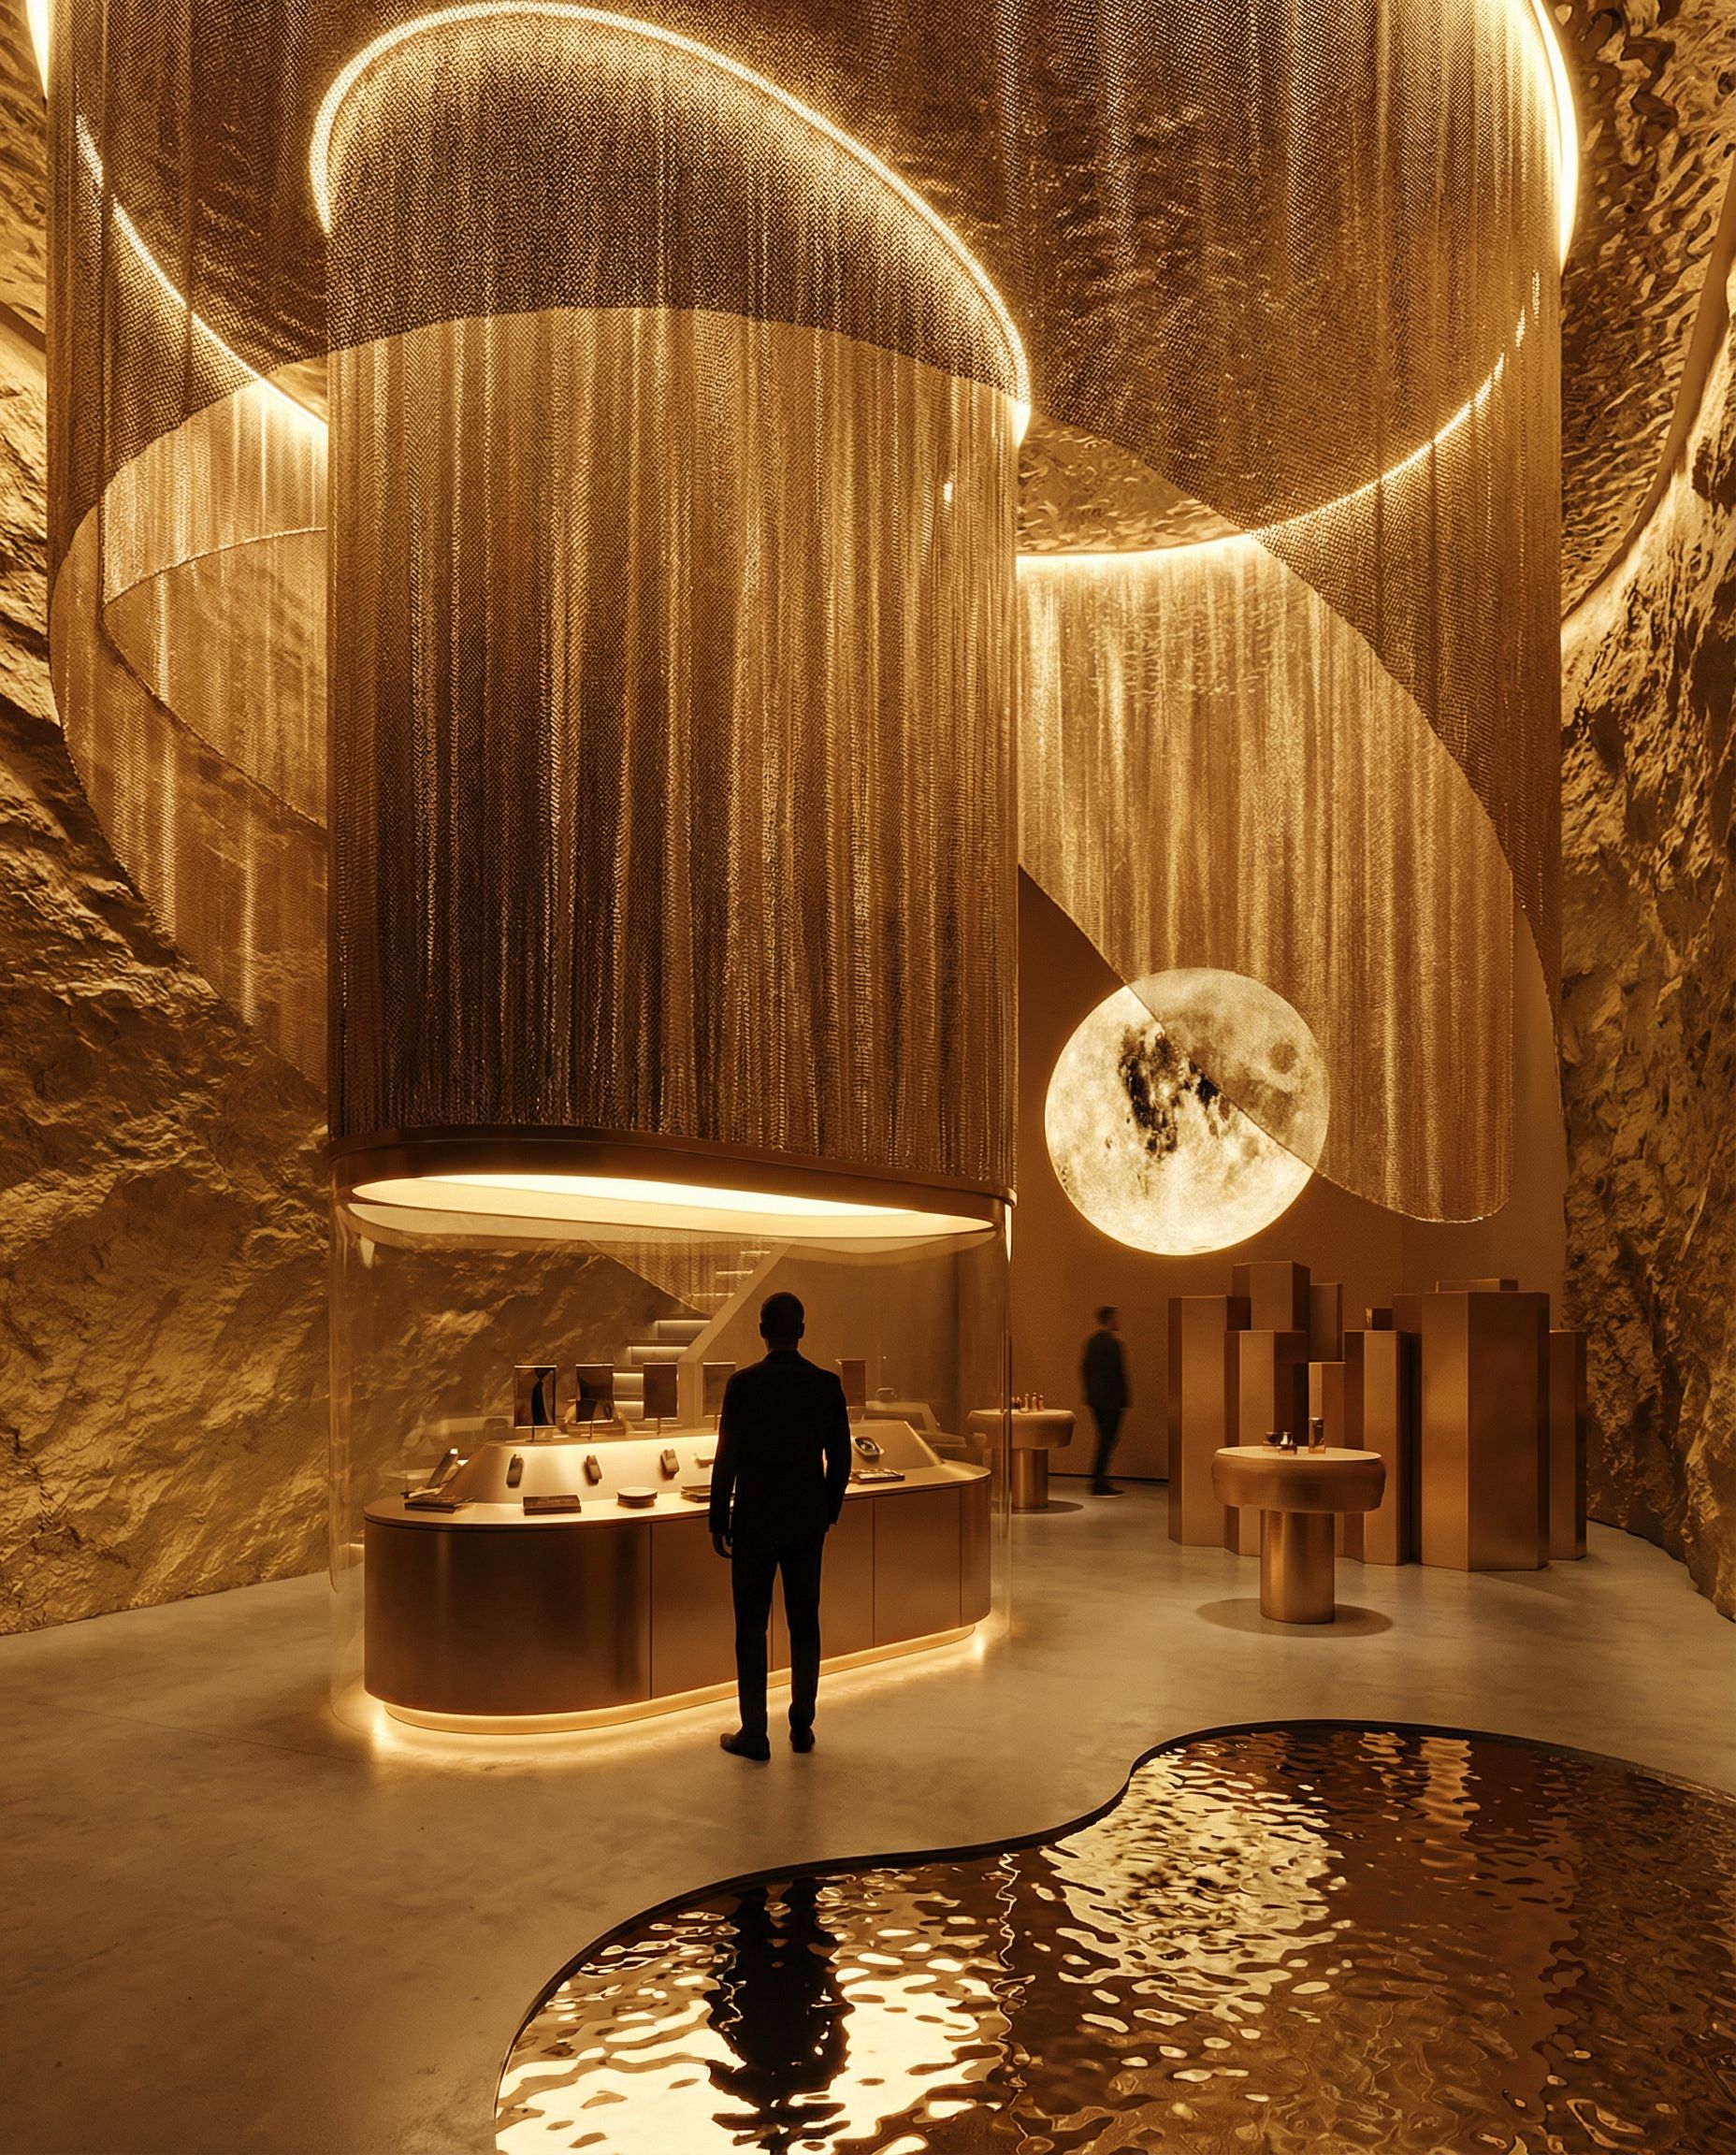
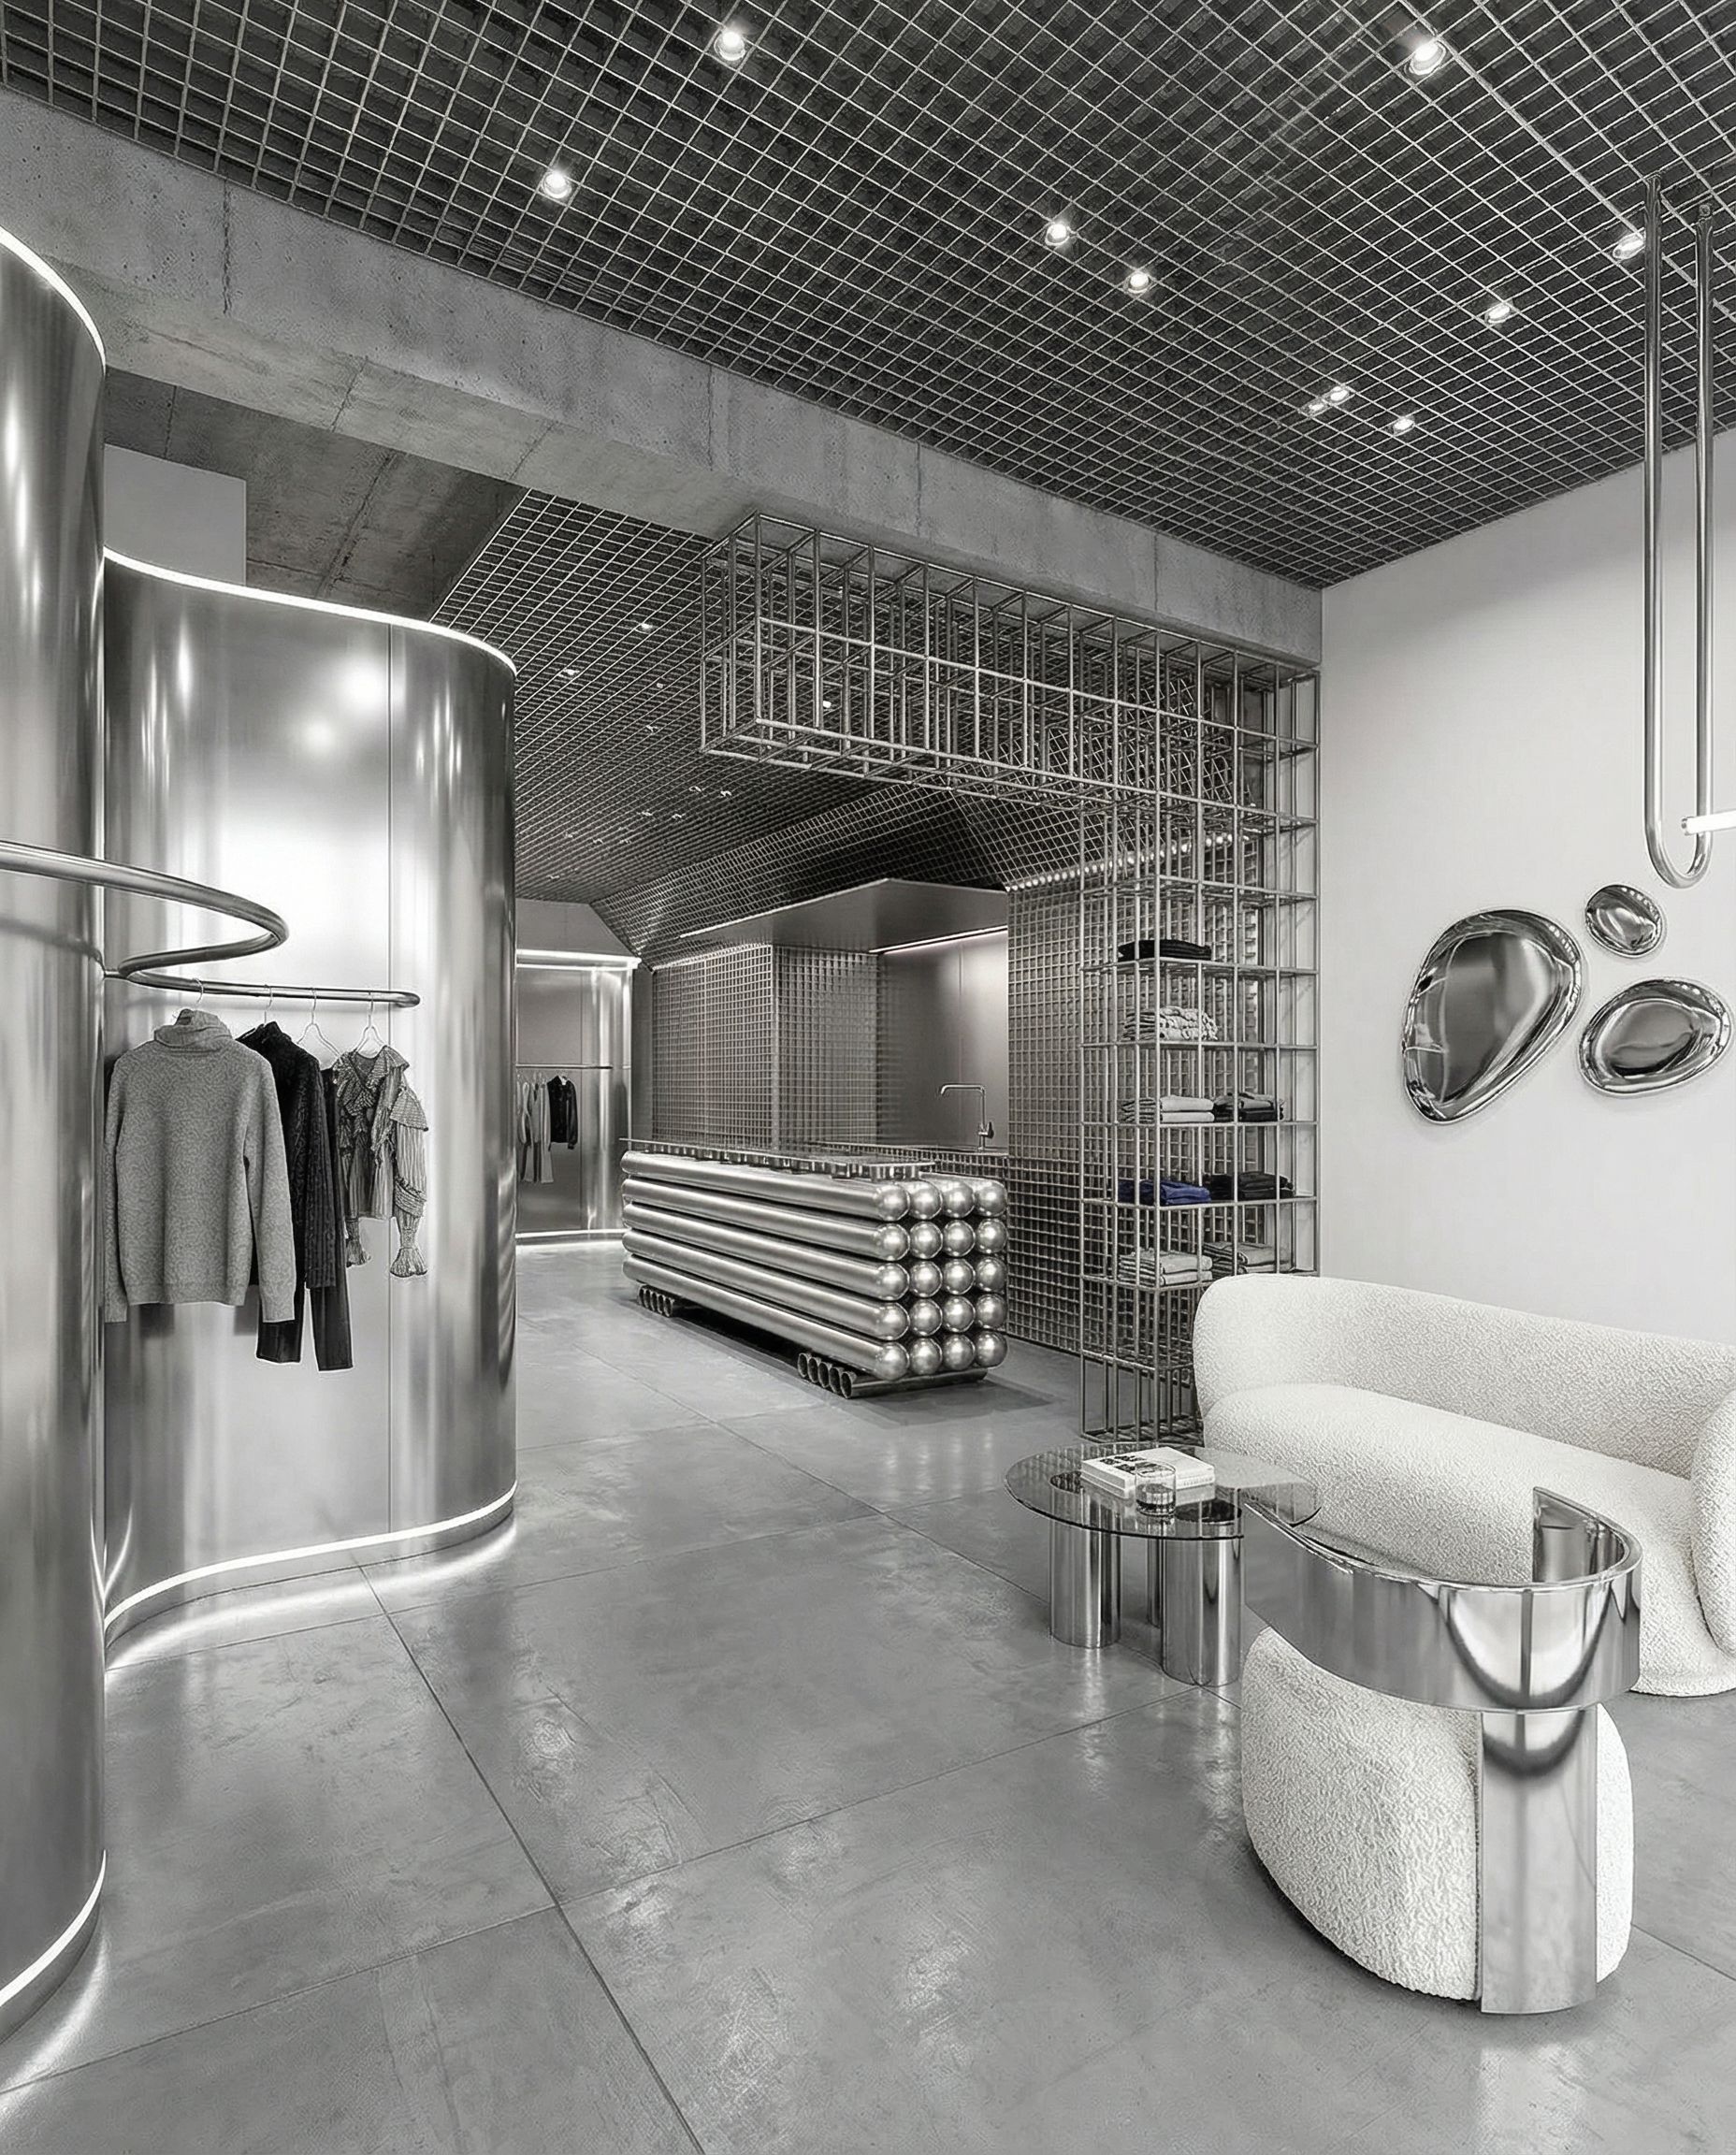
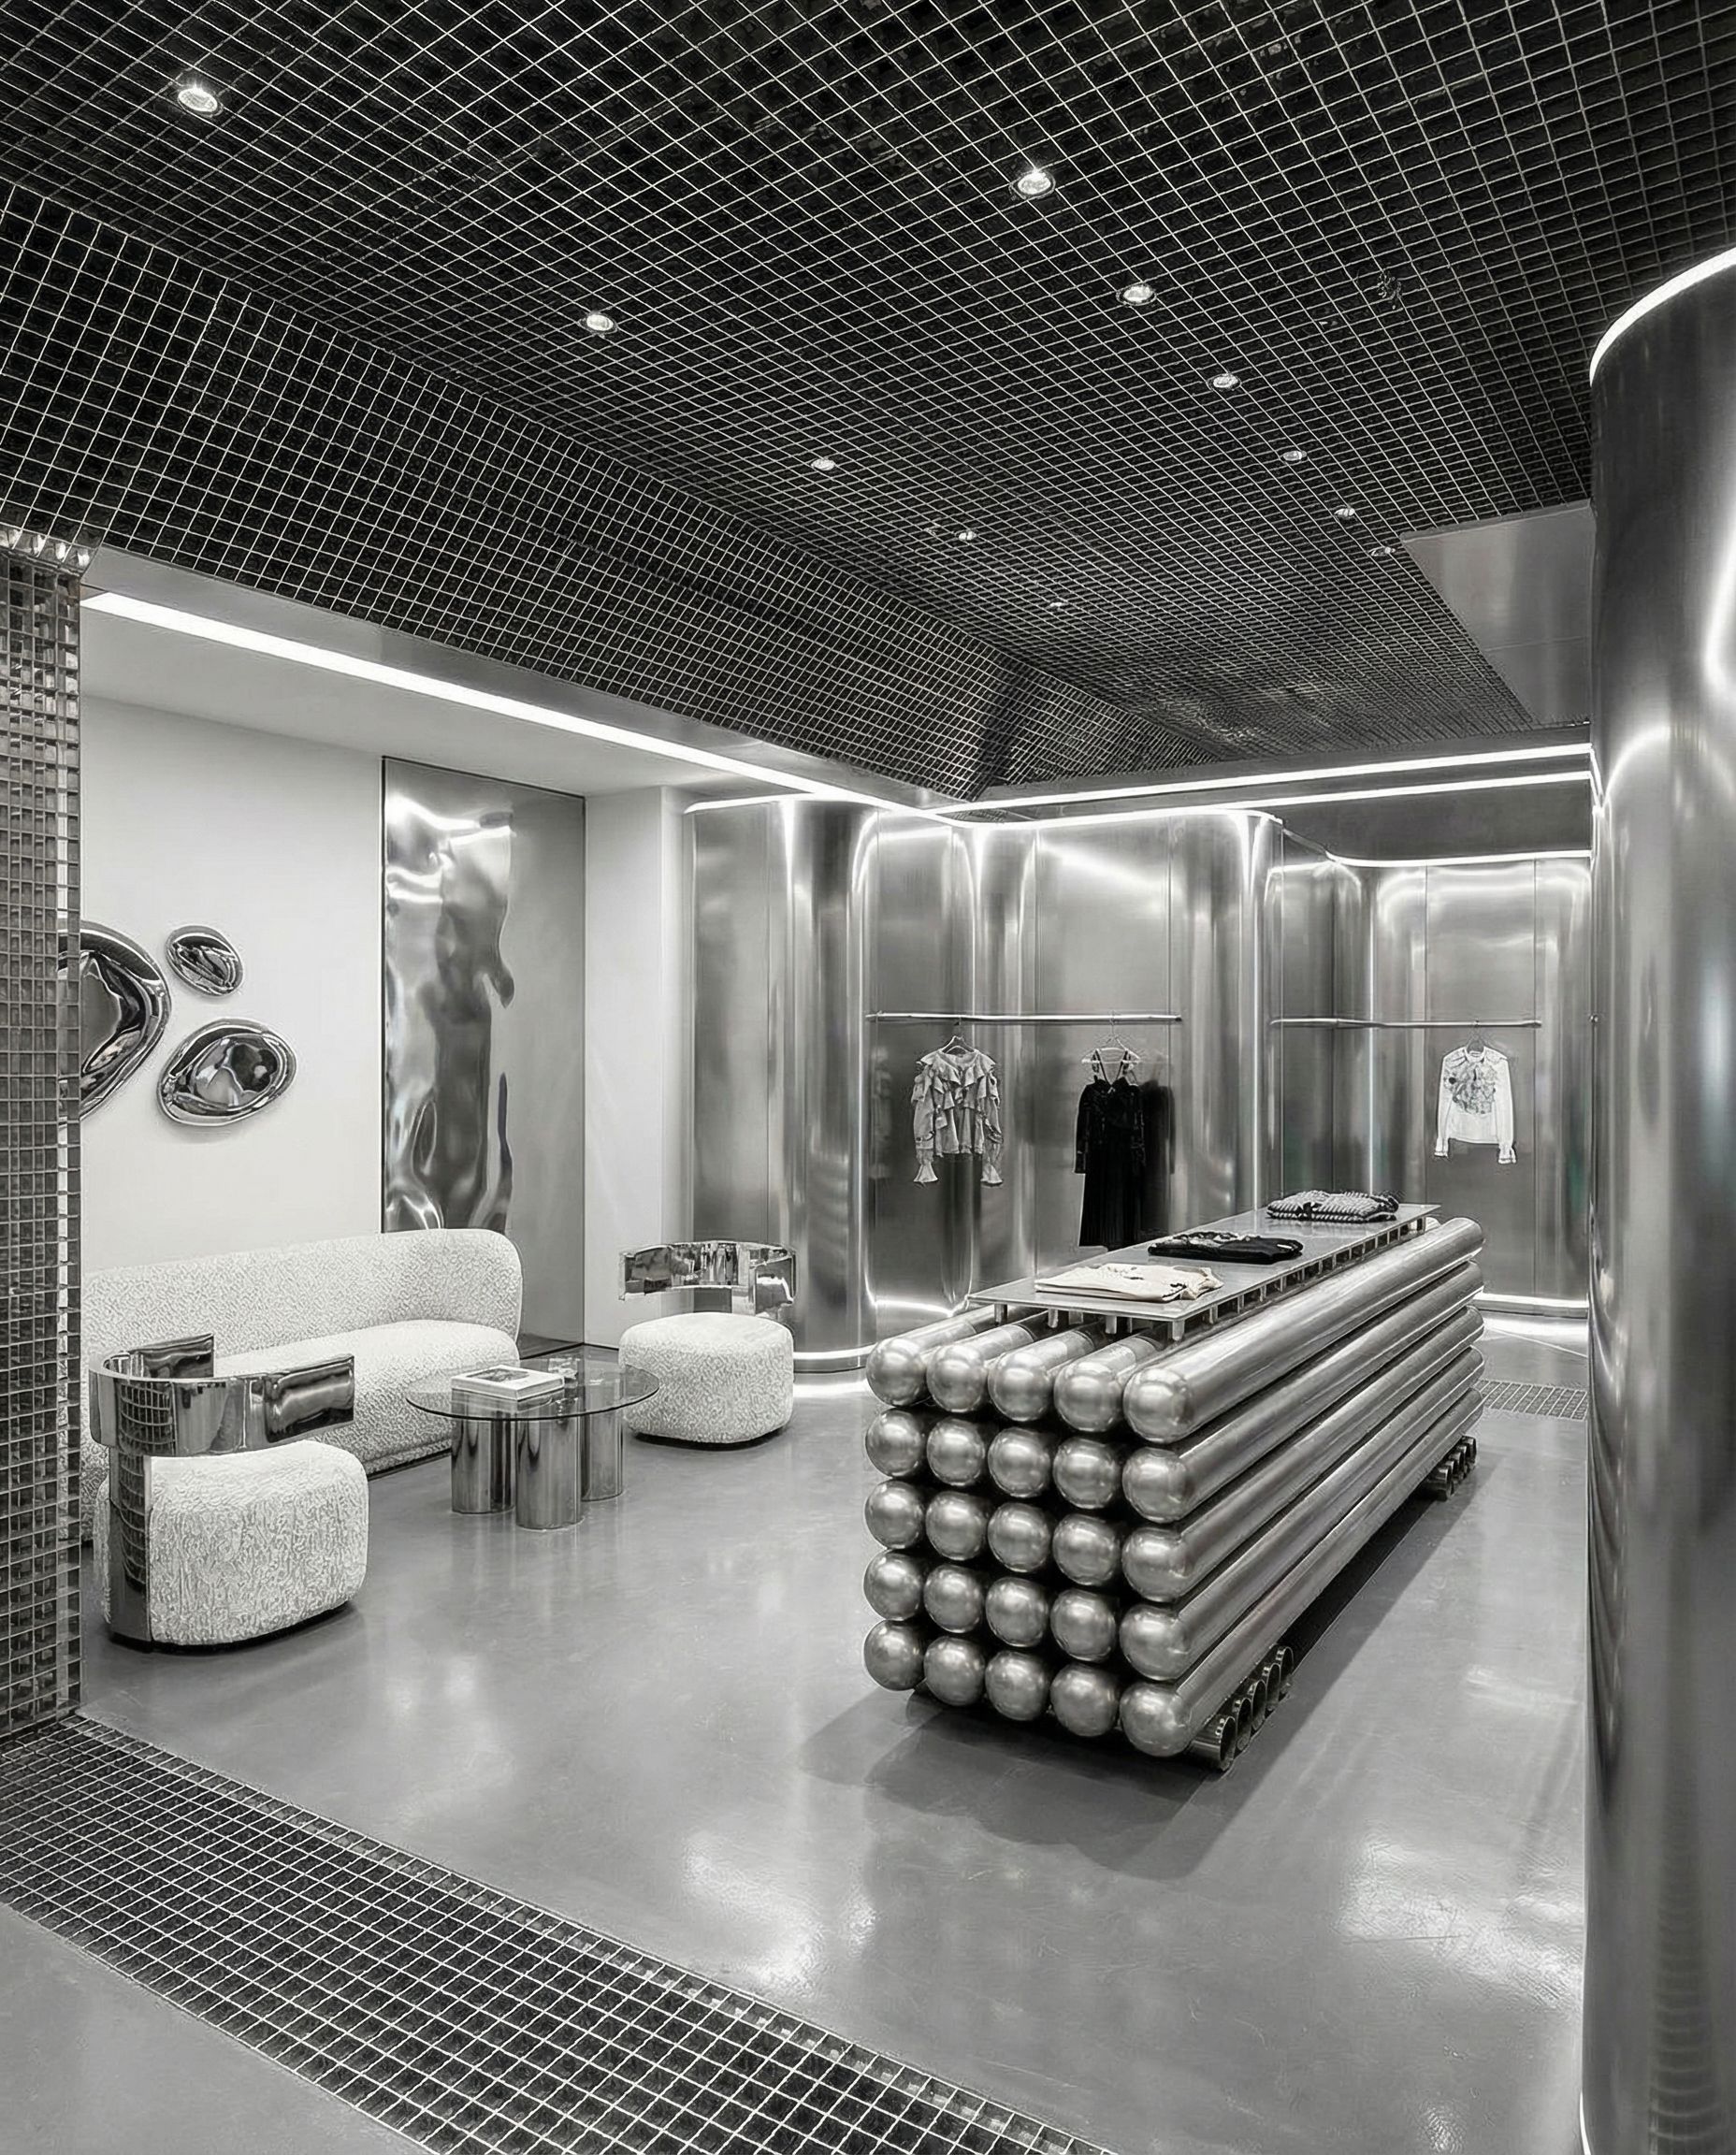
Example 3Futuristic Metal Boutique
Mood Board: Metal & Minimalism
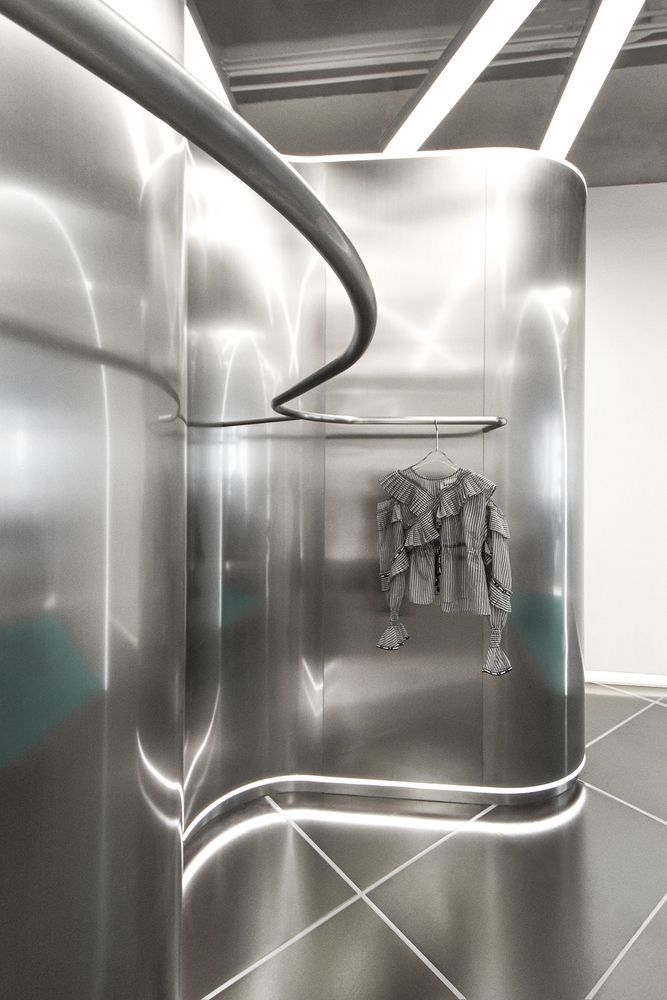
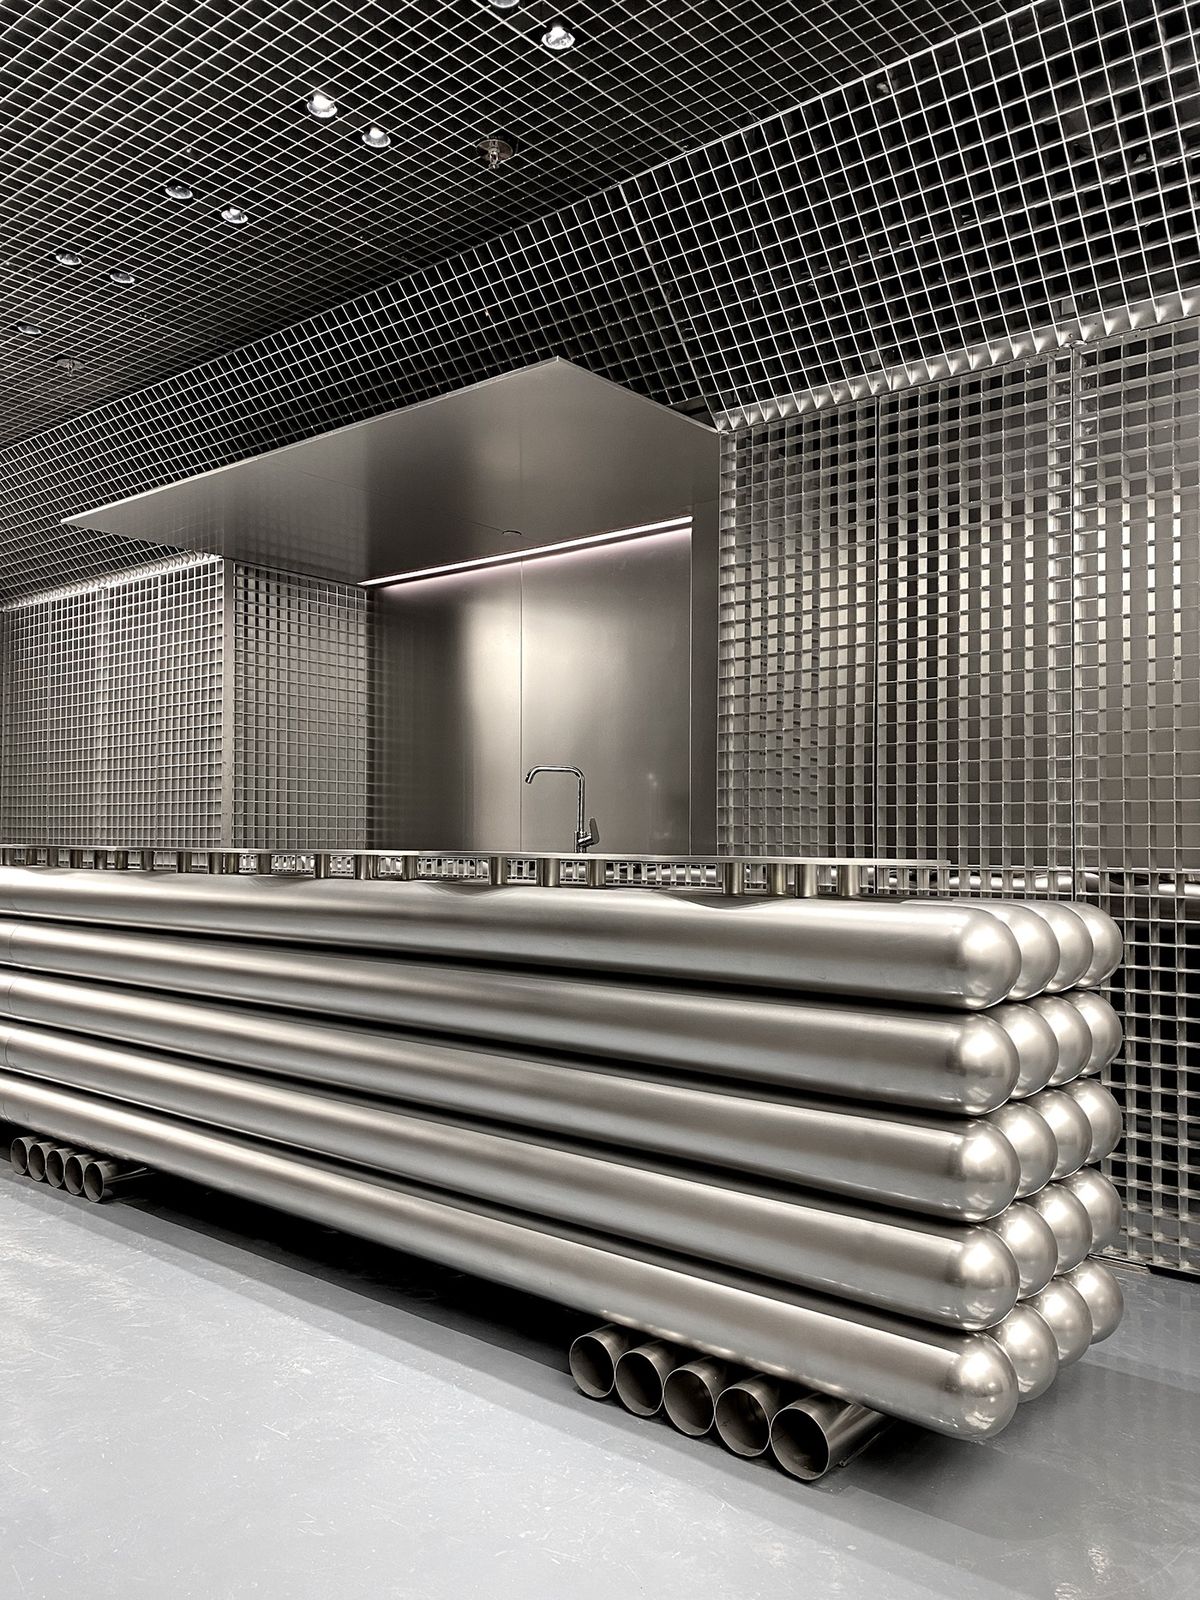
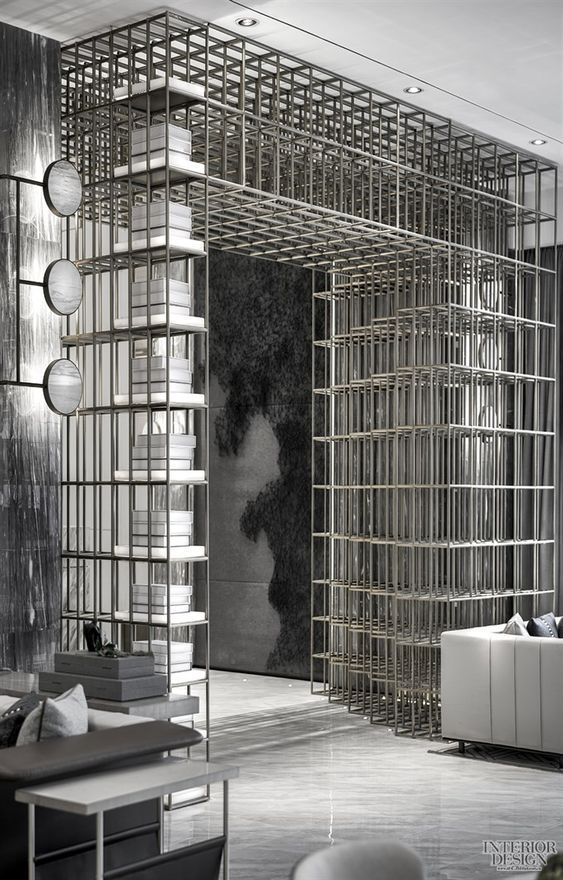
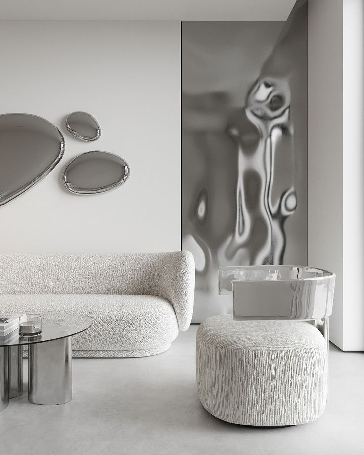
Reference images capturing metallic textures, futuristic aesthetics, and monochrome palettes
Generated Boutique Concepts
"Create the interior design of a clothing store. Modern, minimalistic and futuristic vibe. Use mostly metal for materials. Color palette: grey, white, black"
Concept 1
~38s
Concept 2
~42s
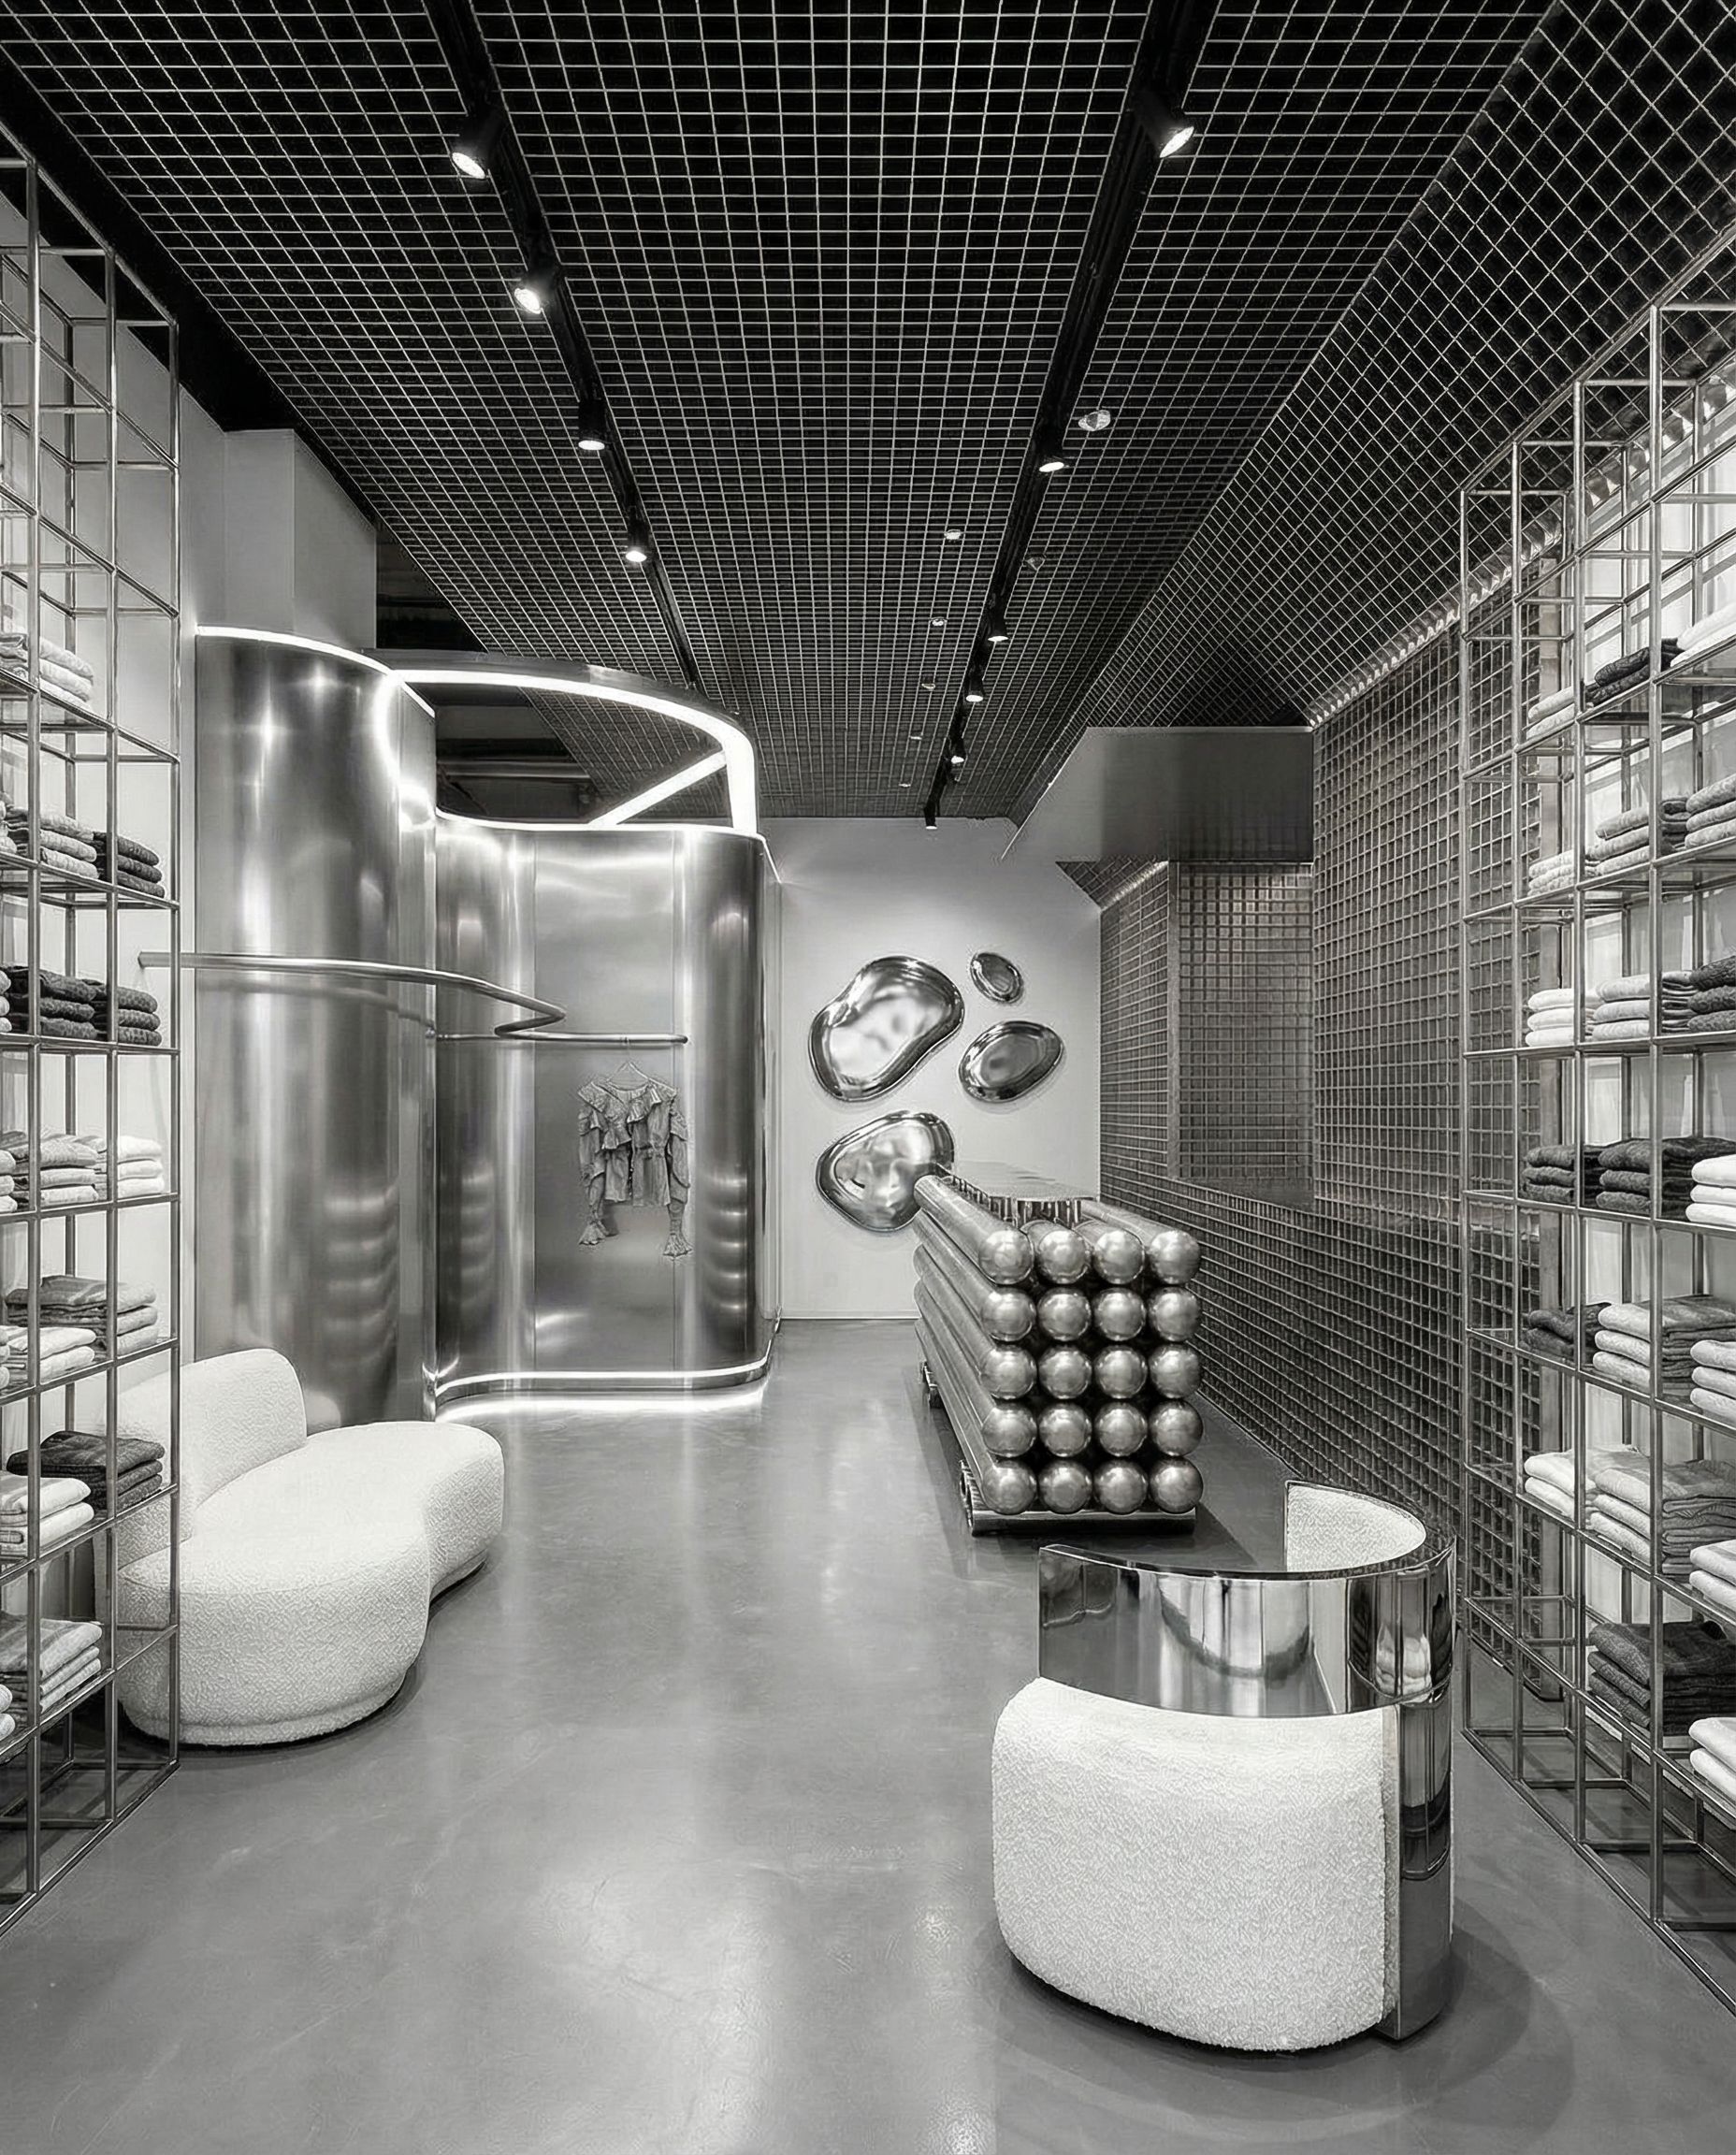
Concept 3
~40s

Concept 4
~45s
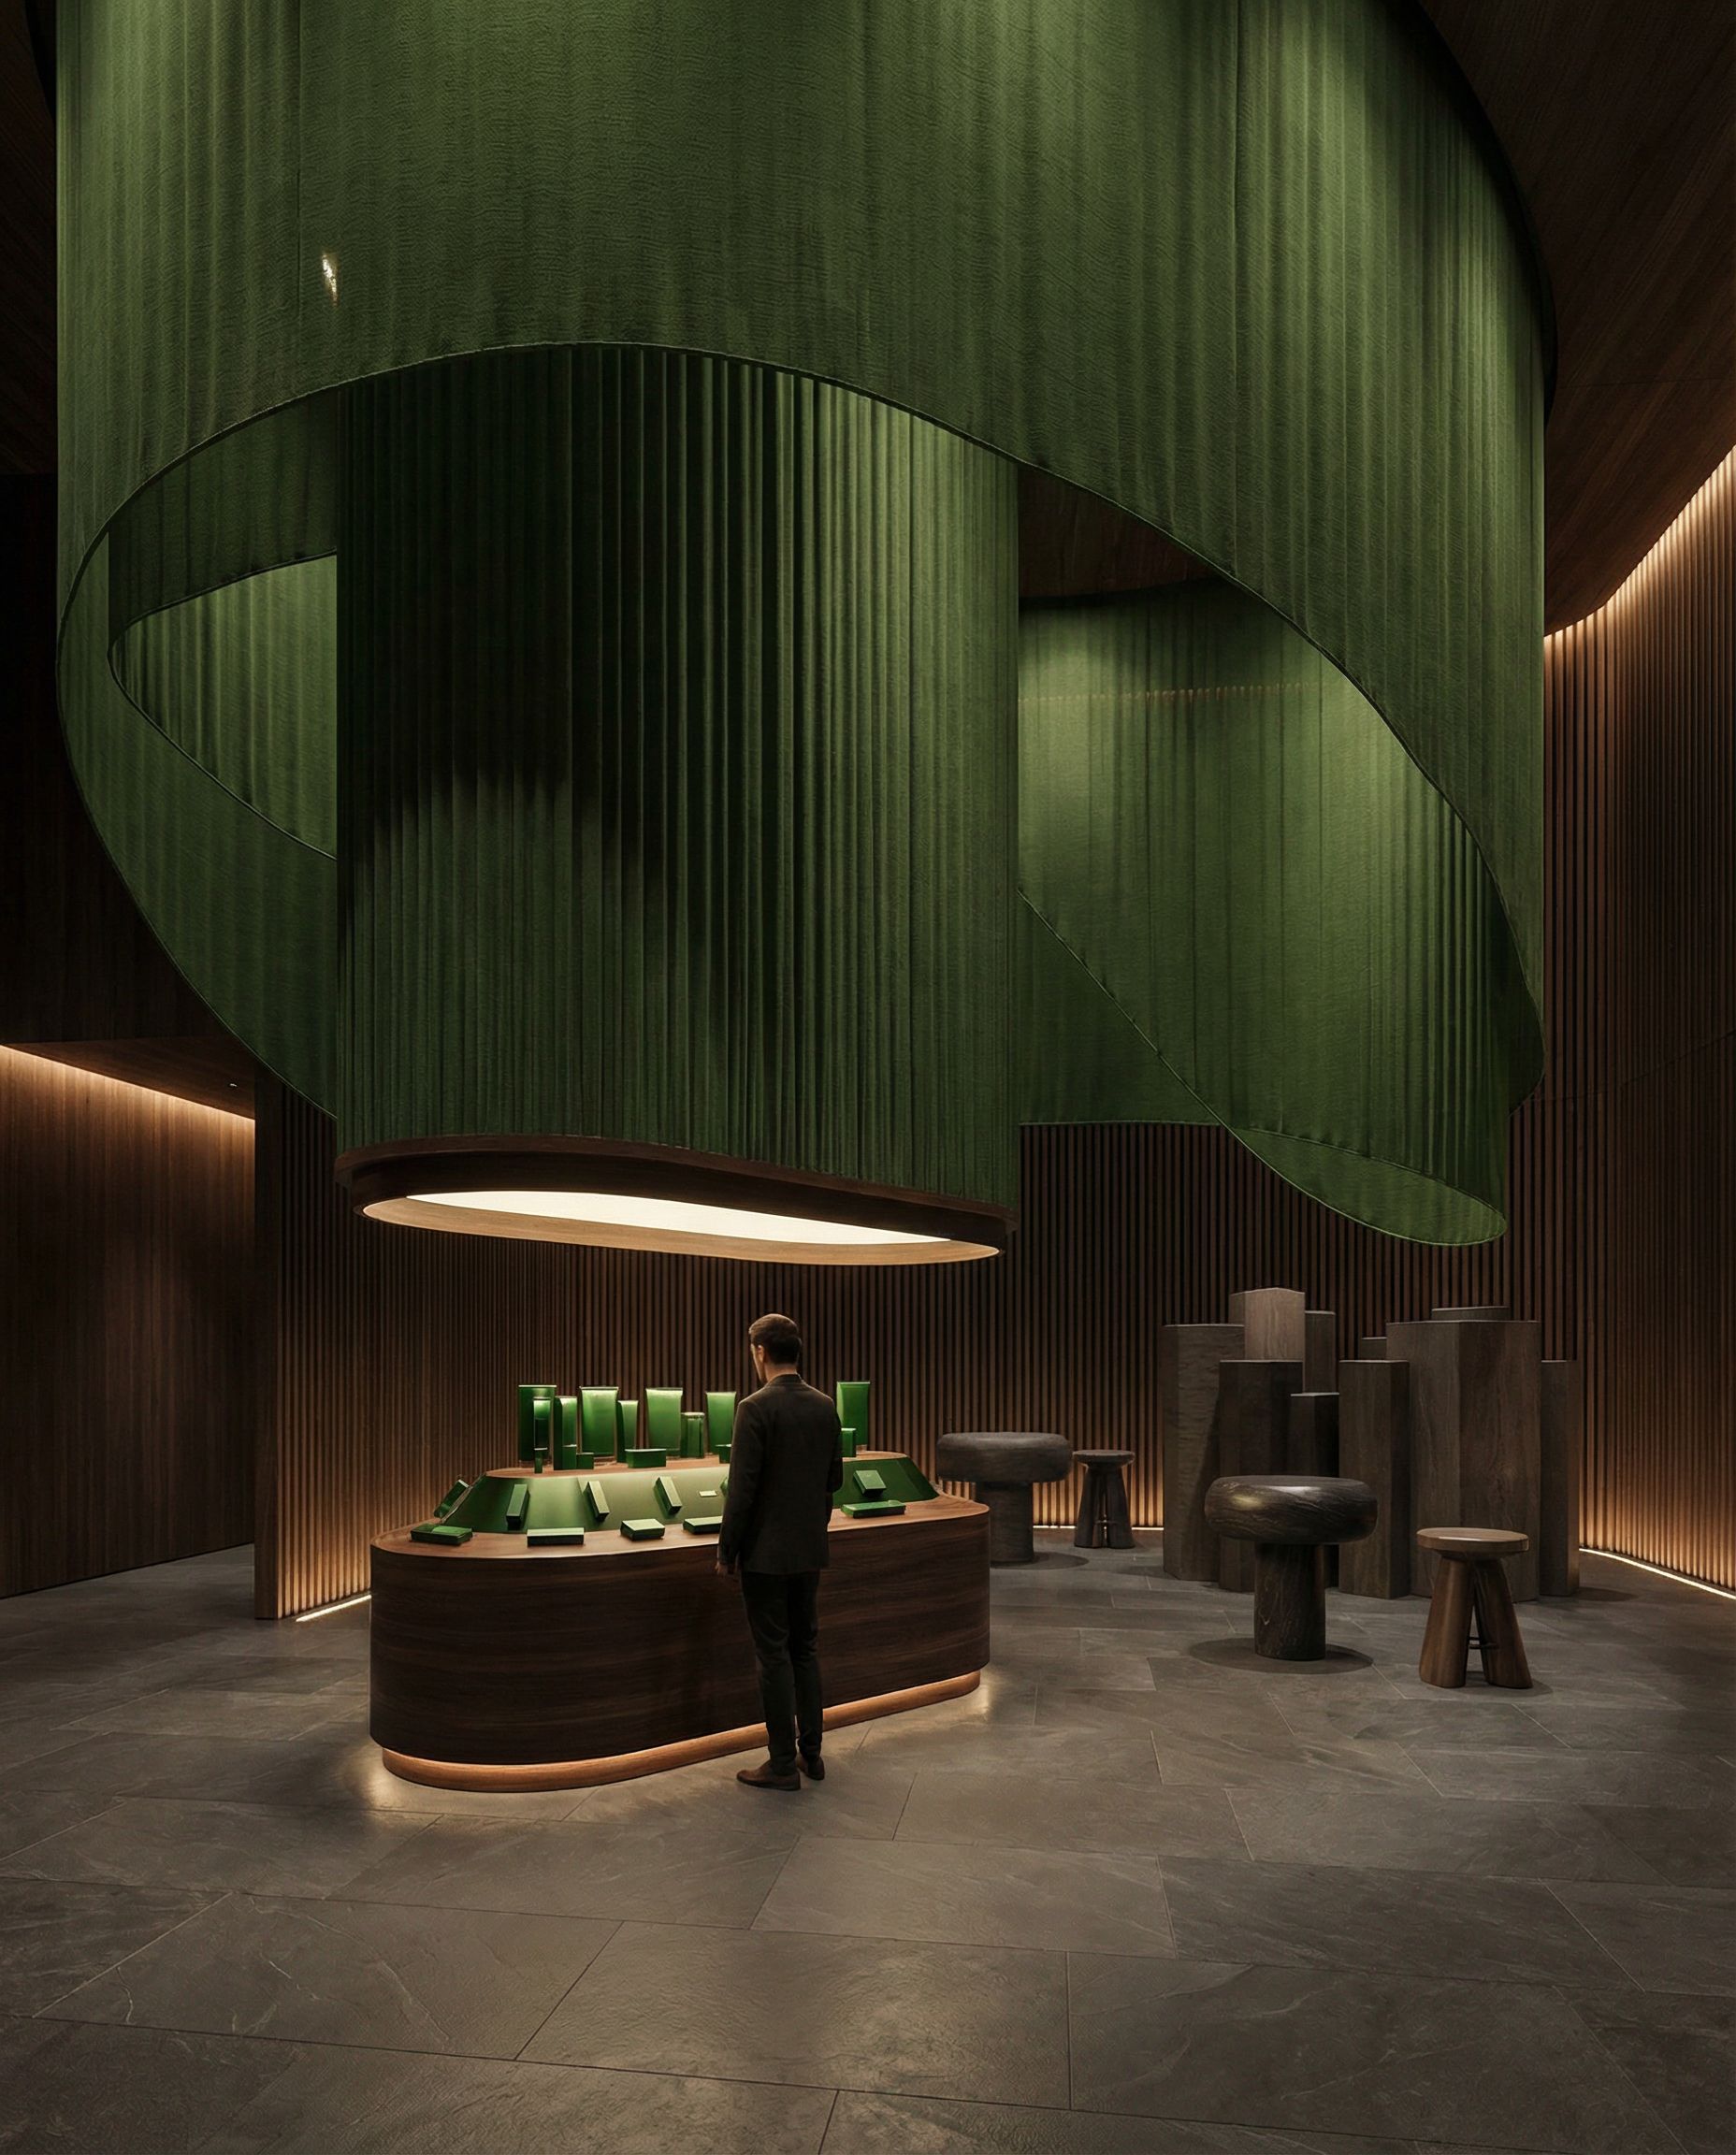
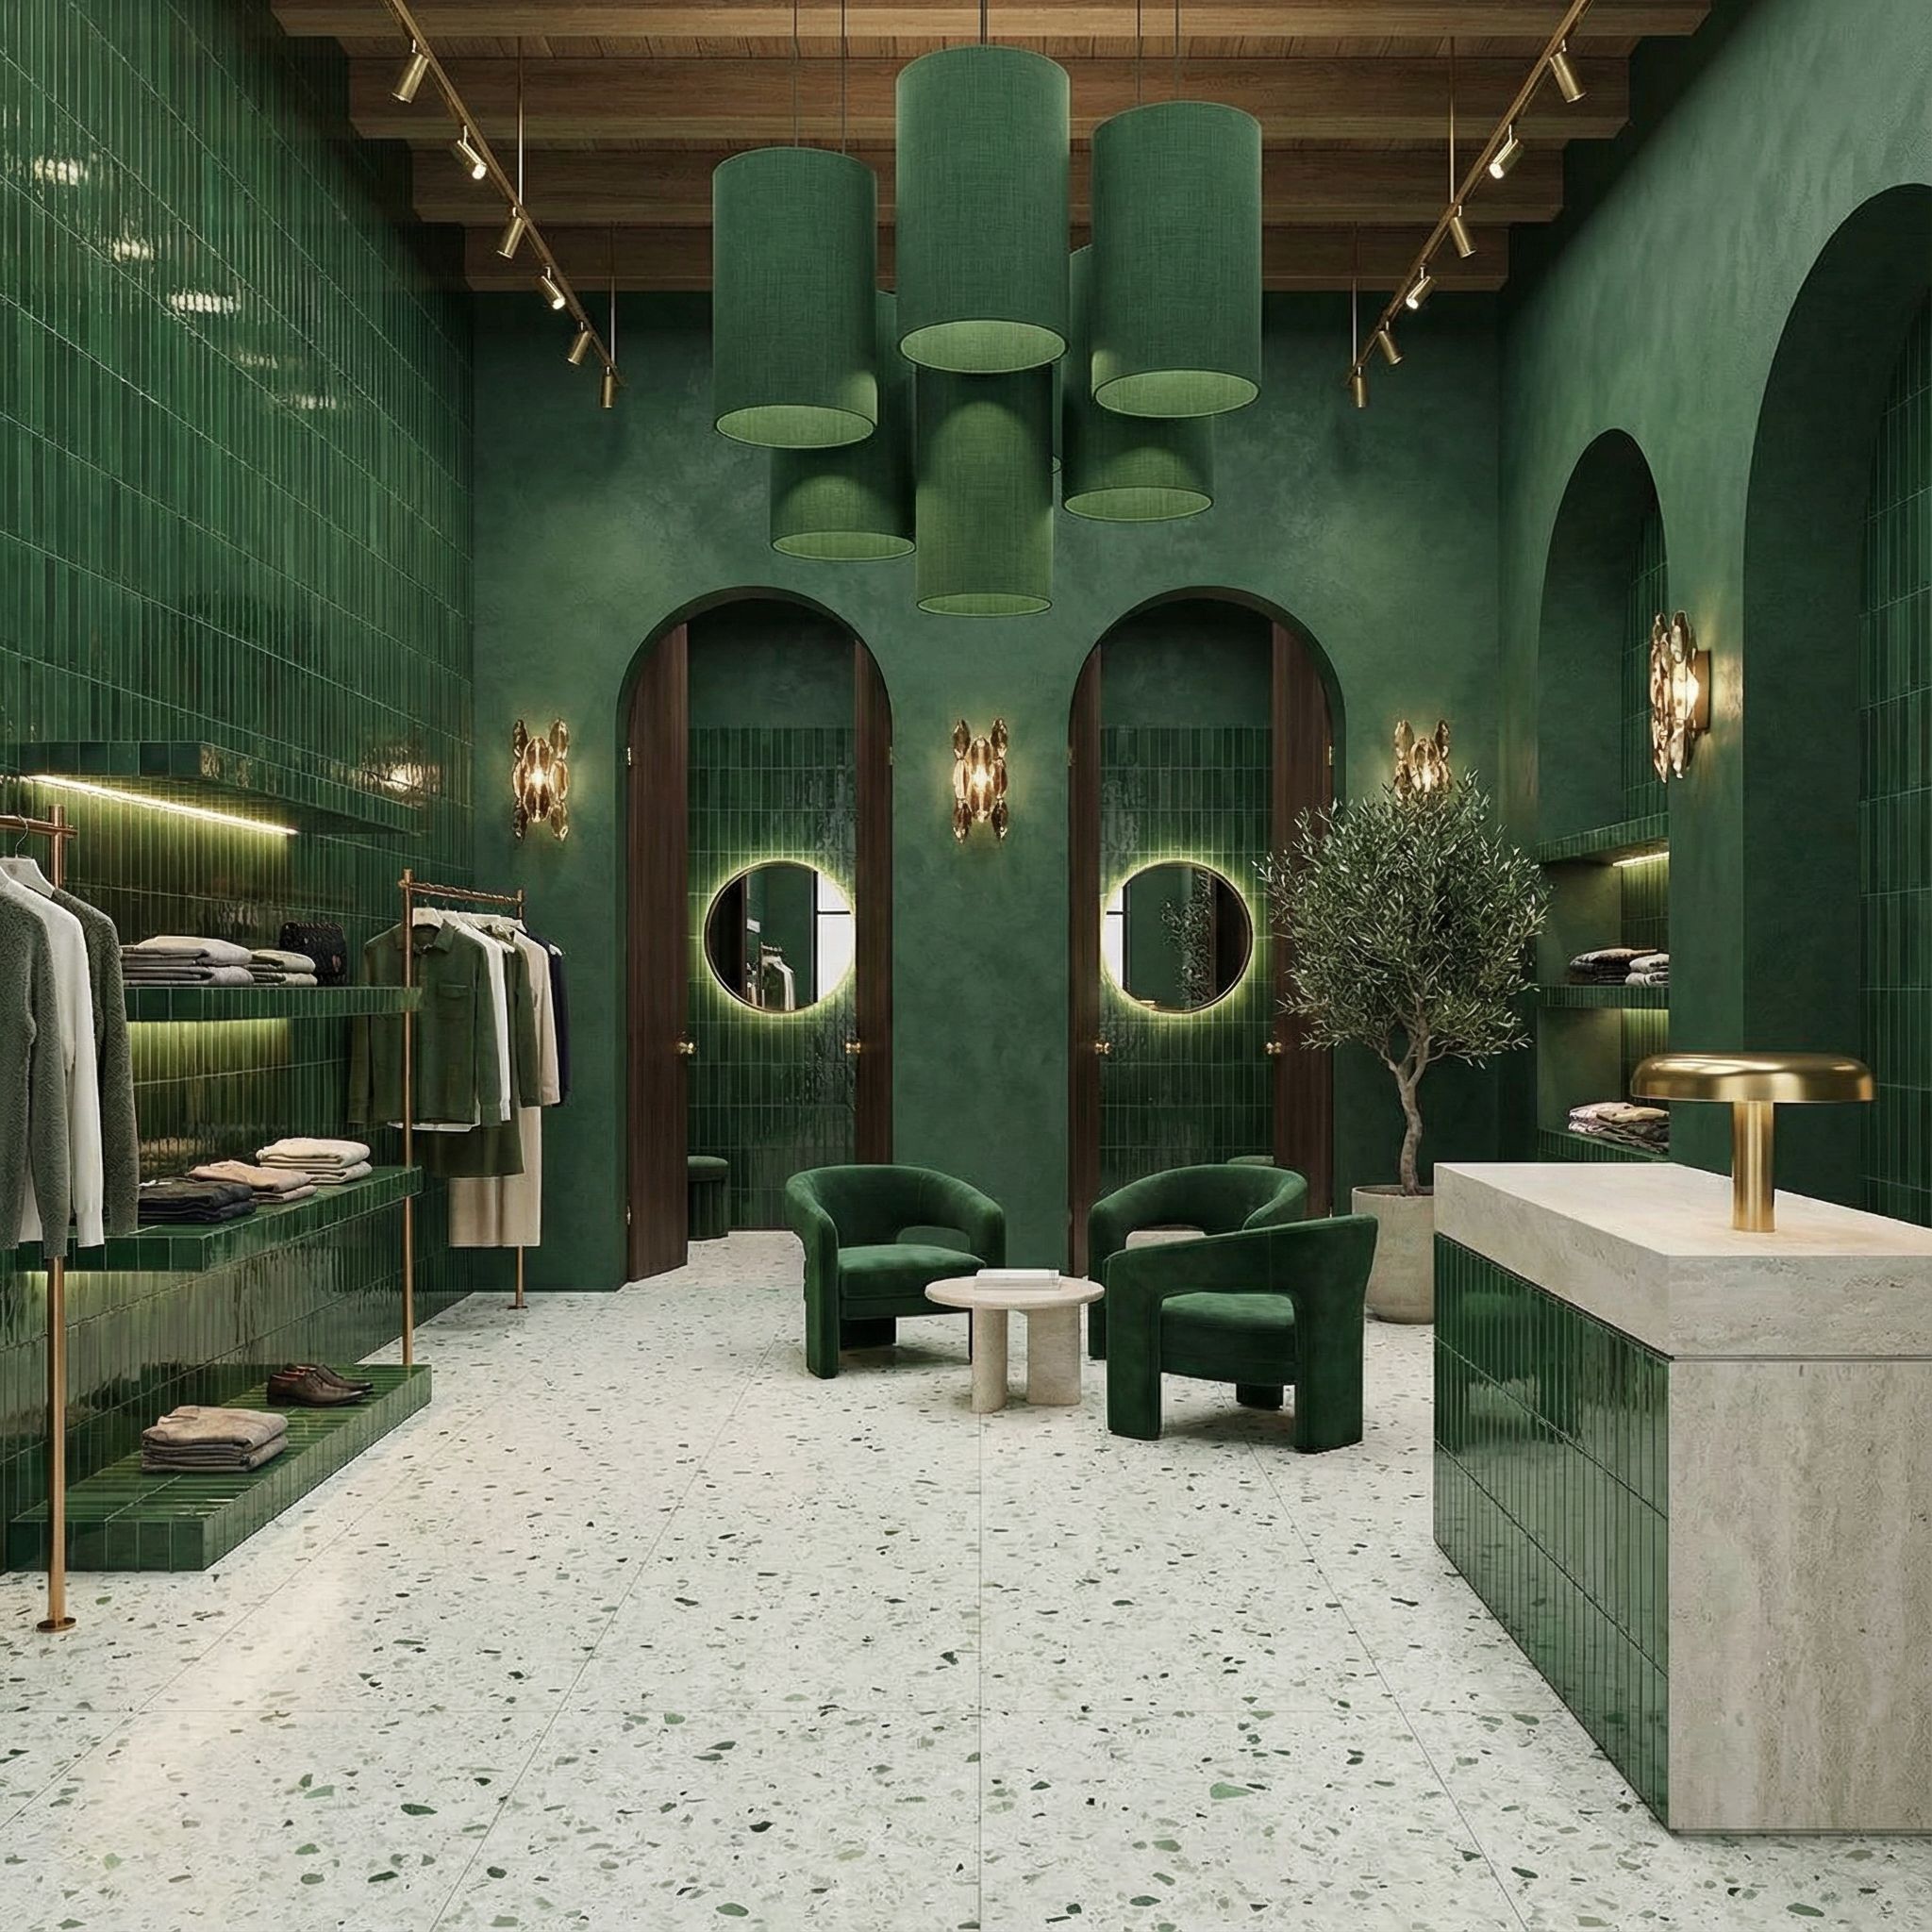
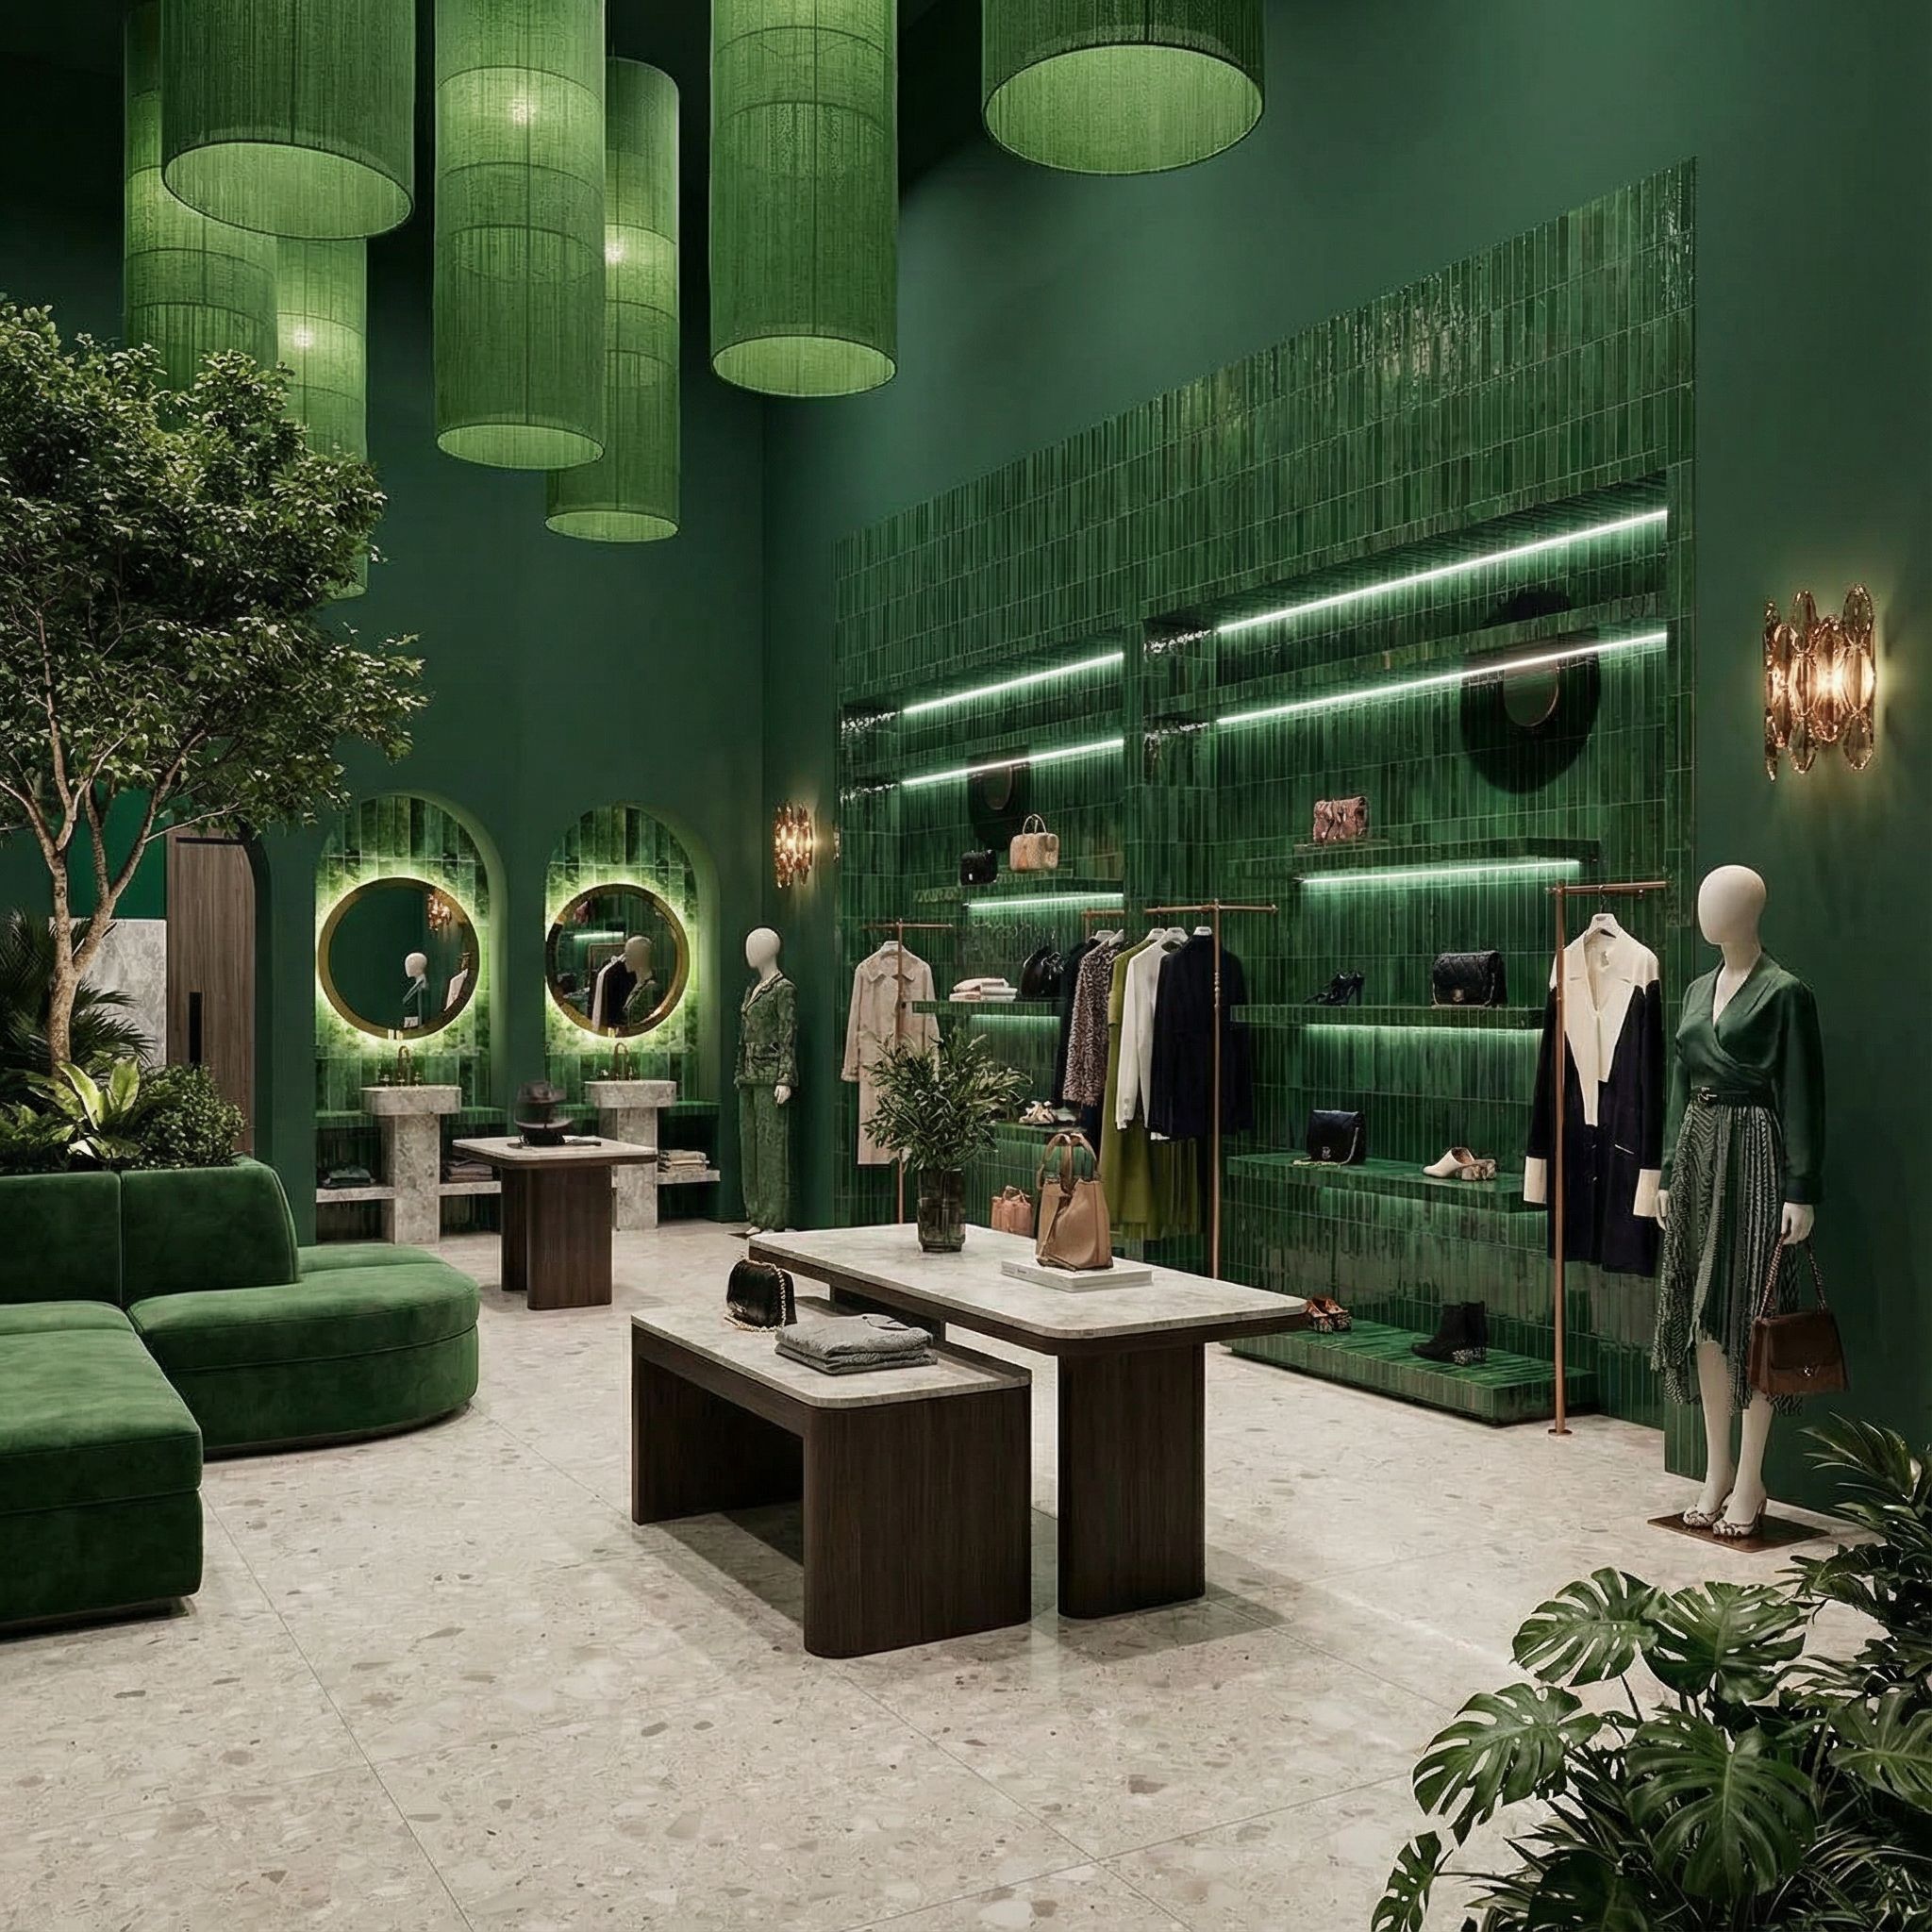
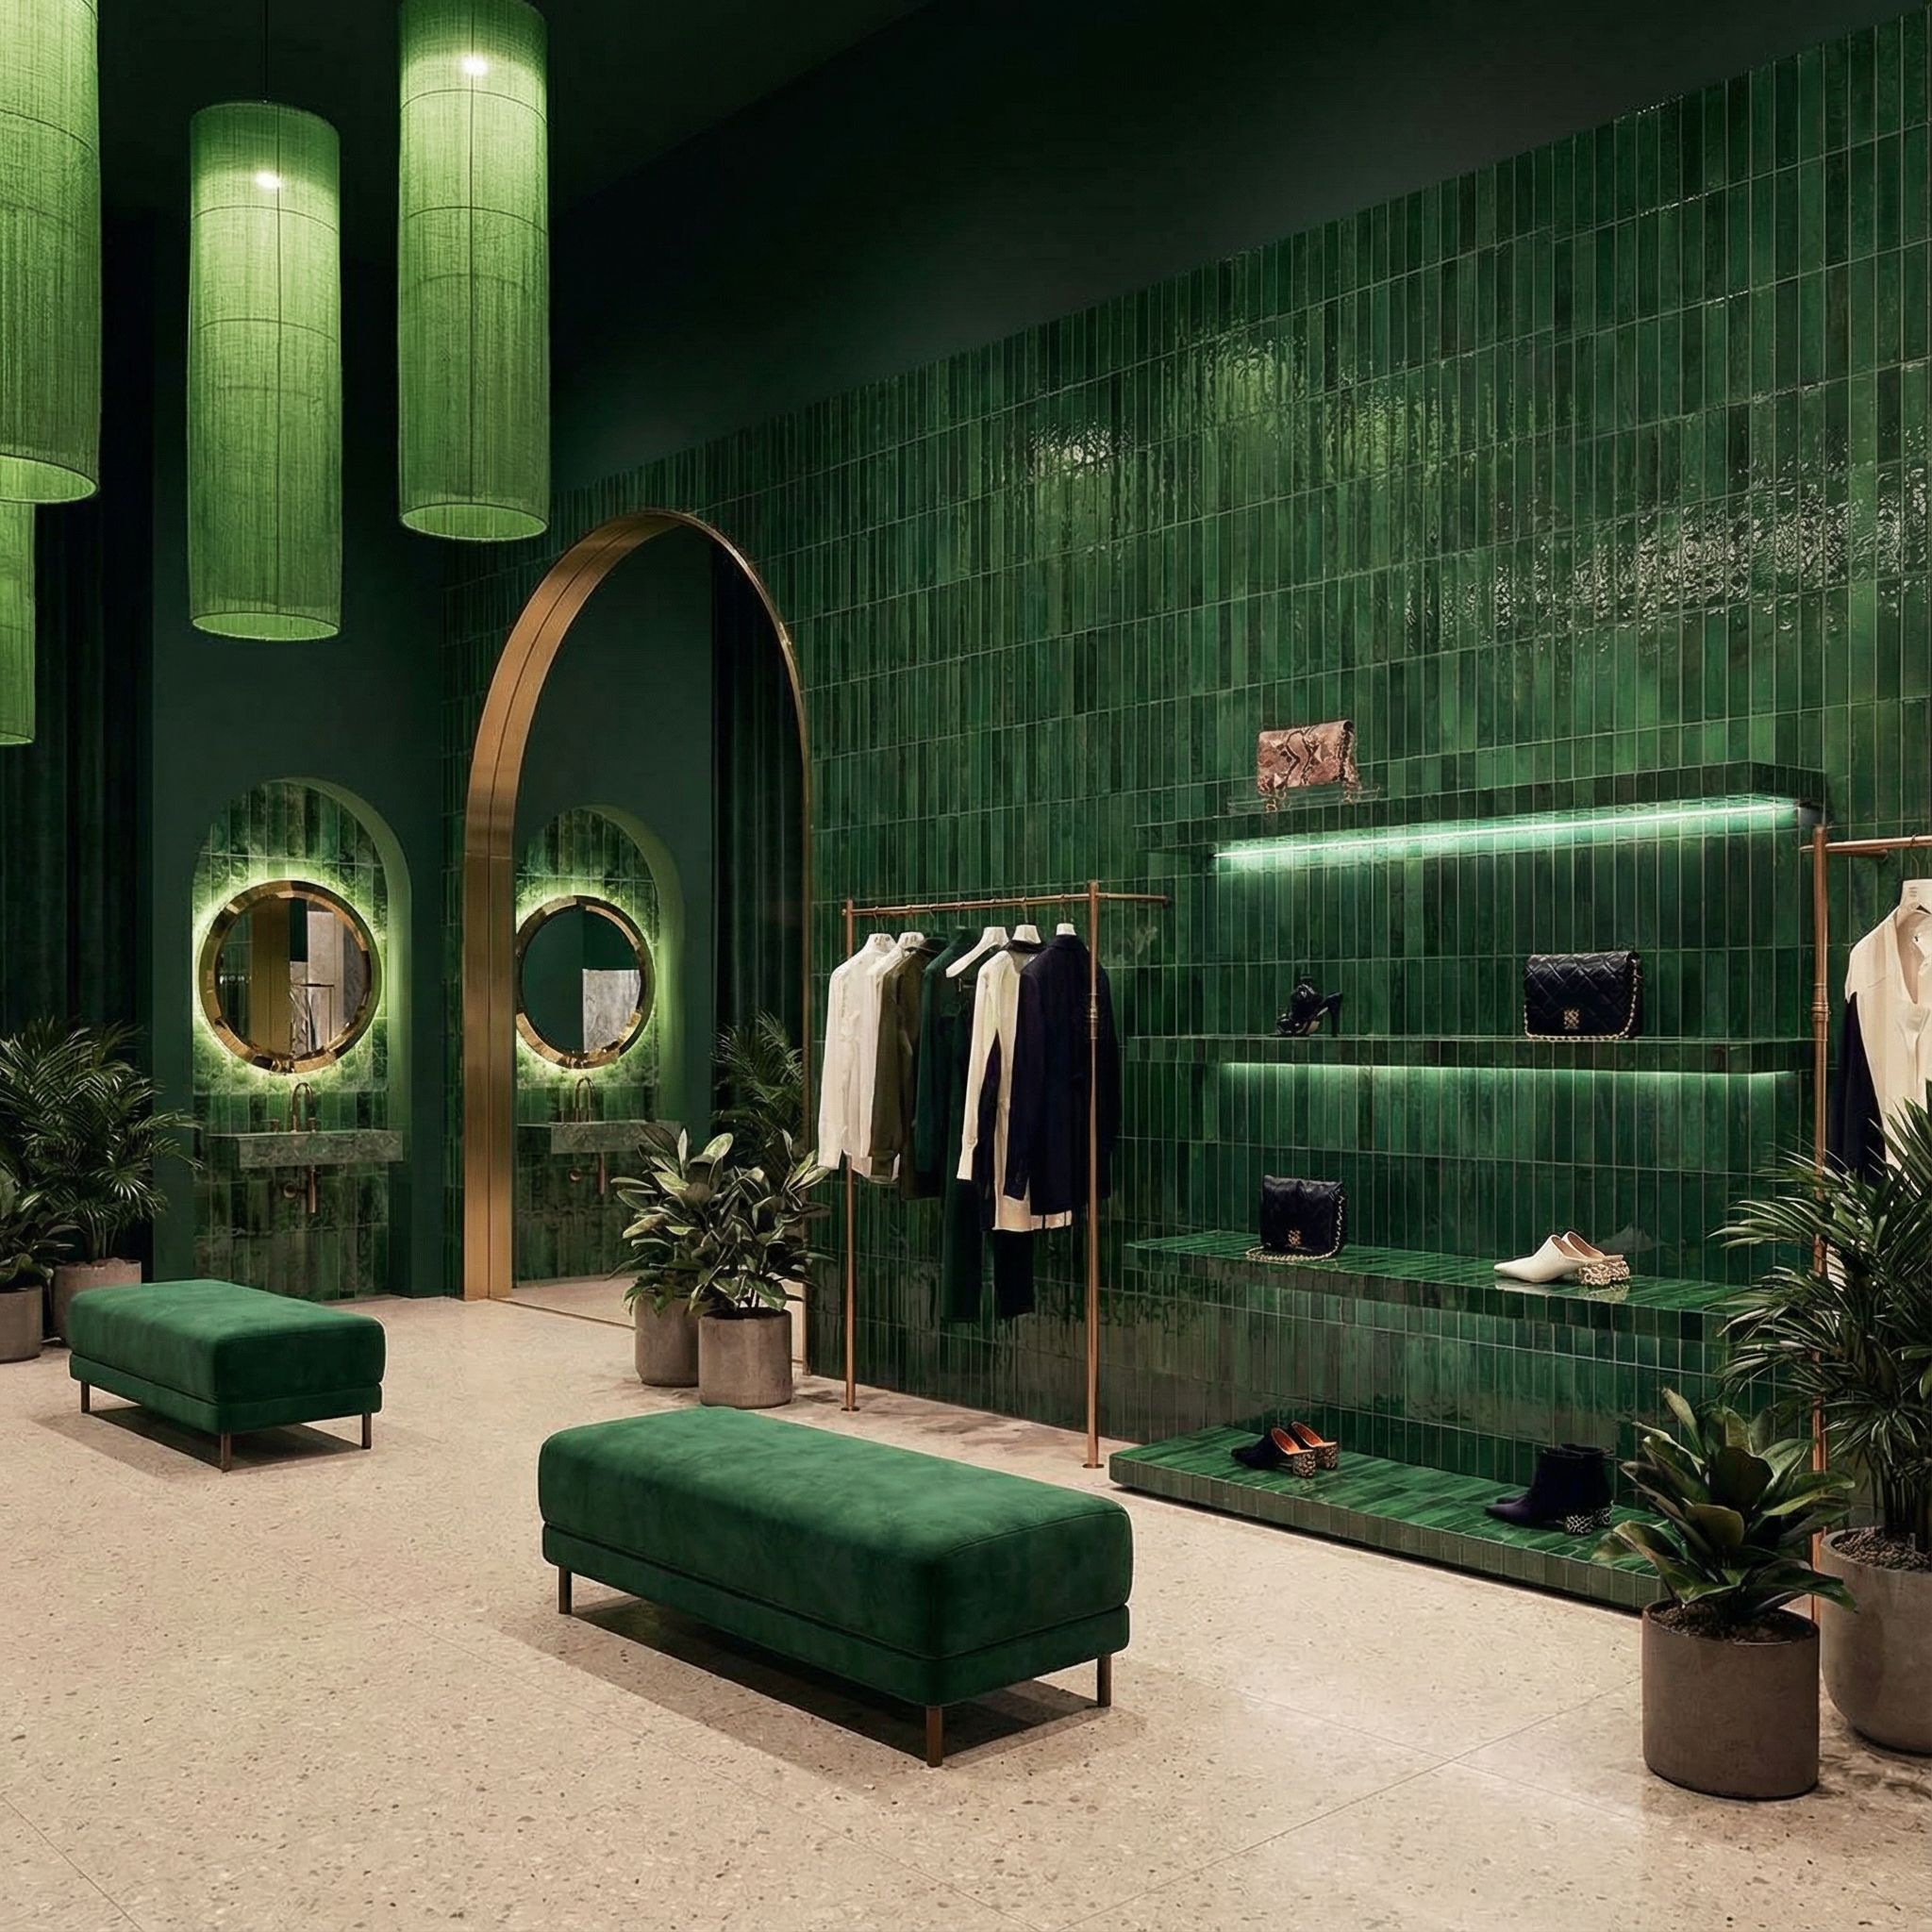
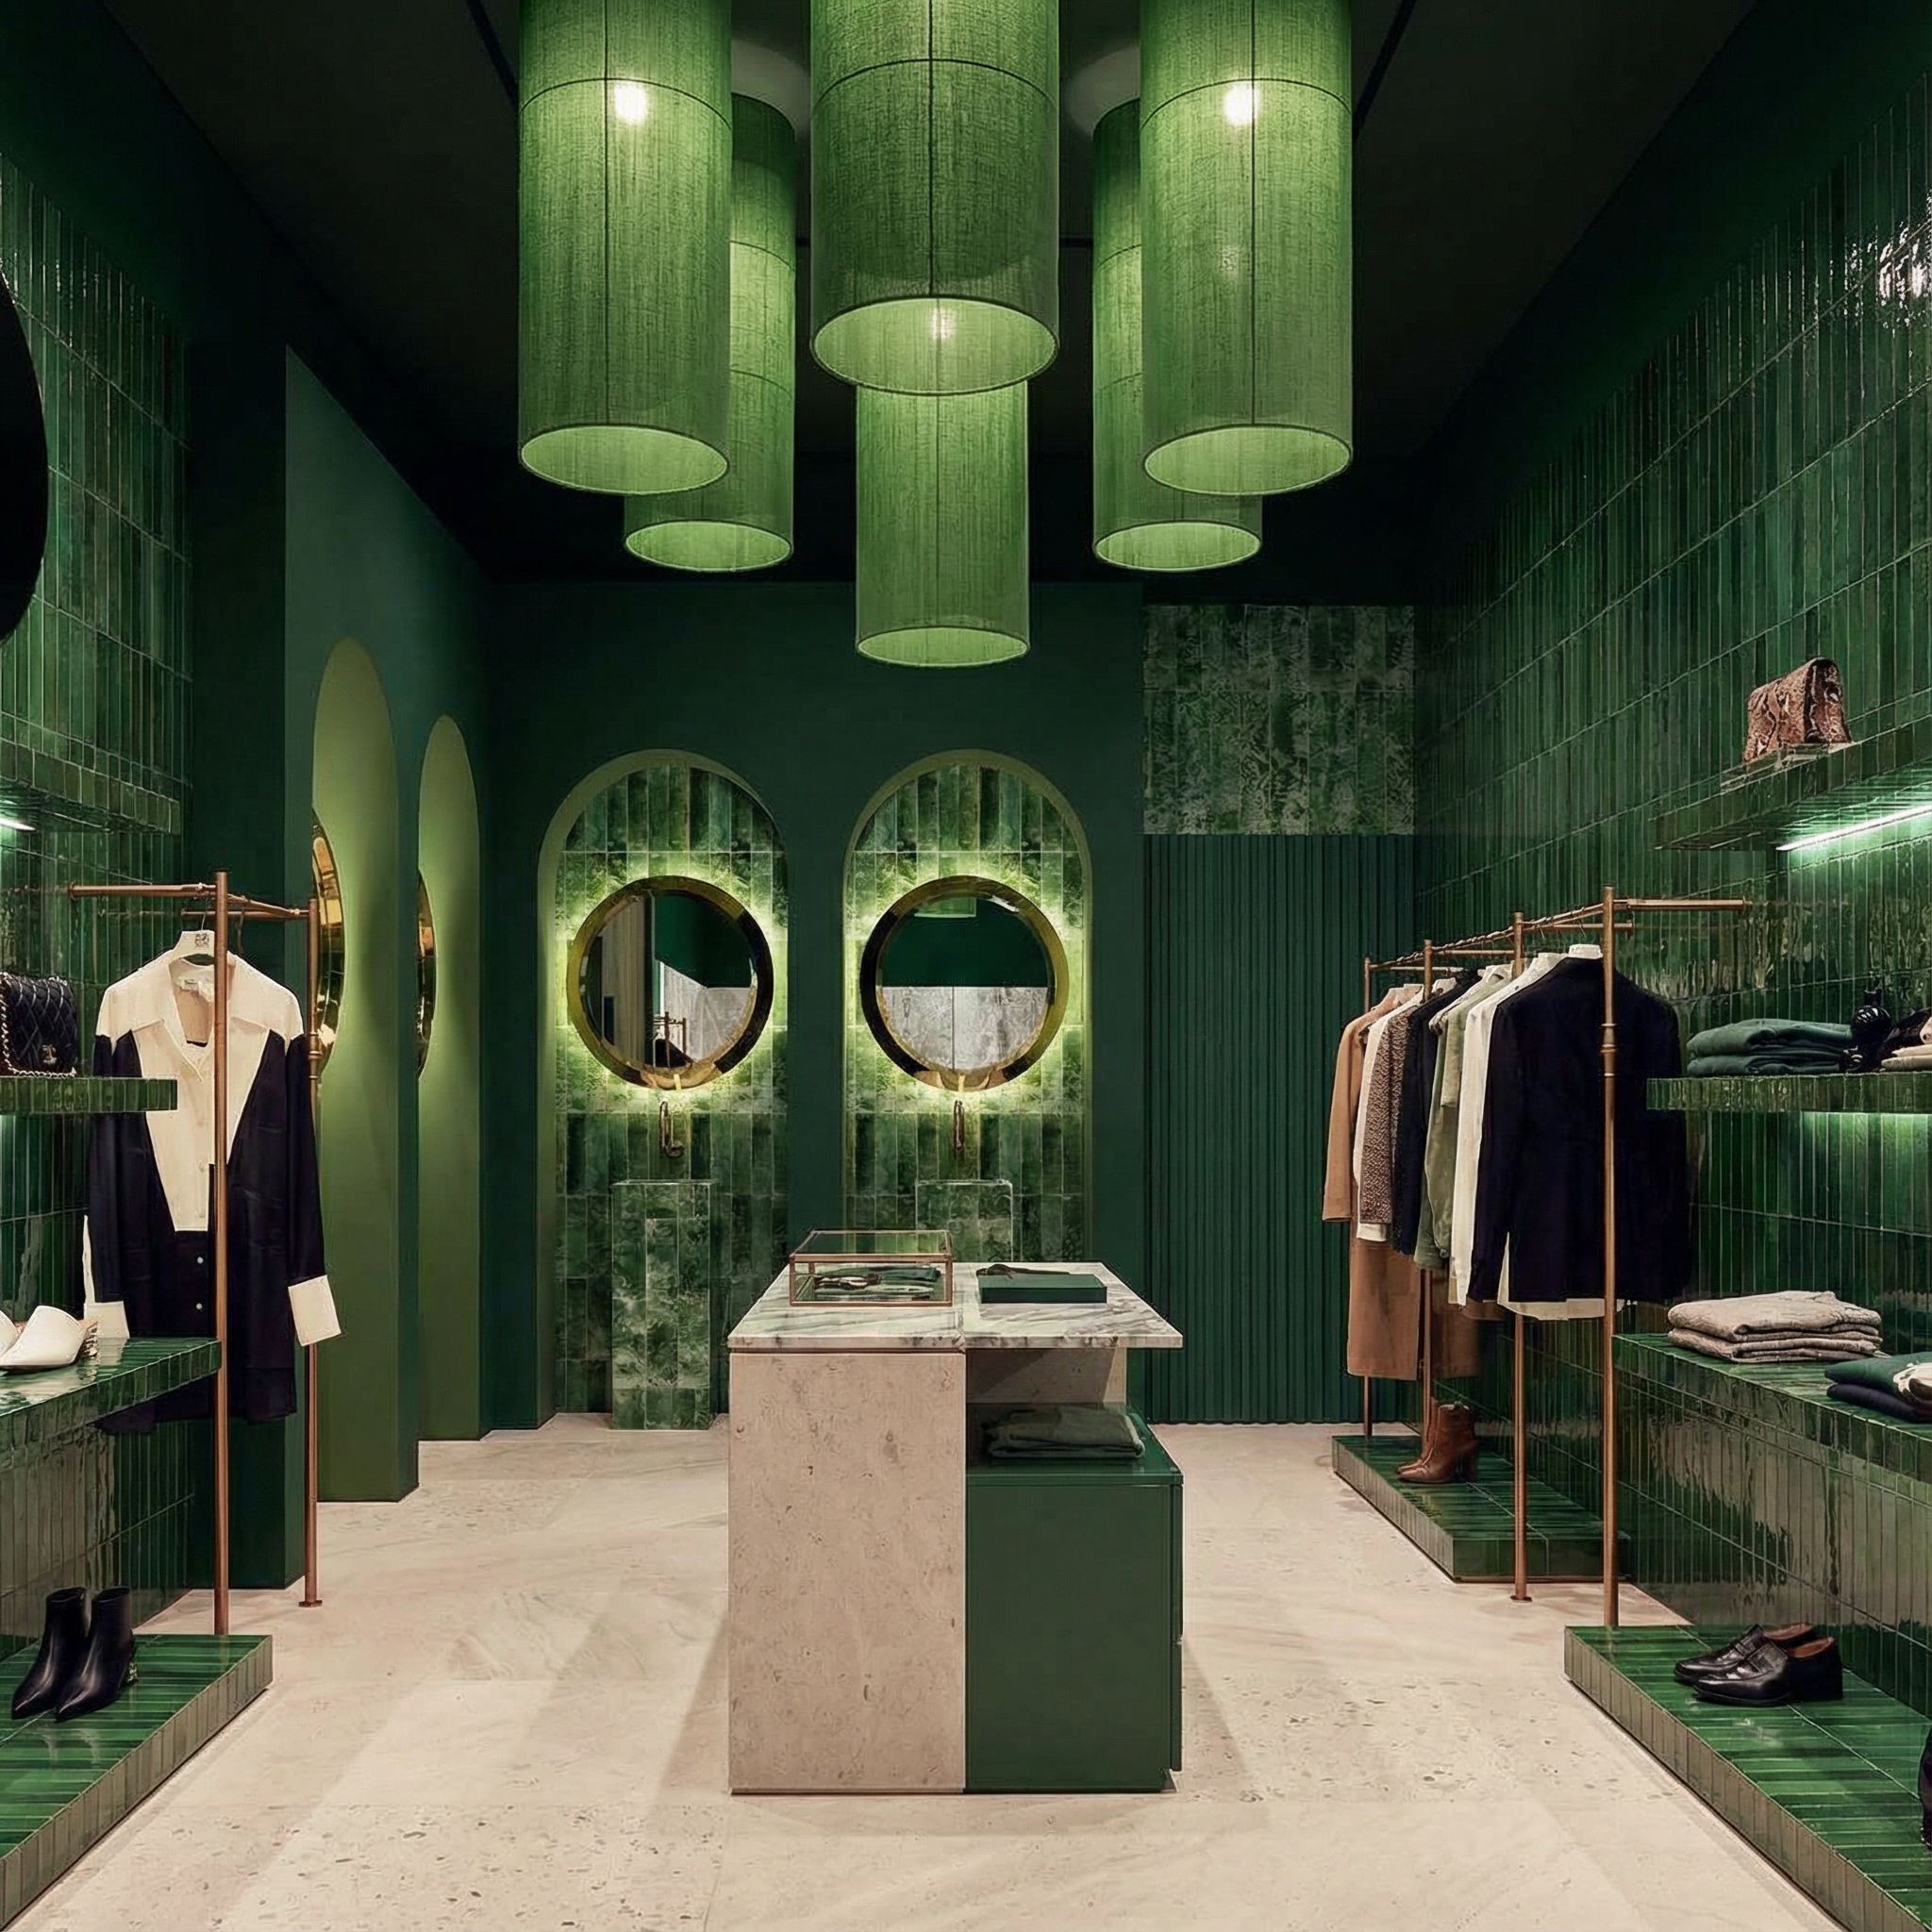
Example 4Green Tile Retail Store
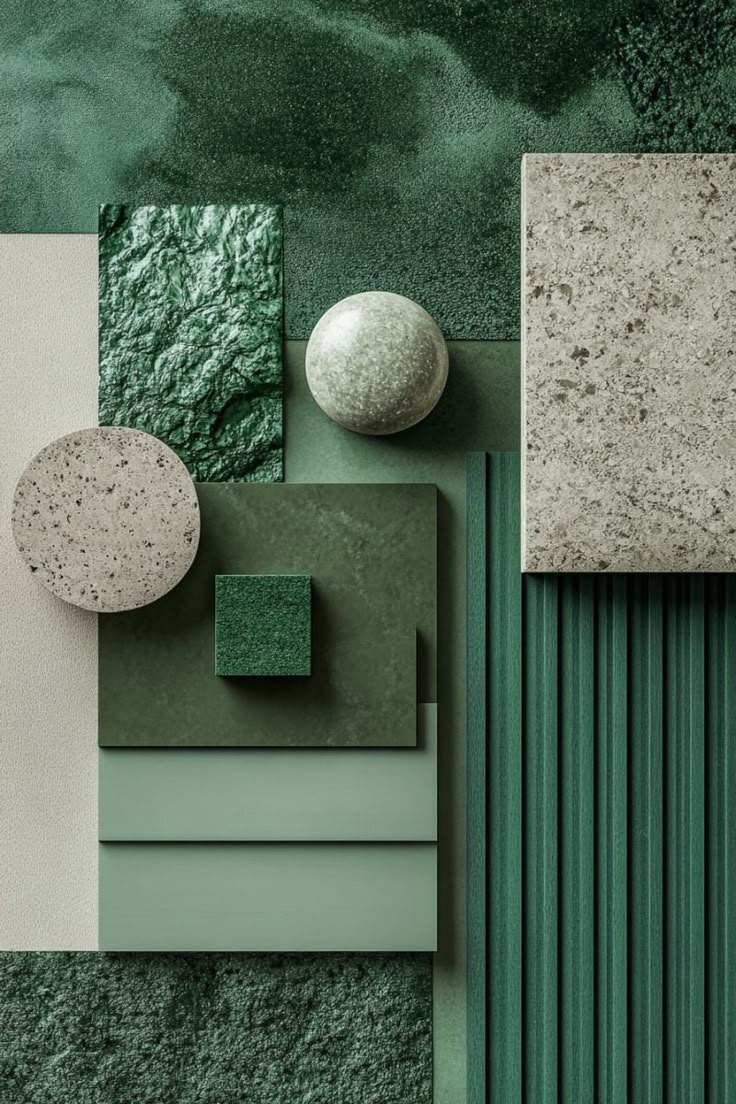
Mood Board: Deep Green & Natural Stone

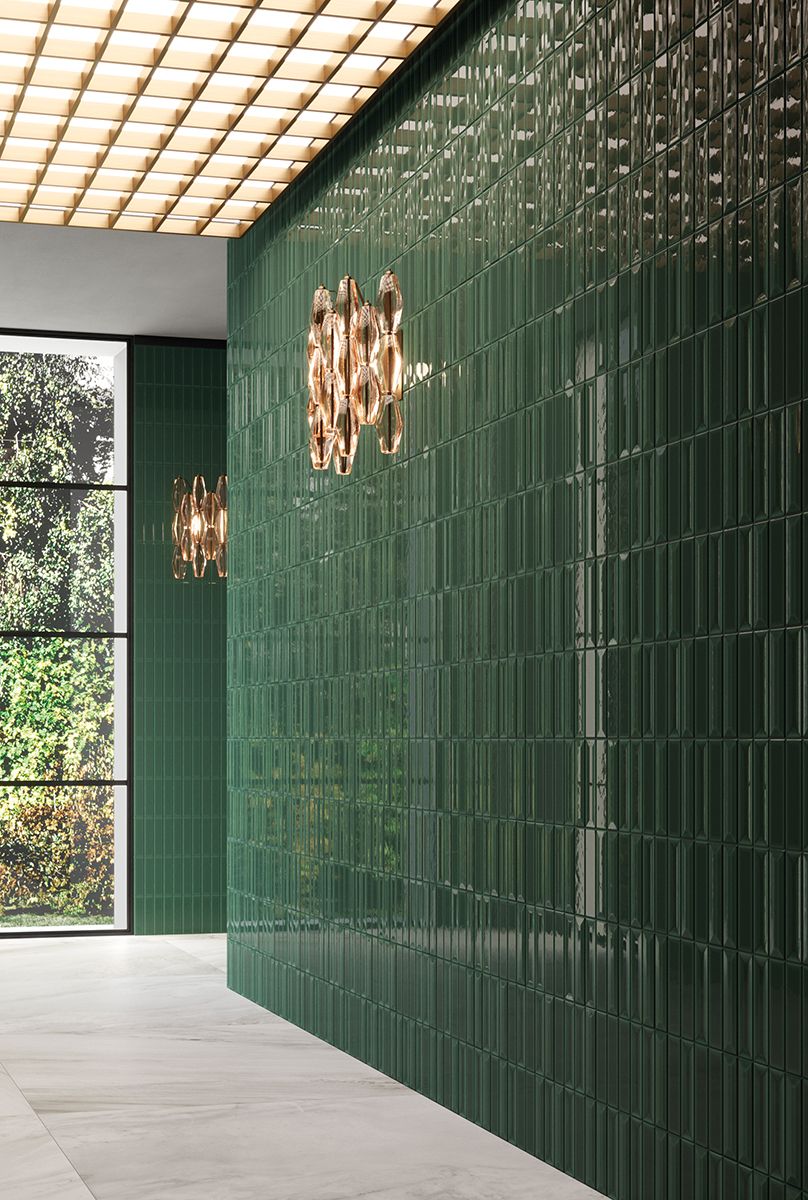
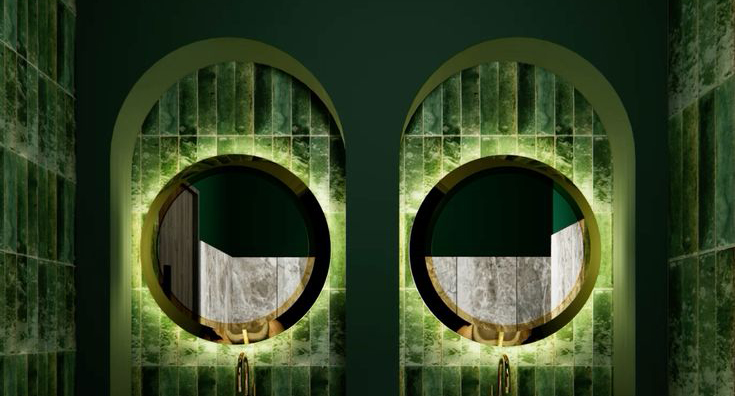
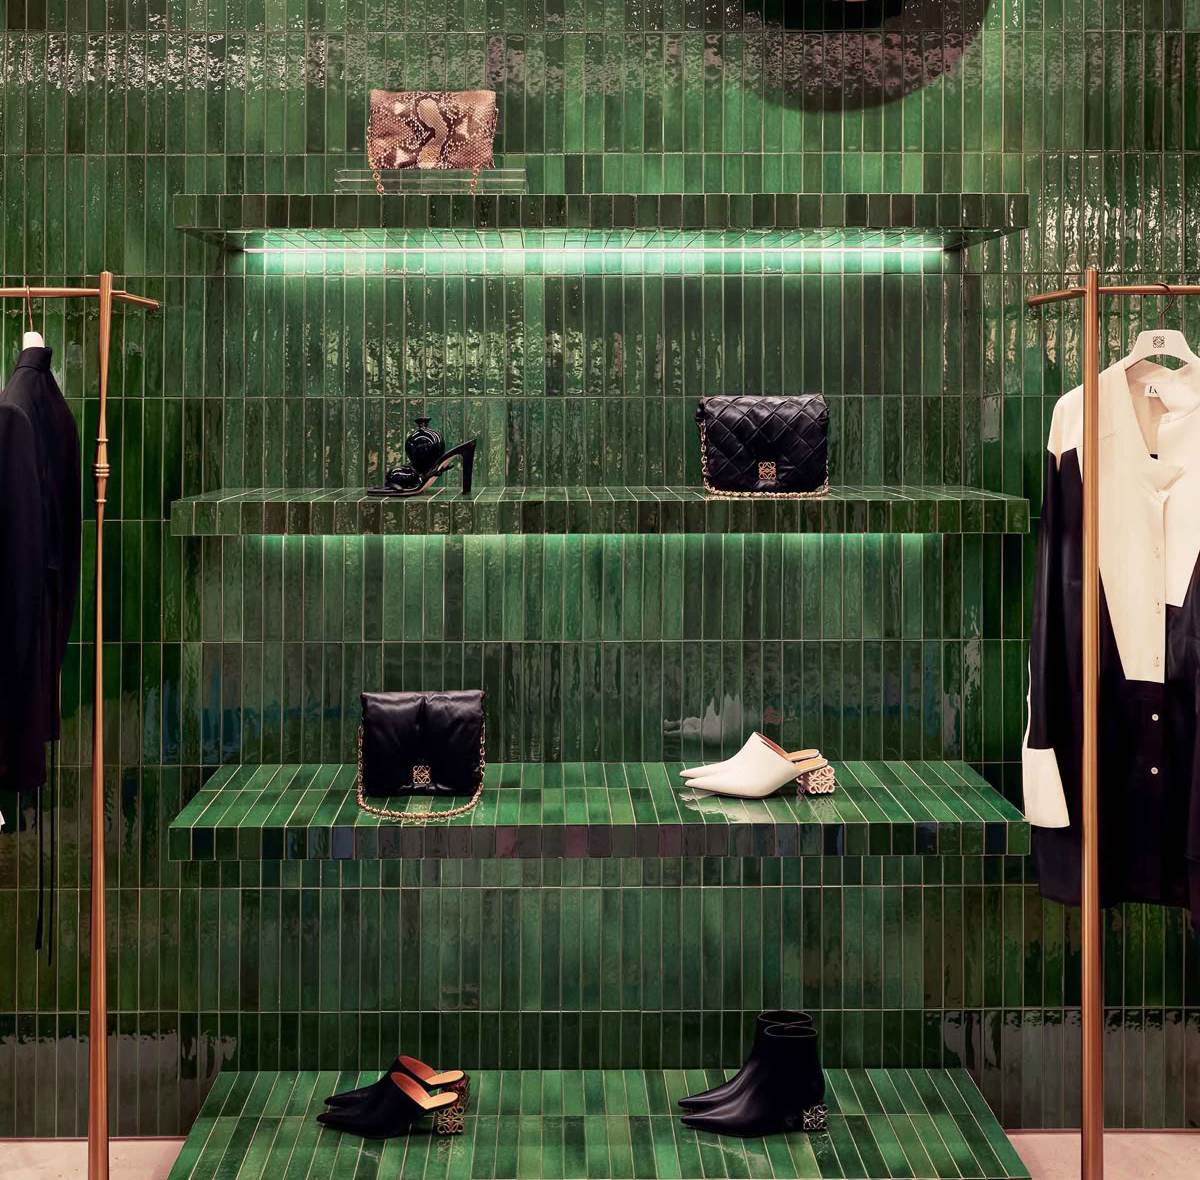
Reference images featuring deep green tones, vertical tile patterns, and light stone materials
Generated Store Concepts
"Create the interior design of a clothing store in a deep green palette with vertical green tile elements and light stone material"
Concept 1
~41s
Concept 2
~44s
Concept 3
~39s
Concept 4
~46s
Key Elements for Concept Prompts
Specify primary colors (light blue/mint, white, beige)
Define textures (marble, fabric, metal, stone)
Describe aesthetic (modern, minimalistic, futuristic)
Add distinctive elements (ceiling wave installation, pendant lights)
Style Exploration & Variations
Test different design styles on the same space while maintaining room layout and proportions. Show clients multiple options without creating new designs. The key: "keep all shapes and geometries exactly the same, change only the style" for consistent AI room design comparisons. Models like Seedream 4 excel at this style transfer workflow.
Gather Style References
Reference images capturing modern minimalist aesthetics, earthy tones, and architectural elements
Generate Different Style Concepts
Using the same references, create multiple concepts by varying colors, materials, and space type:
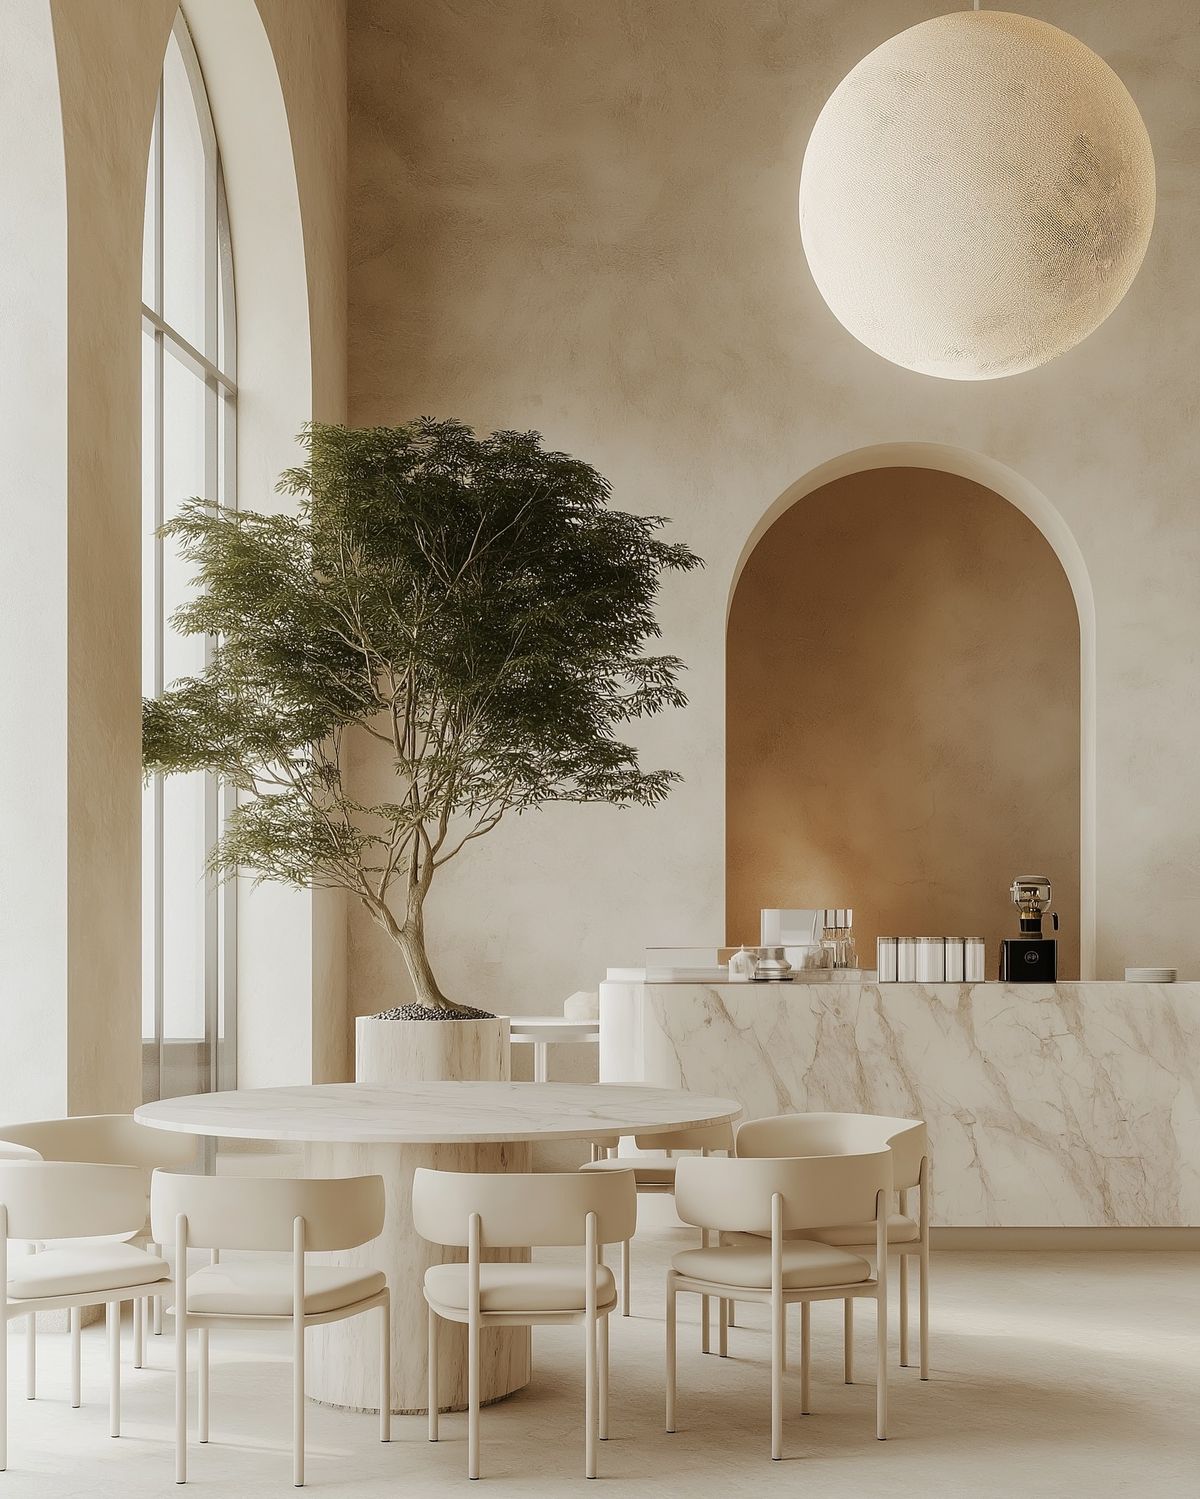
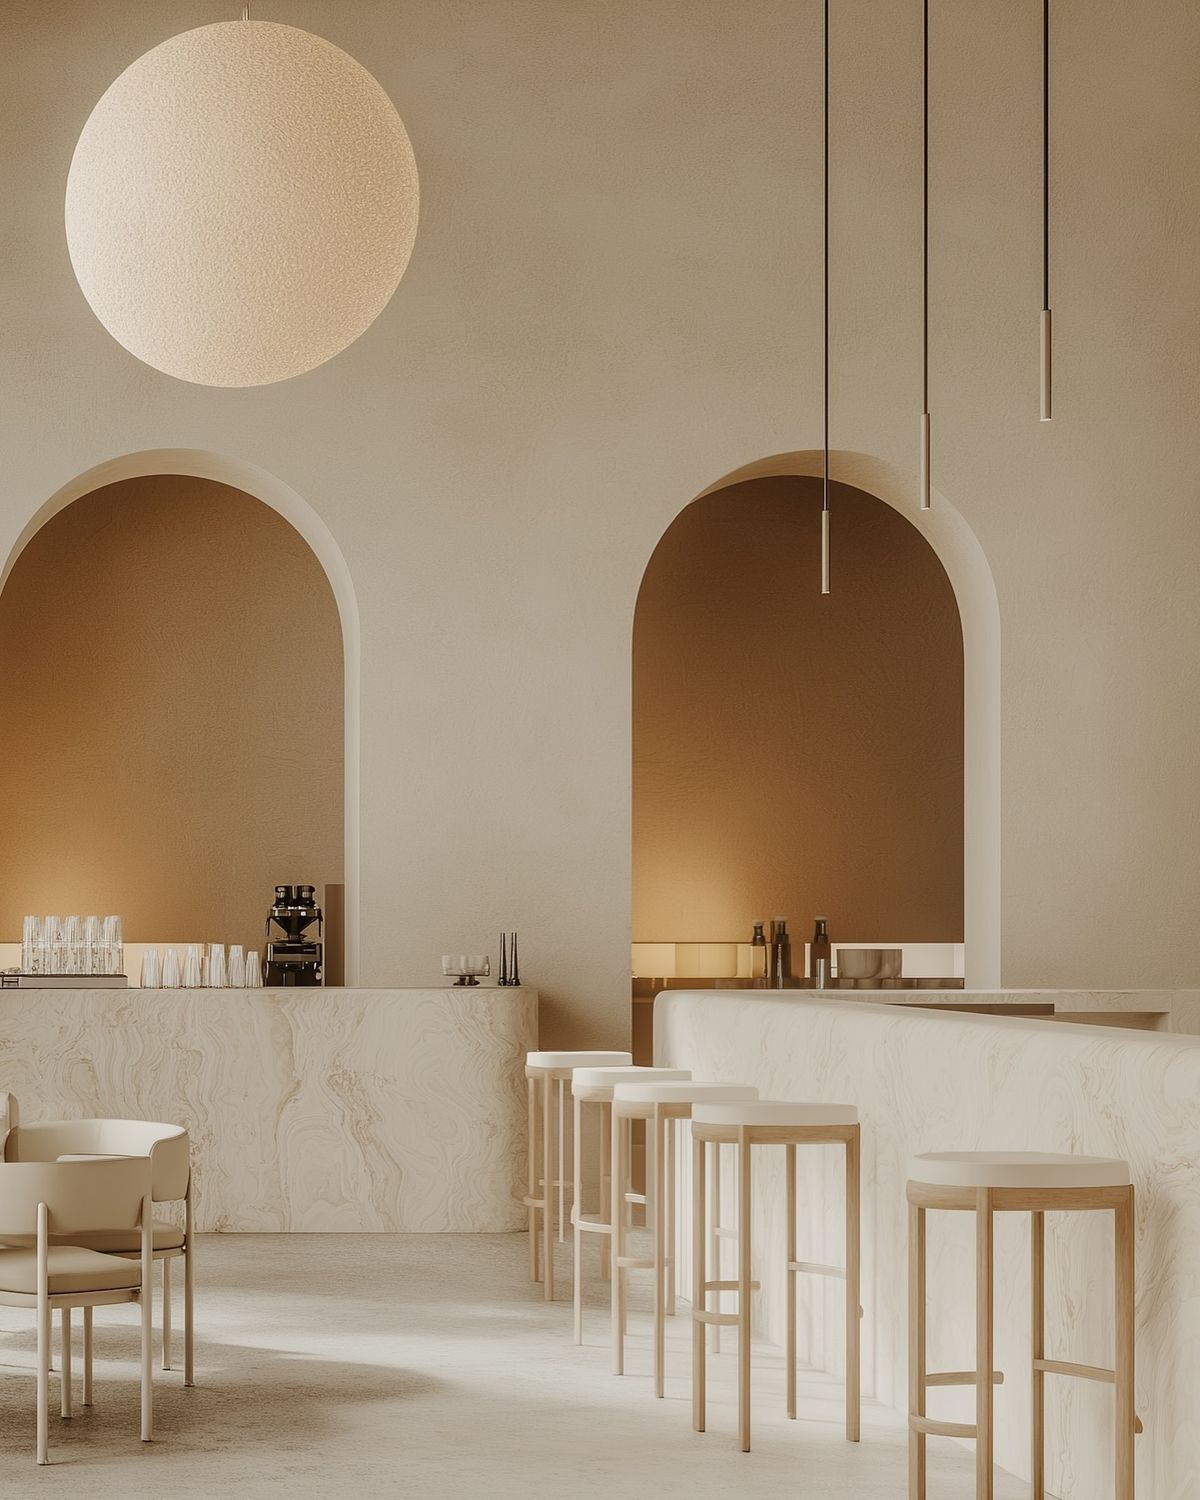
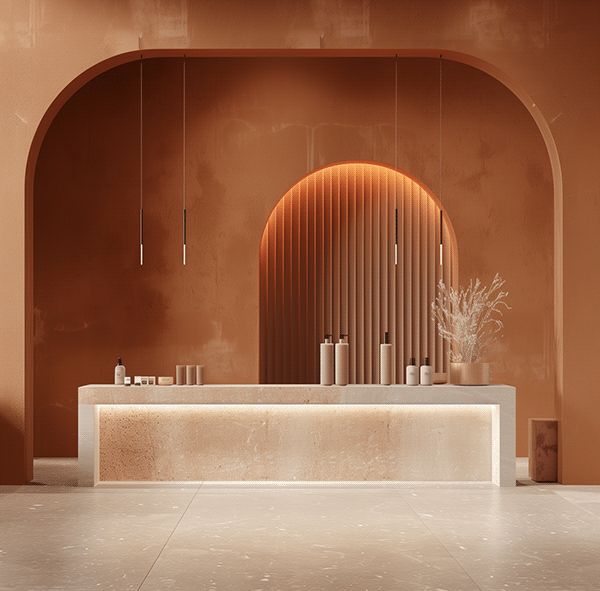
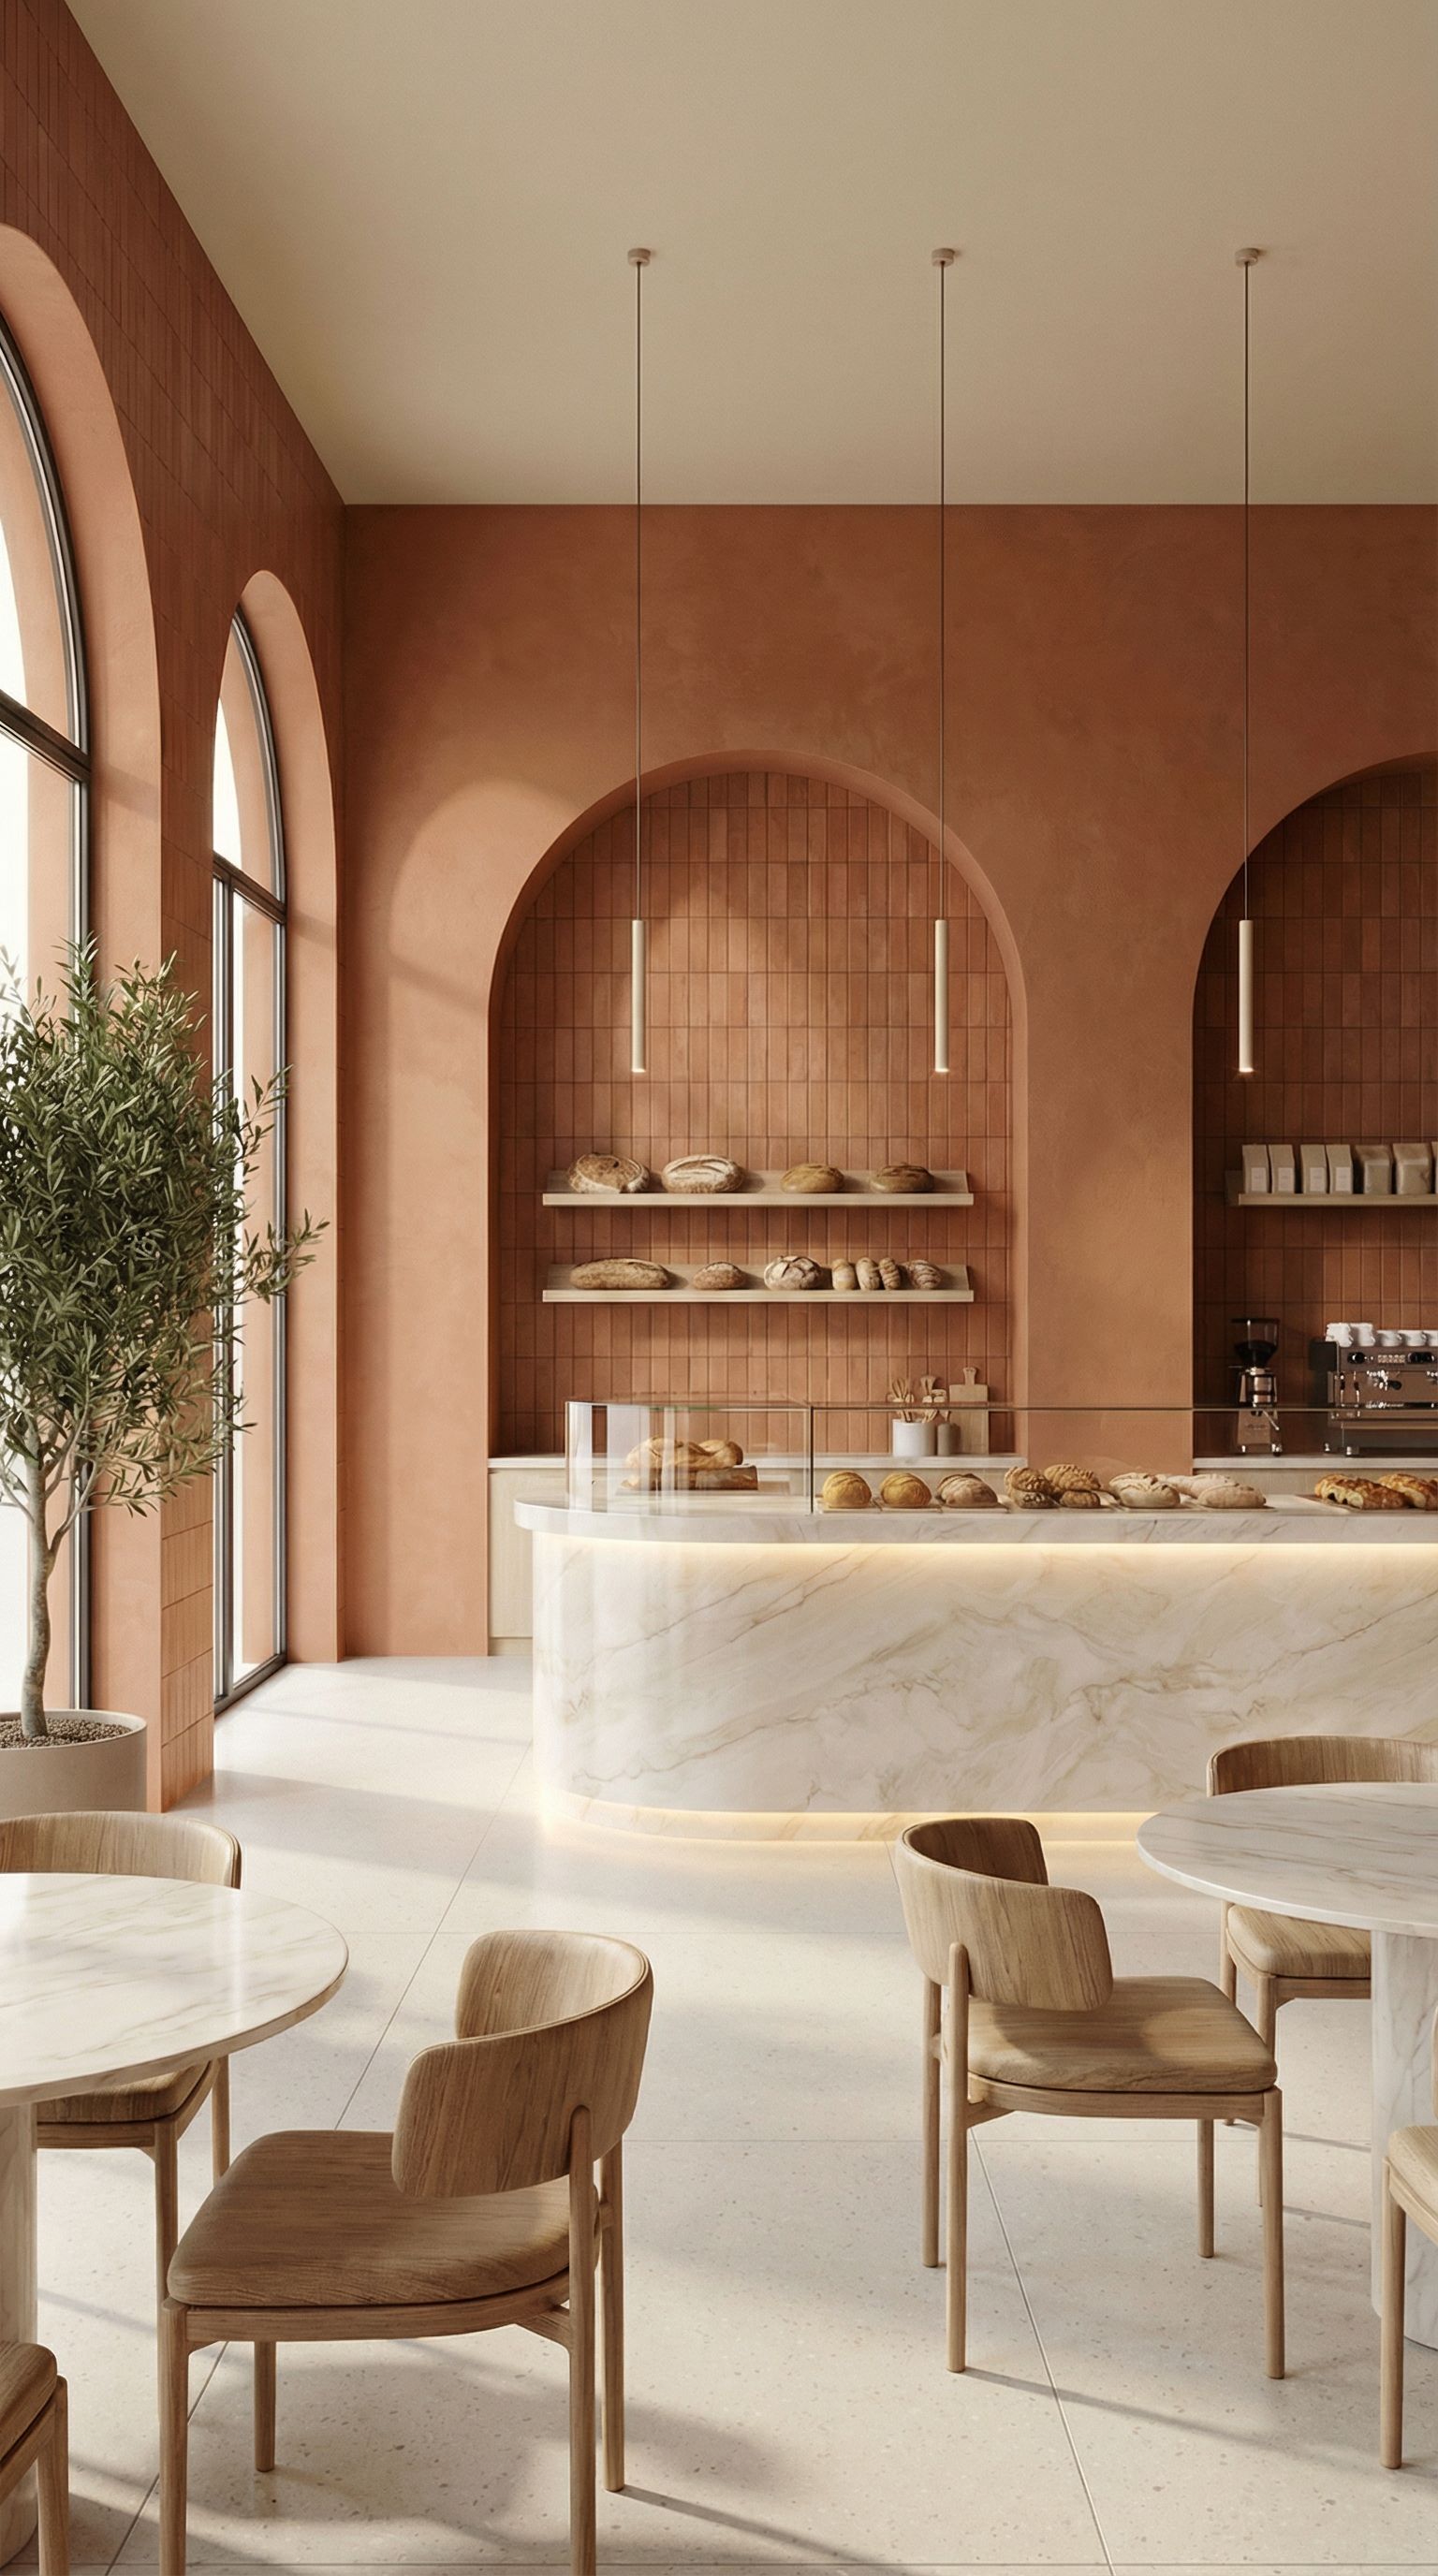
Terracotta Bakery
"Create an interior design concept of a bakery with a palette of terracotta tones and light marble in a modern and minimalistic style, modern interior design, earthy tones, minimalist architecture, luxury interior, modern architectural space"

~42s
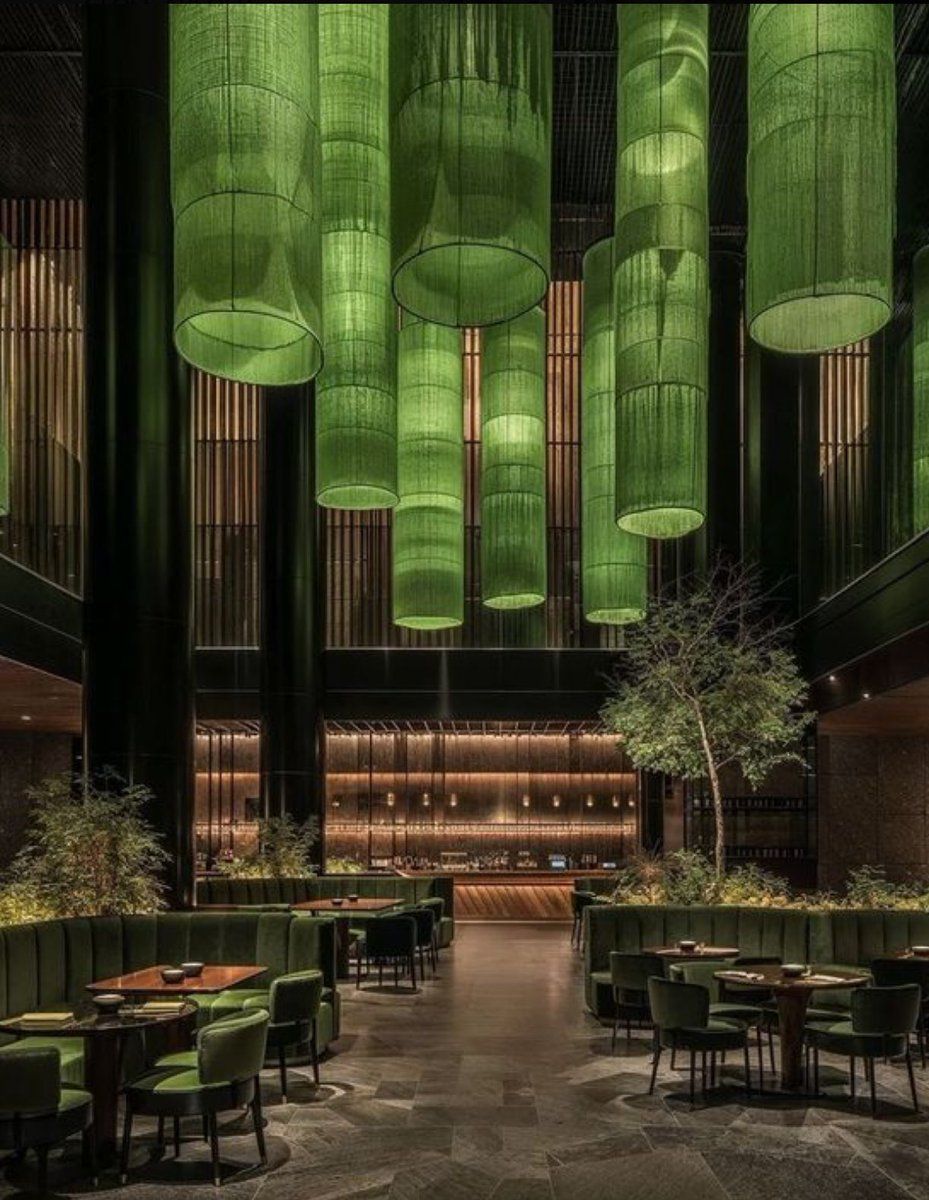
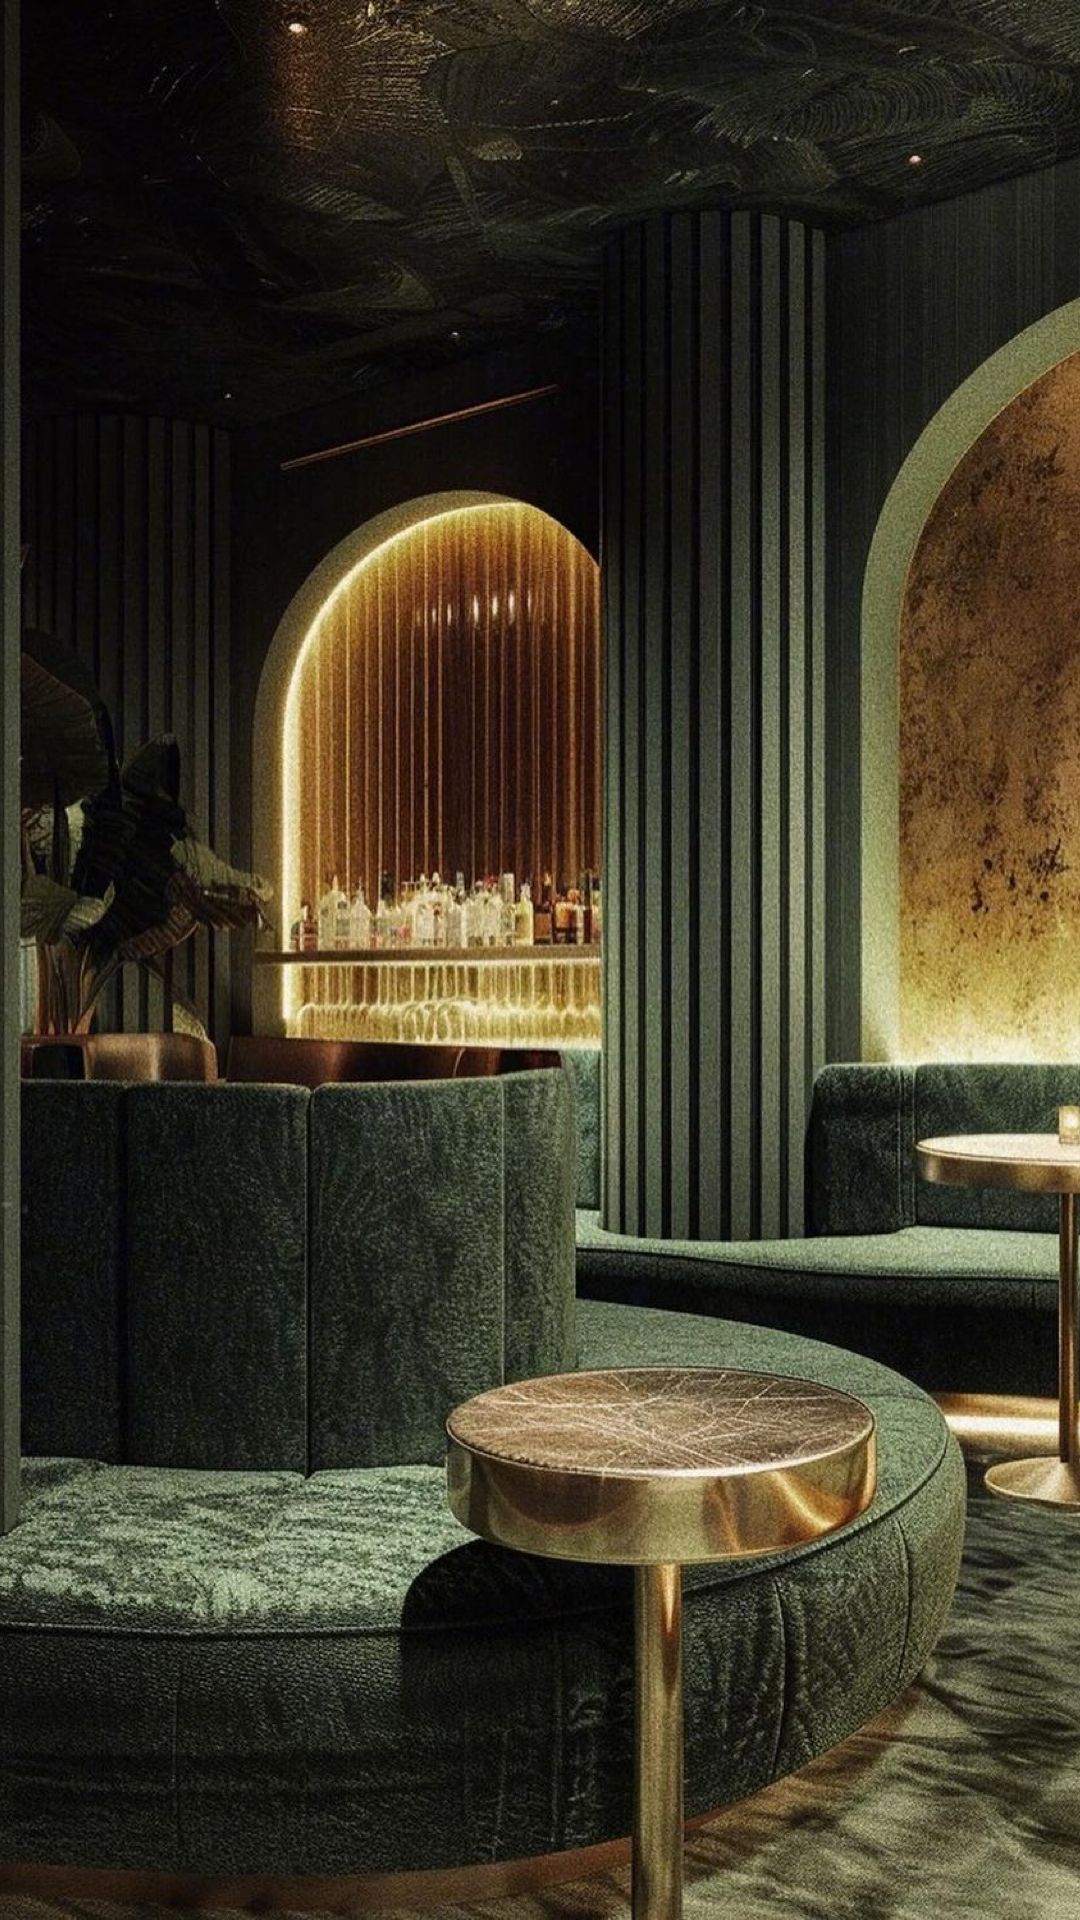
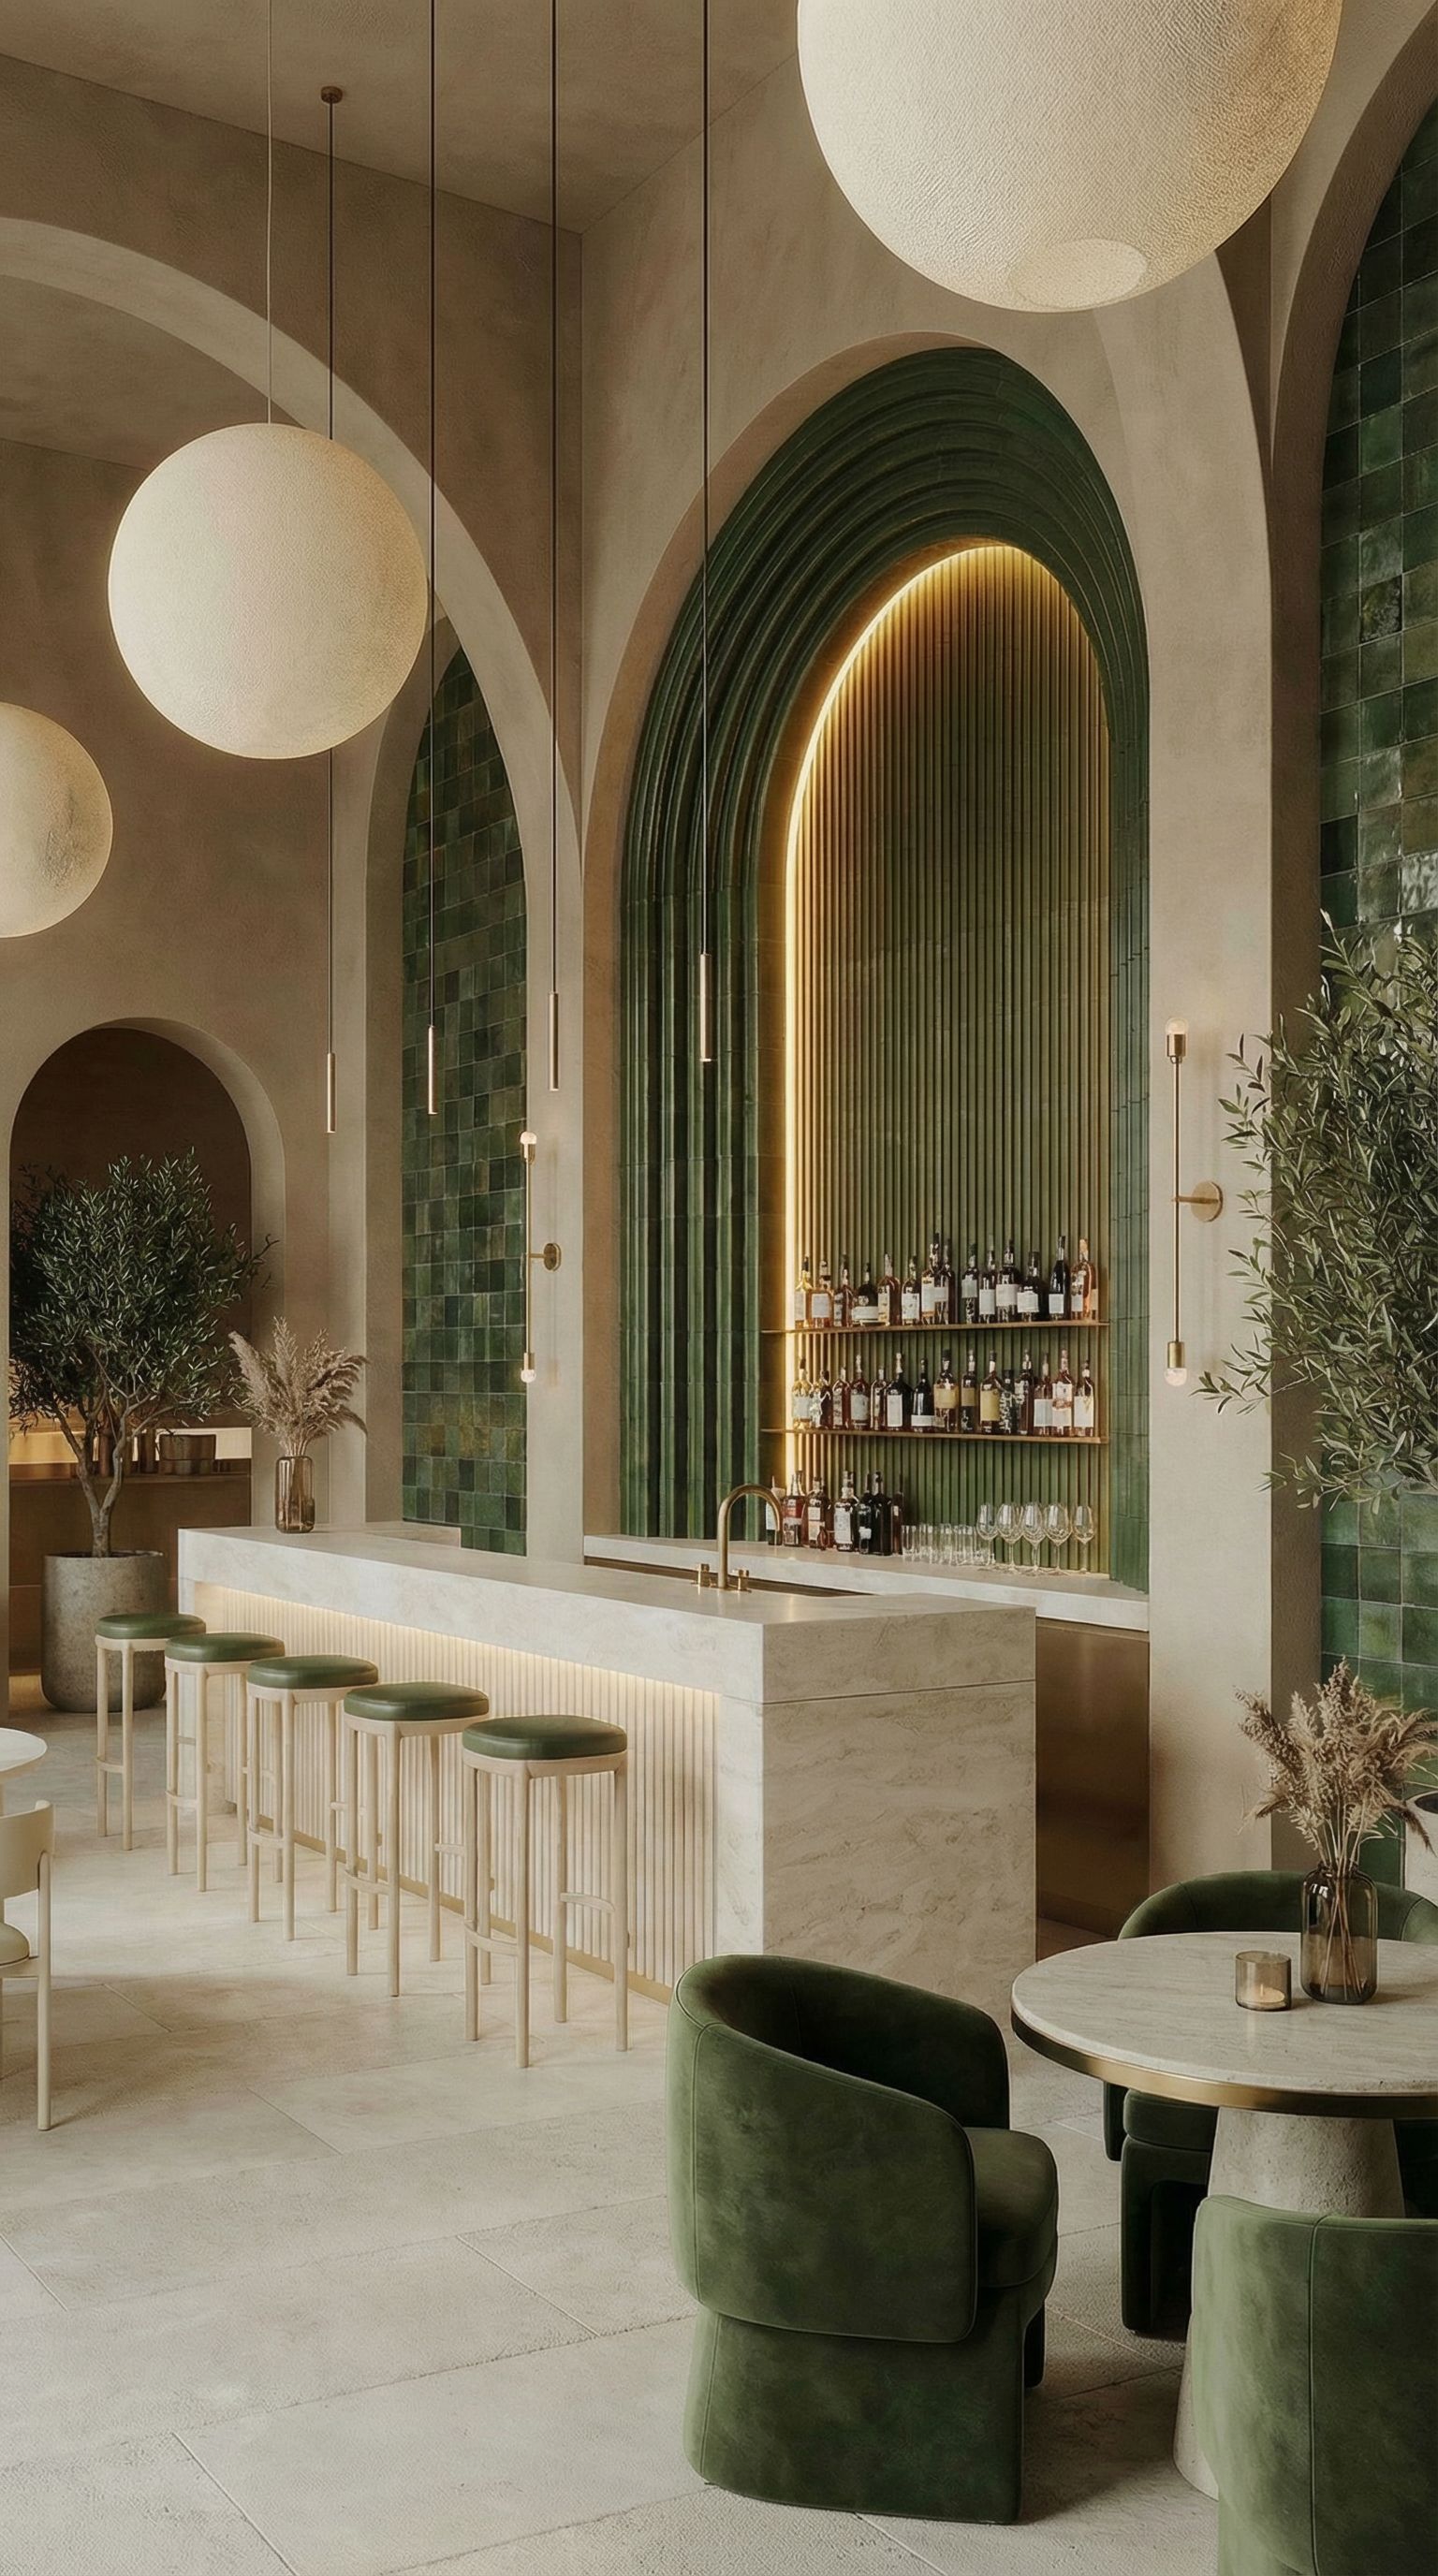
Green Bar
"Create an interior design concept of a bar with a palette of dark green tones and light stone in a modern and minimalistic style, modern interior design, earthy tones, minimalist architecture, green tile design, luxury interior, modern architectural space"
~45s
Convert to Photorealistic Style
"Make this image in a more realistic style. Keep all the shapes and geometries exactly the same, change only the style"
Terracotta Bakery → Realistic
~38s
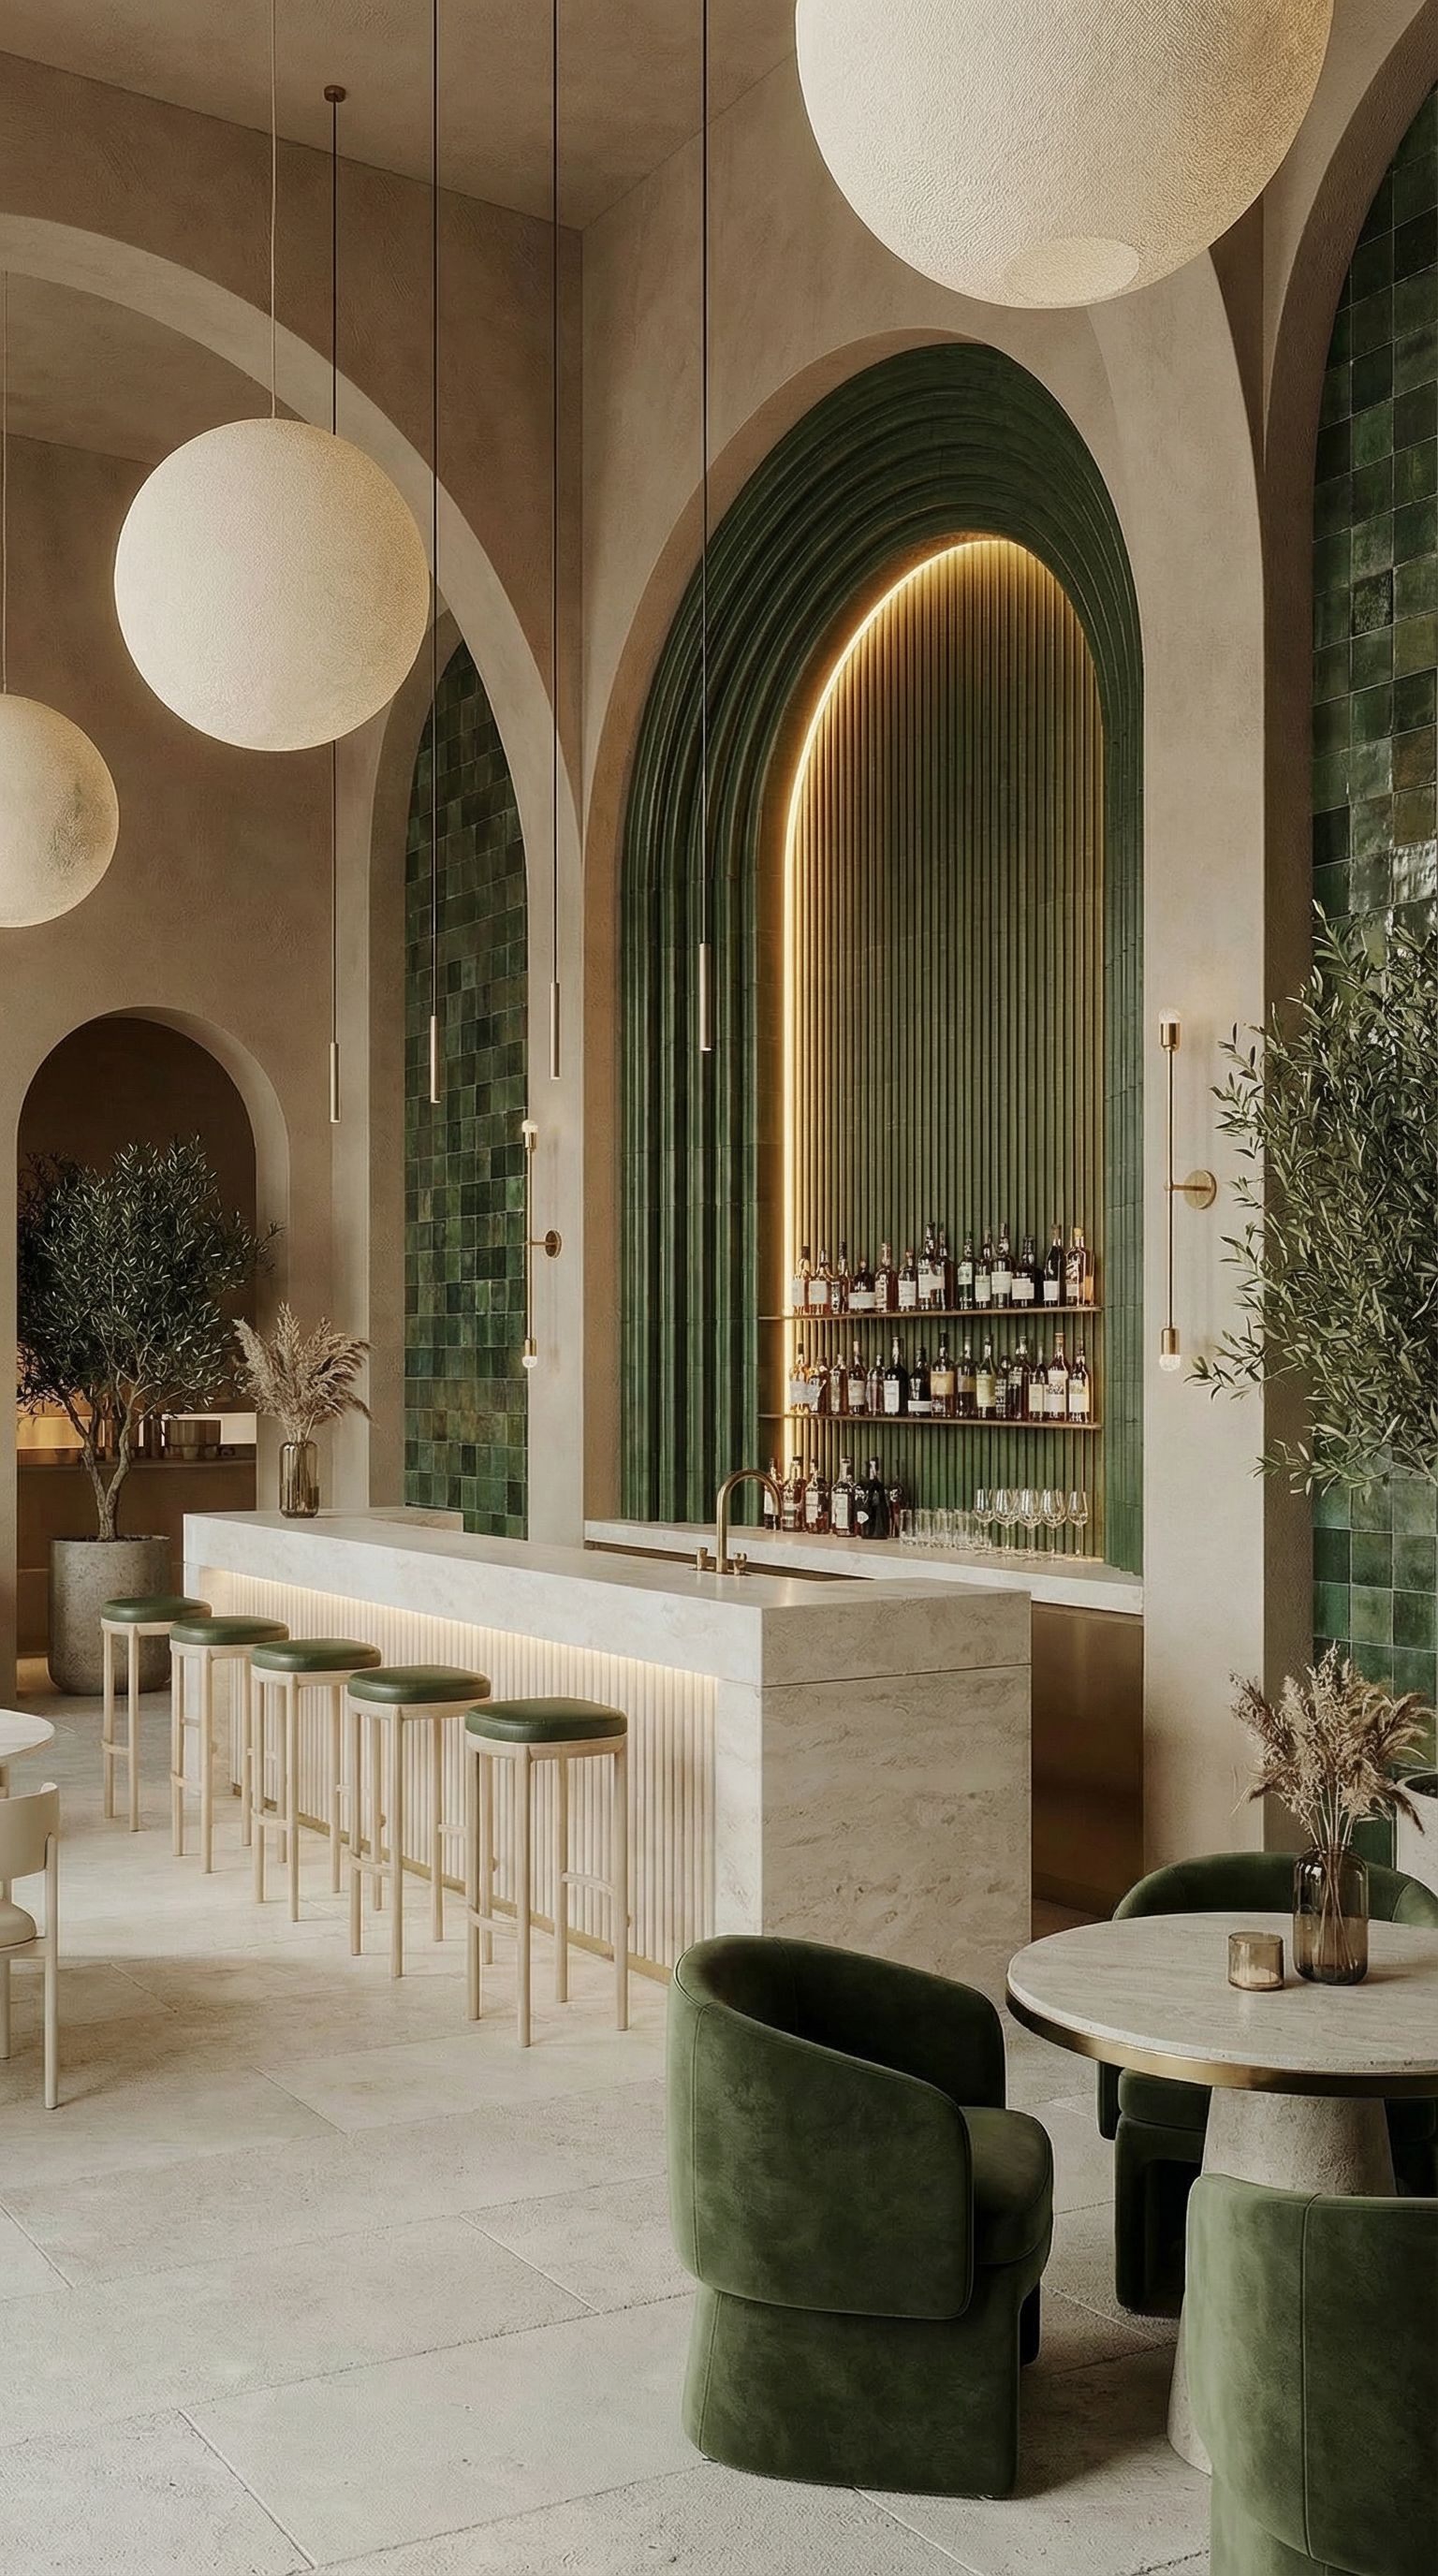
Green Bar → Realistic
~40s
Both renders maintain identical room proportions while achieving photorealistic quality
Create Video Walkthroughs
"Create a video of this space turning to the right to show the whole environment. Smooth camera movement. Ultra high quality. Eye level perspective"
Terracotta Bakery Walkthrough
Green Bar Walkthrough
Video walkthroughs help clients visualize the full space from eye level
Pro Tips for Style Exploration
- Use "keep all shapes and geometries exactly the same" to maintain consistency across variations
- Convert stylized renders to realistic style for client presentations
- Add video walkthroughs as a final step to help clients visualize the space in motion
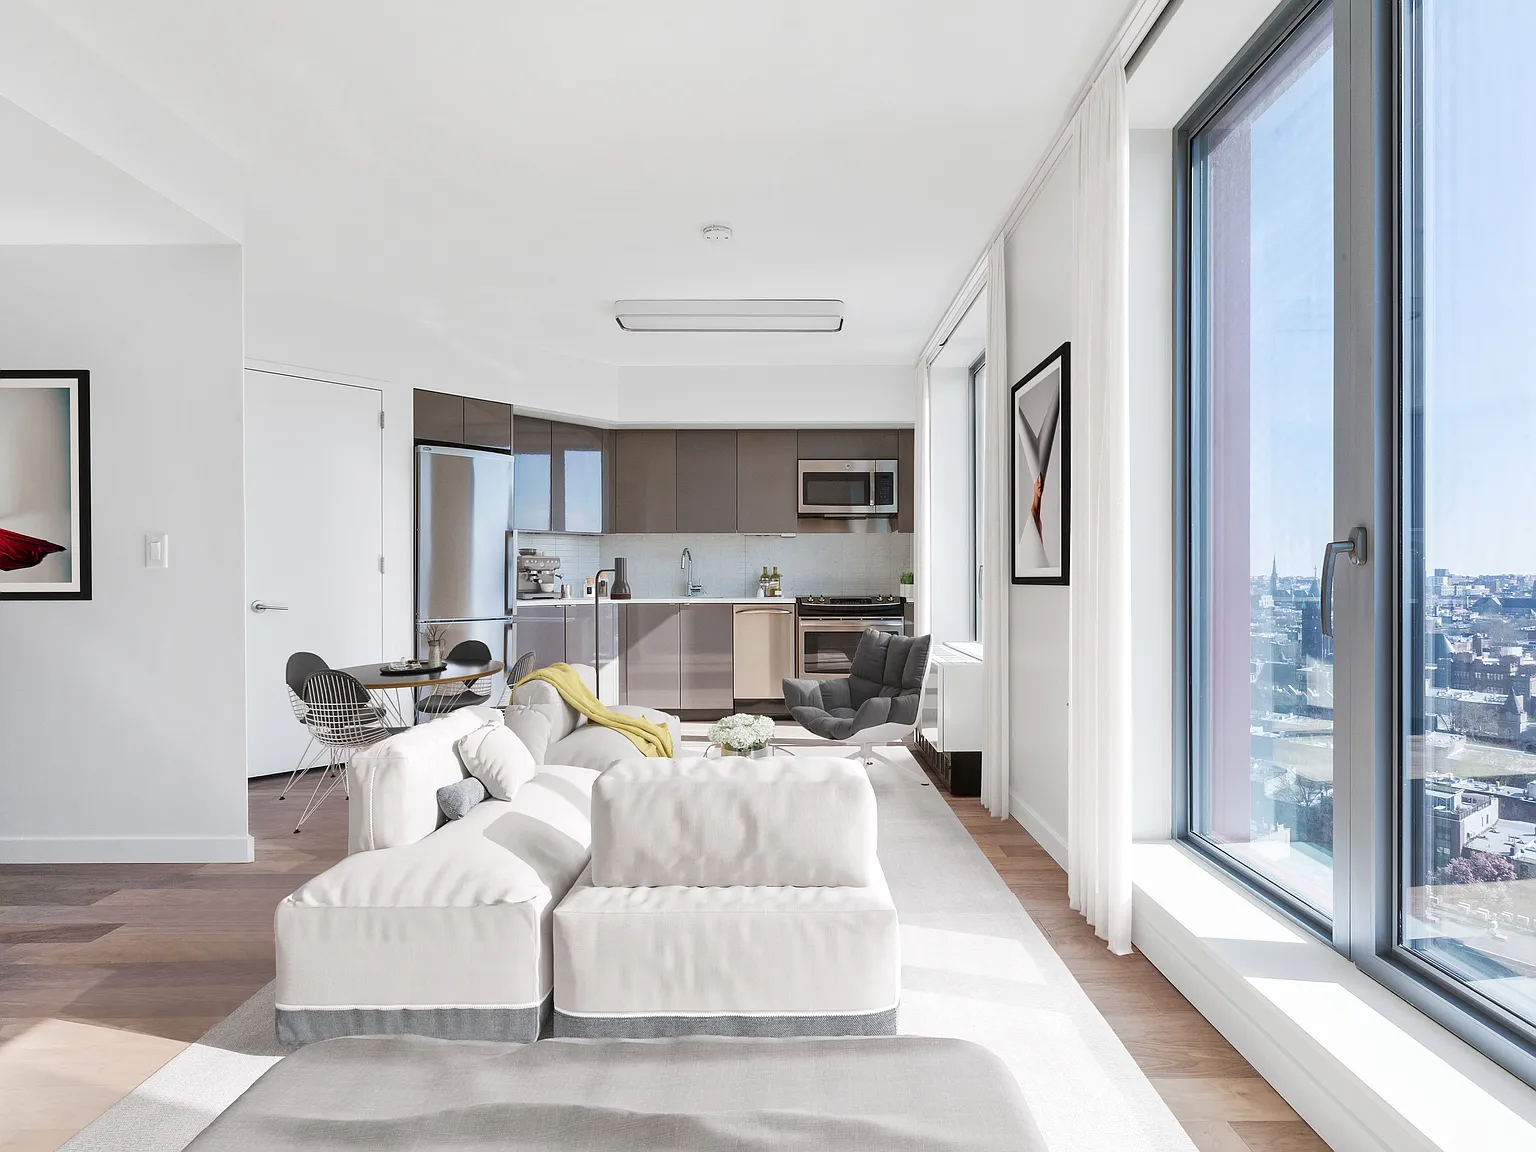
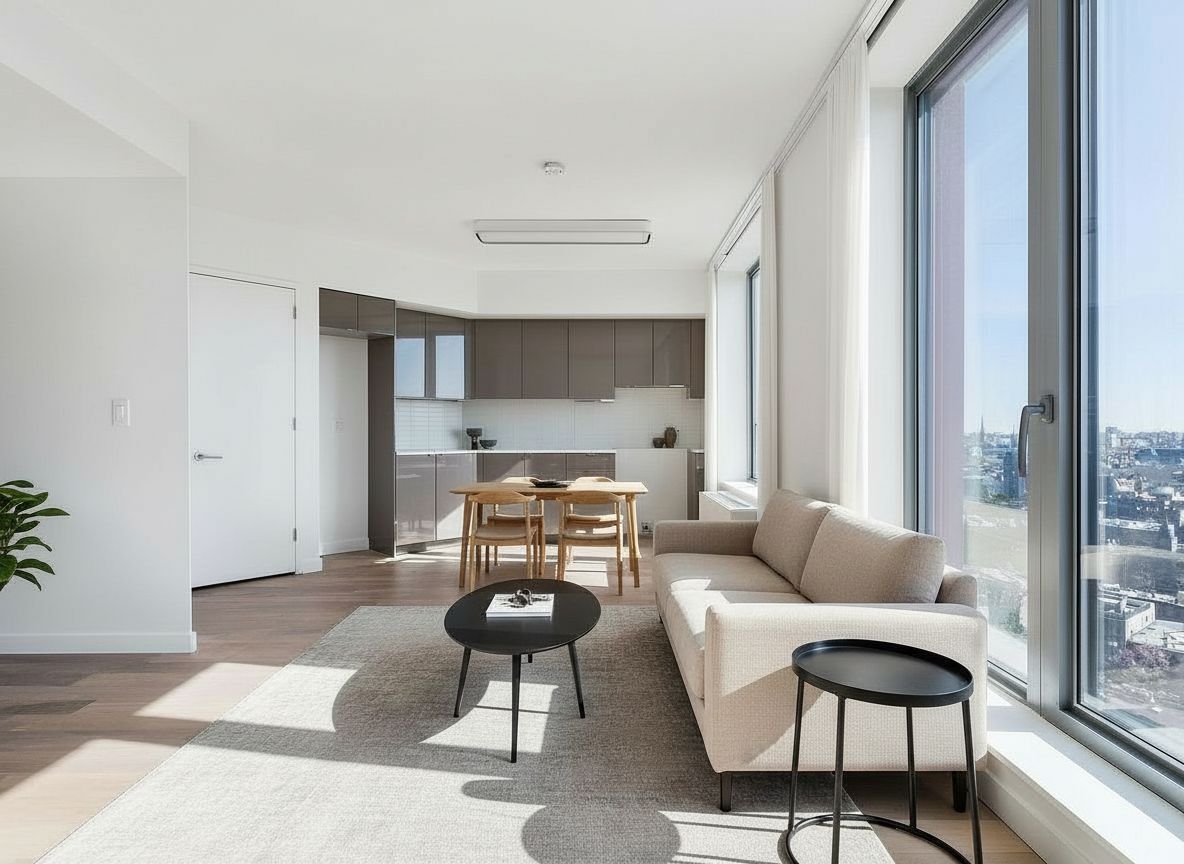
Furniture Placement in Empty Spaces
Take an empty room photo and experiment with different furniture layouts without physical staging, perfect for homeowners, real estate virtual staging, or designers testing options. Upload a room photo and specify the style; AI maintains proportions while adding realistic furniture. Nano Banana Pro delivers the most photorealistic results for this workflow.
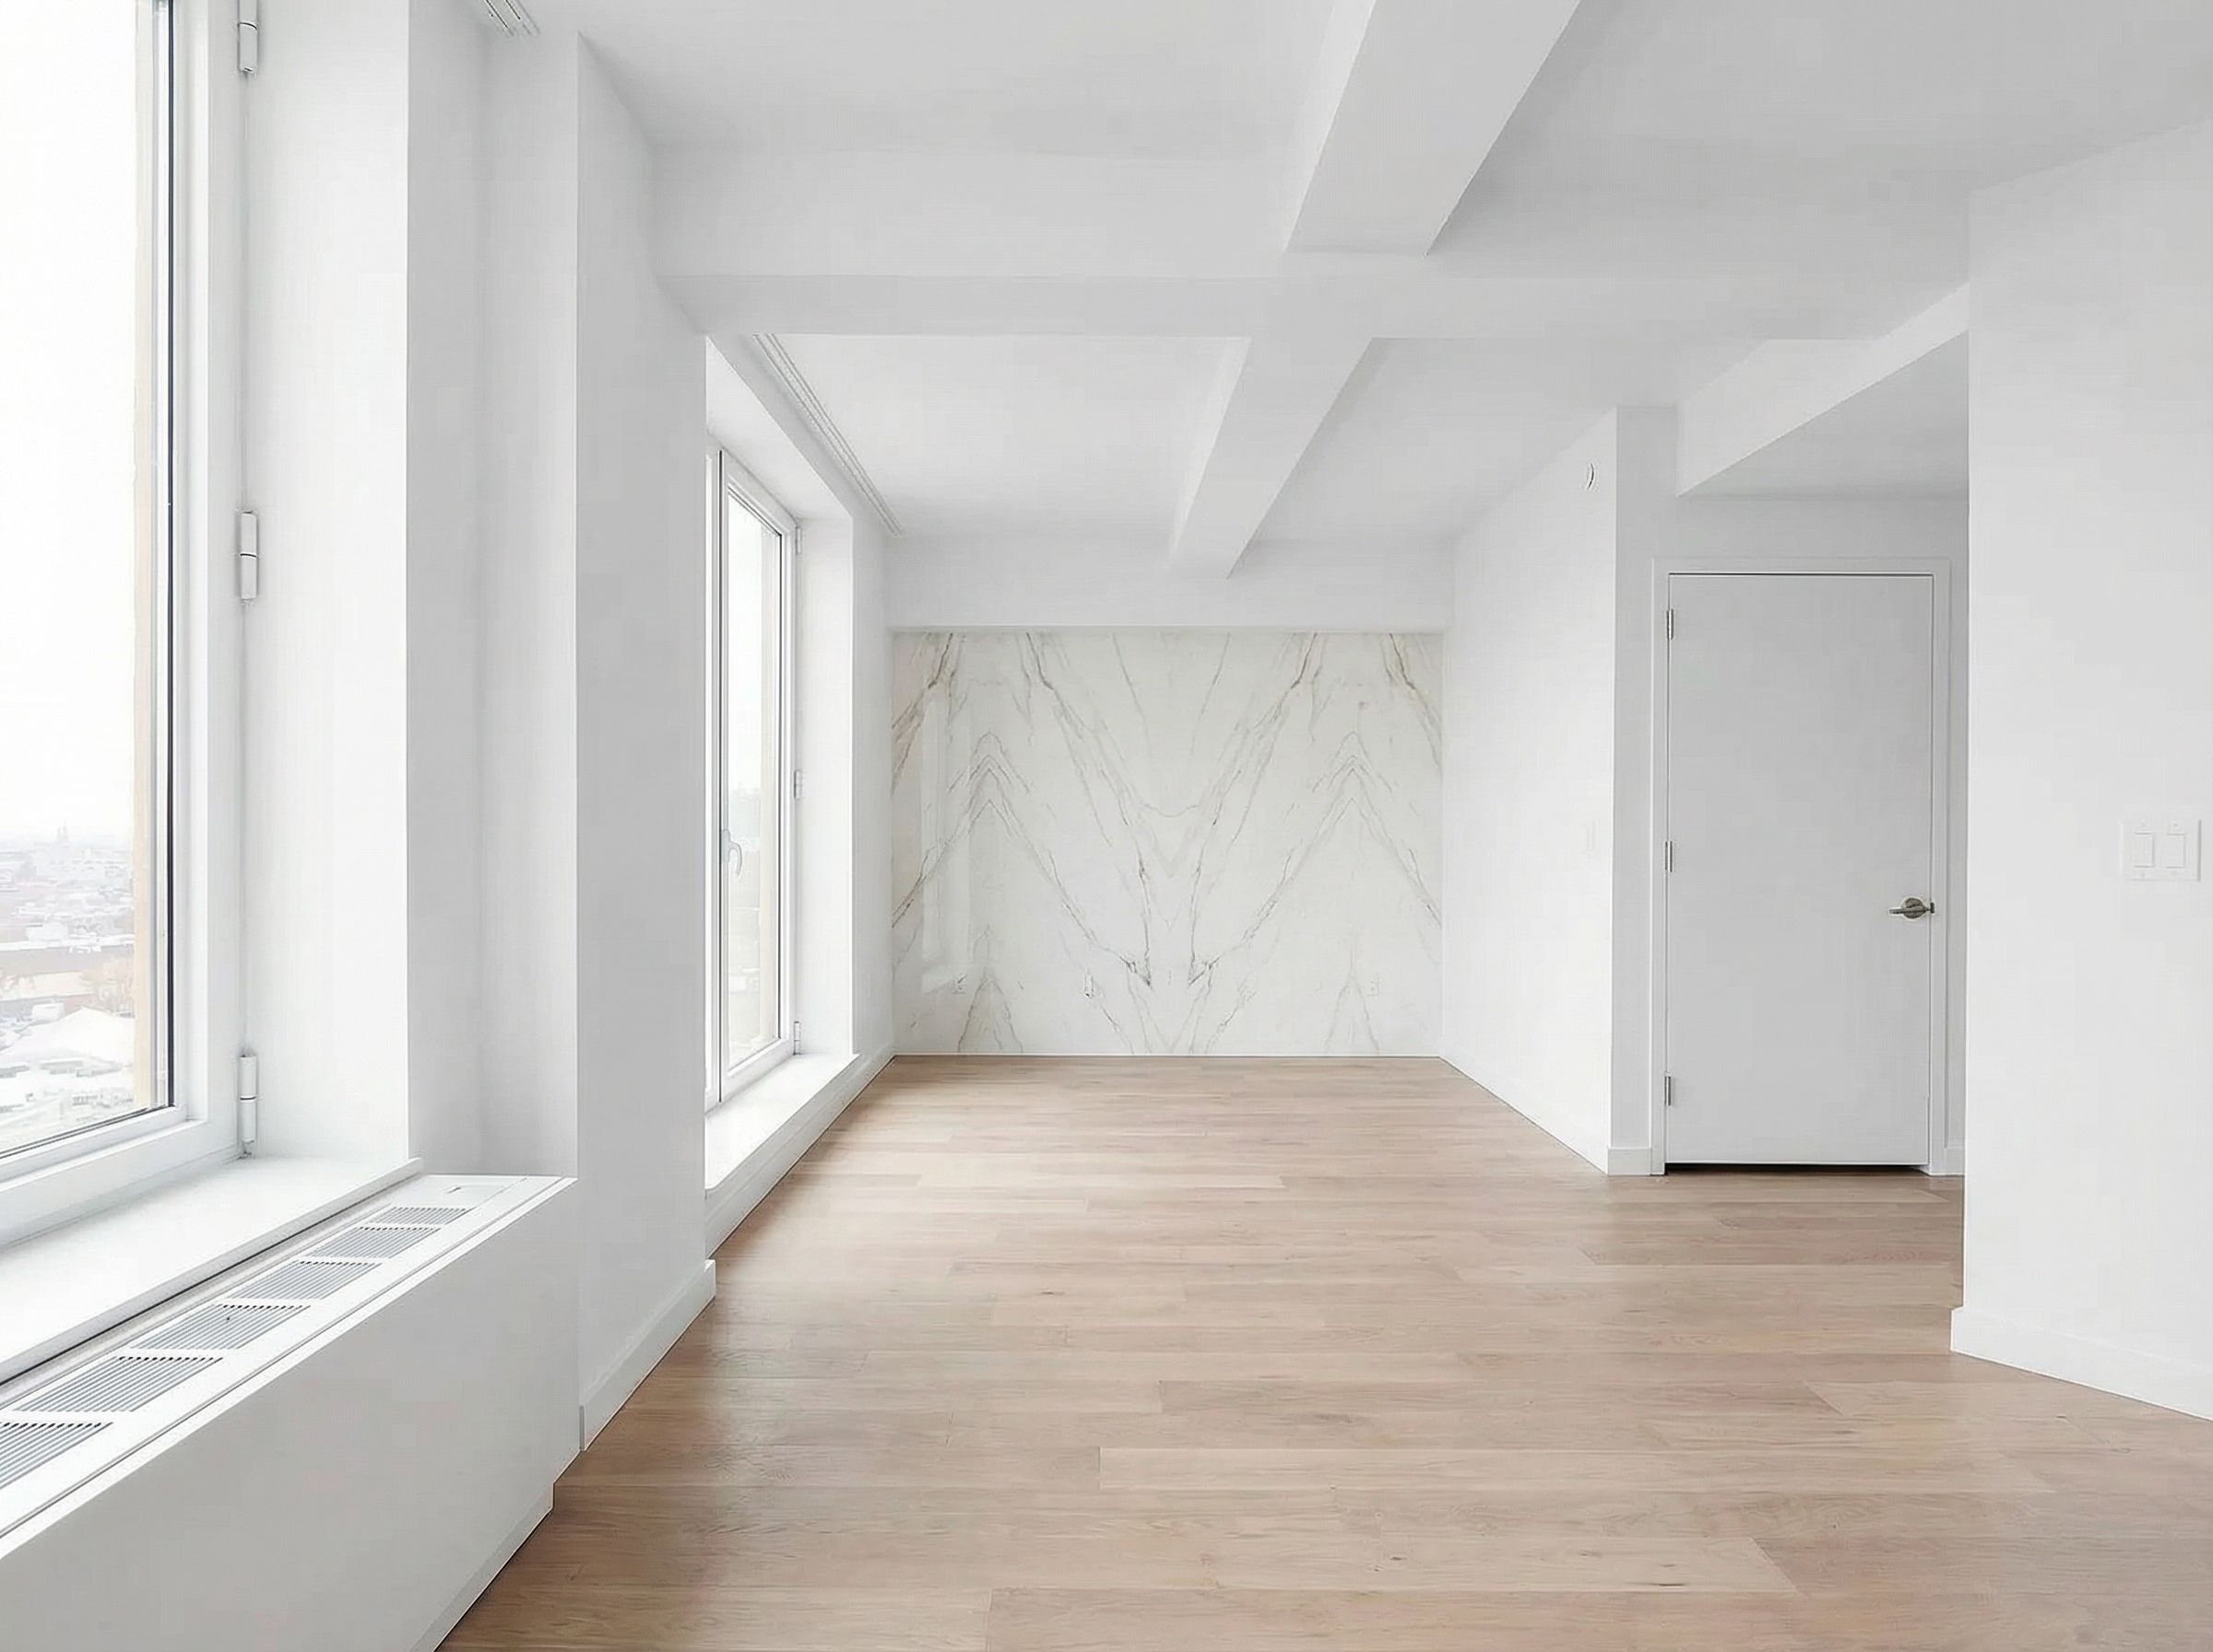
Start with an Empty Room
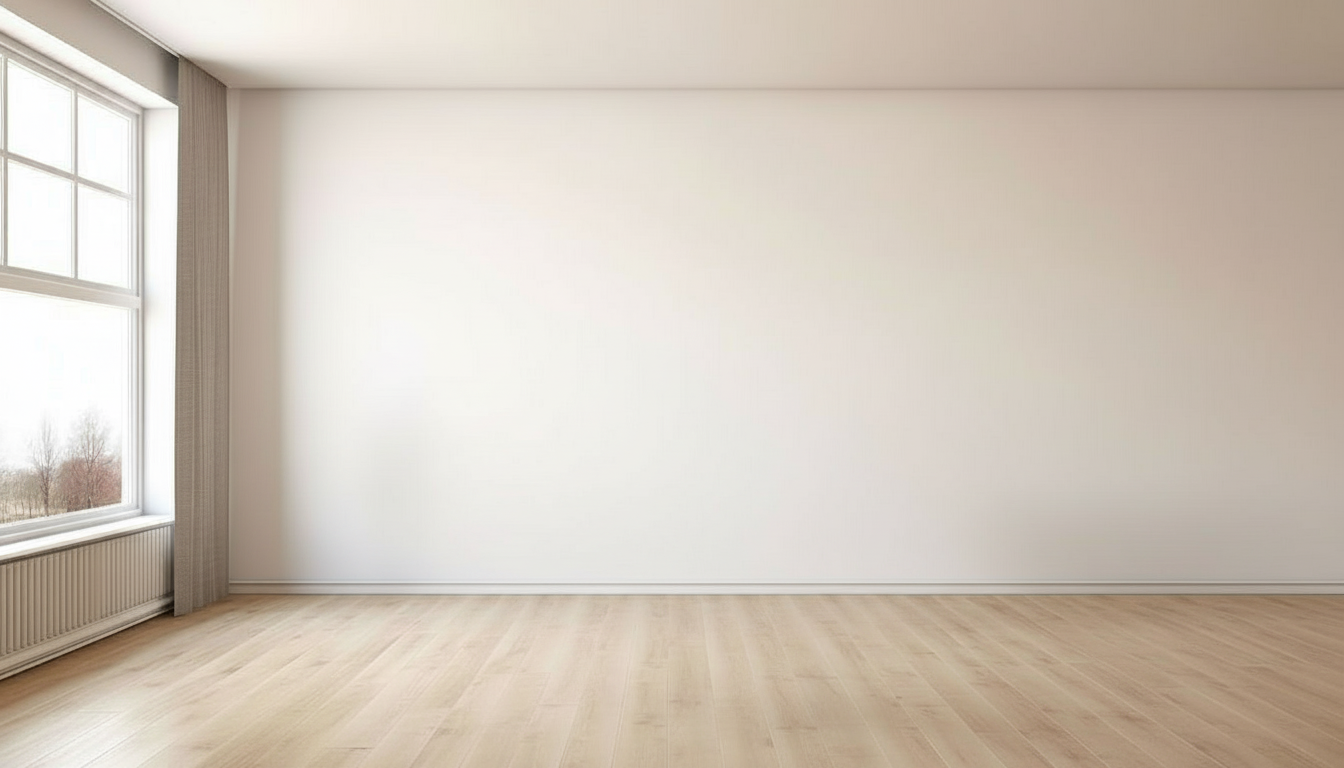
Original empty living room photo
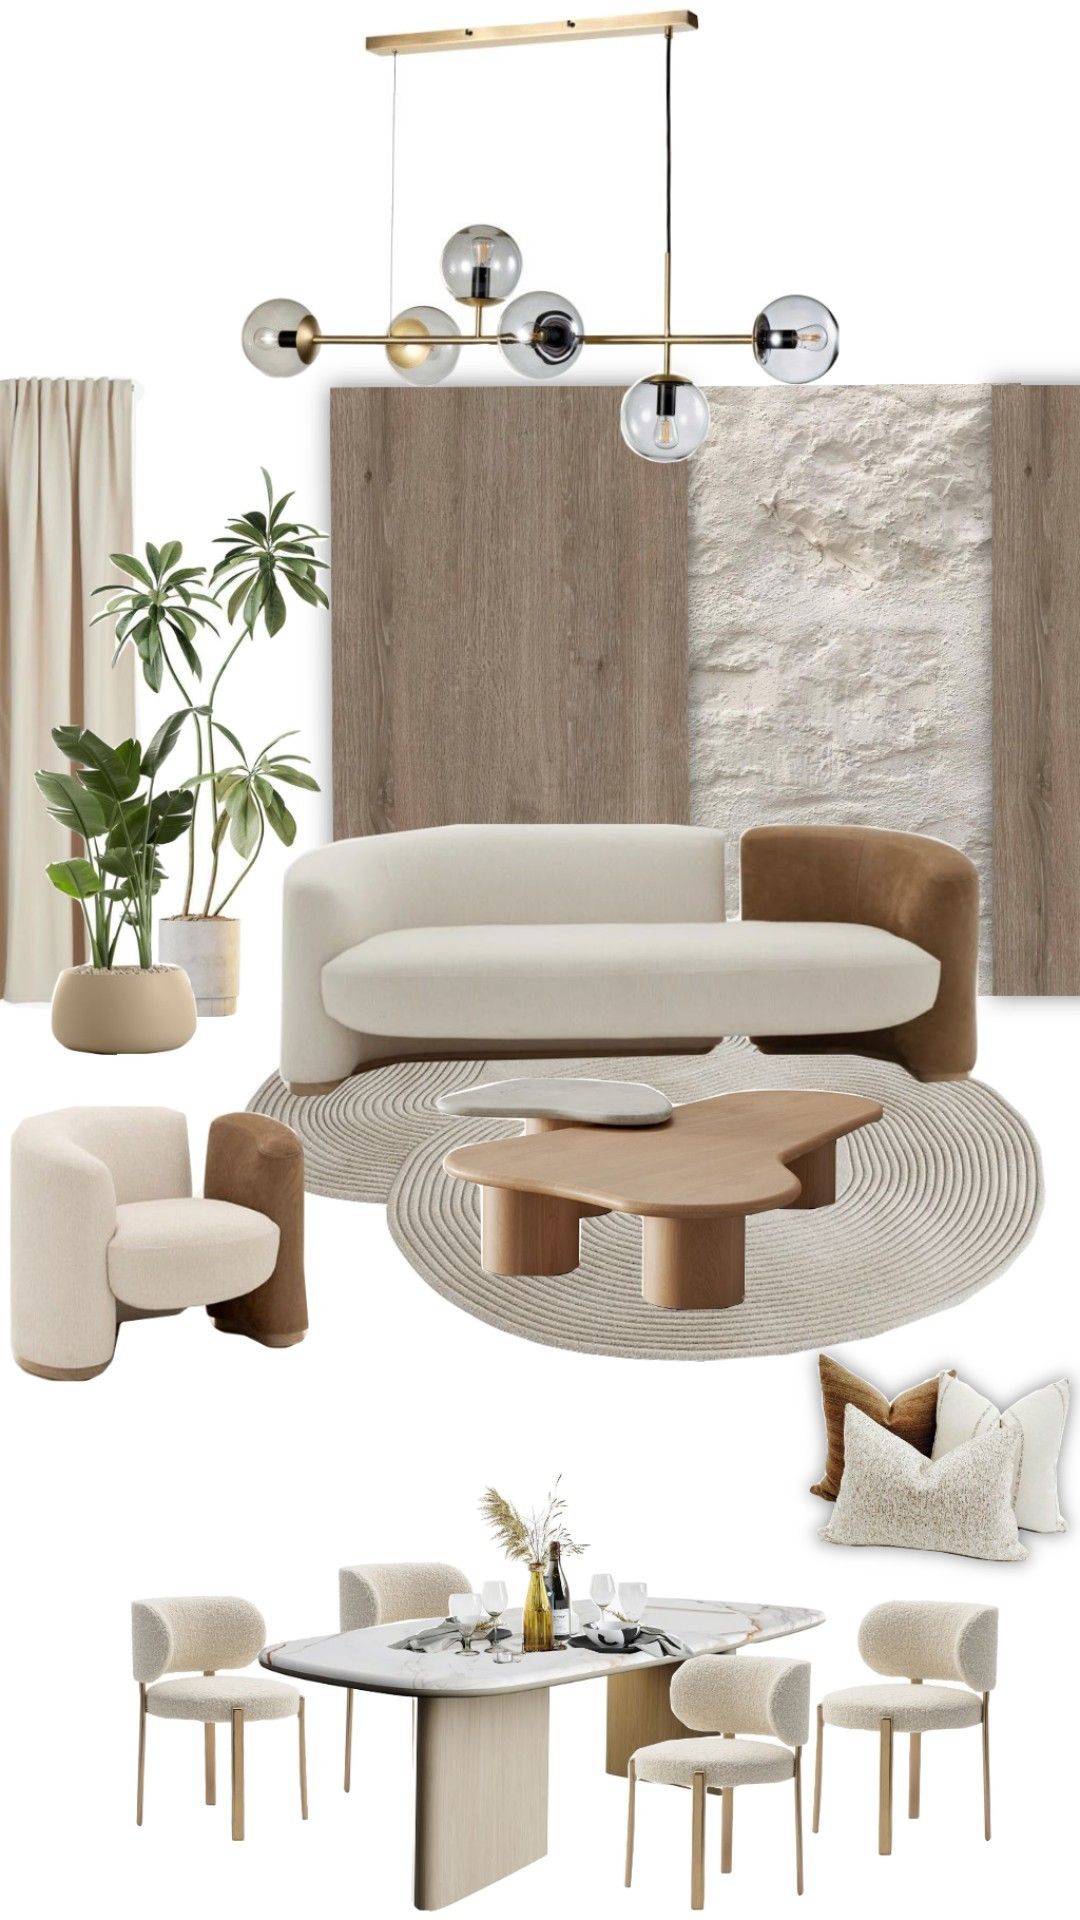
Add Furniture Reference + Generate
"Add these furniture into the empty living room space. Keep all geometries and proportions accurate"
Reference
Setup 1
~45s
Reference
Setup 2
~42s
Reference

Setup 3
~48s
Reference
Setup 4
~44s
Click any result to see the full prompt. Same empty room, four different furniture styles.
Pro Tips for Virtual Staging
- Use furniture reference images that match the scale and style you want
- Always specify "keep all geometries and proportions accurate" for realistic results
- Great for real estate virtual staging - test multiple styles before committing
Interior Renovations & Redesign
Plan a remodel by visualizing the redesigned space while preserving existing architecture. Homeowners can see their space after a makeover before construction begins. Clear existing furniture, rebuild with new design concepts, then produce floor plans and 3D models, aligning on renovation functionality and aesthetics.
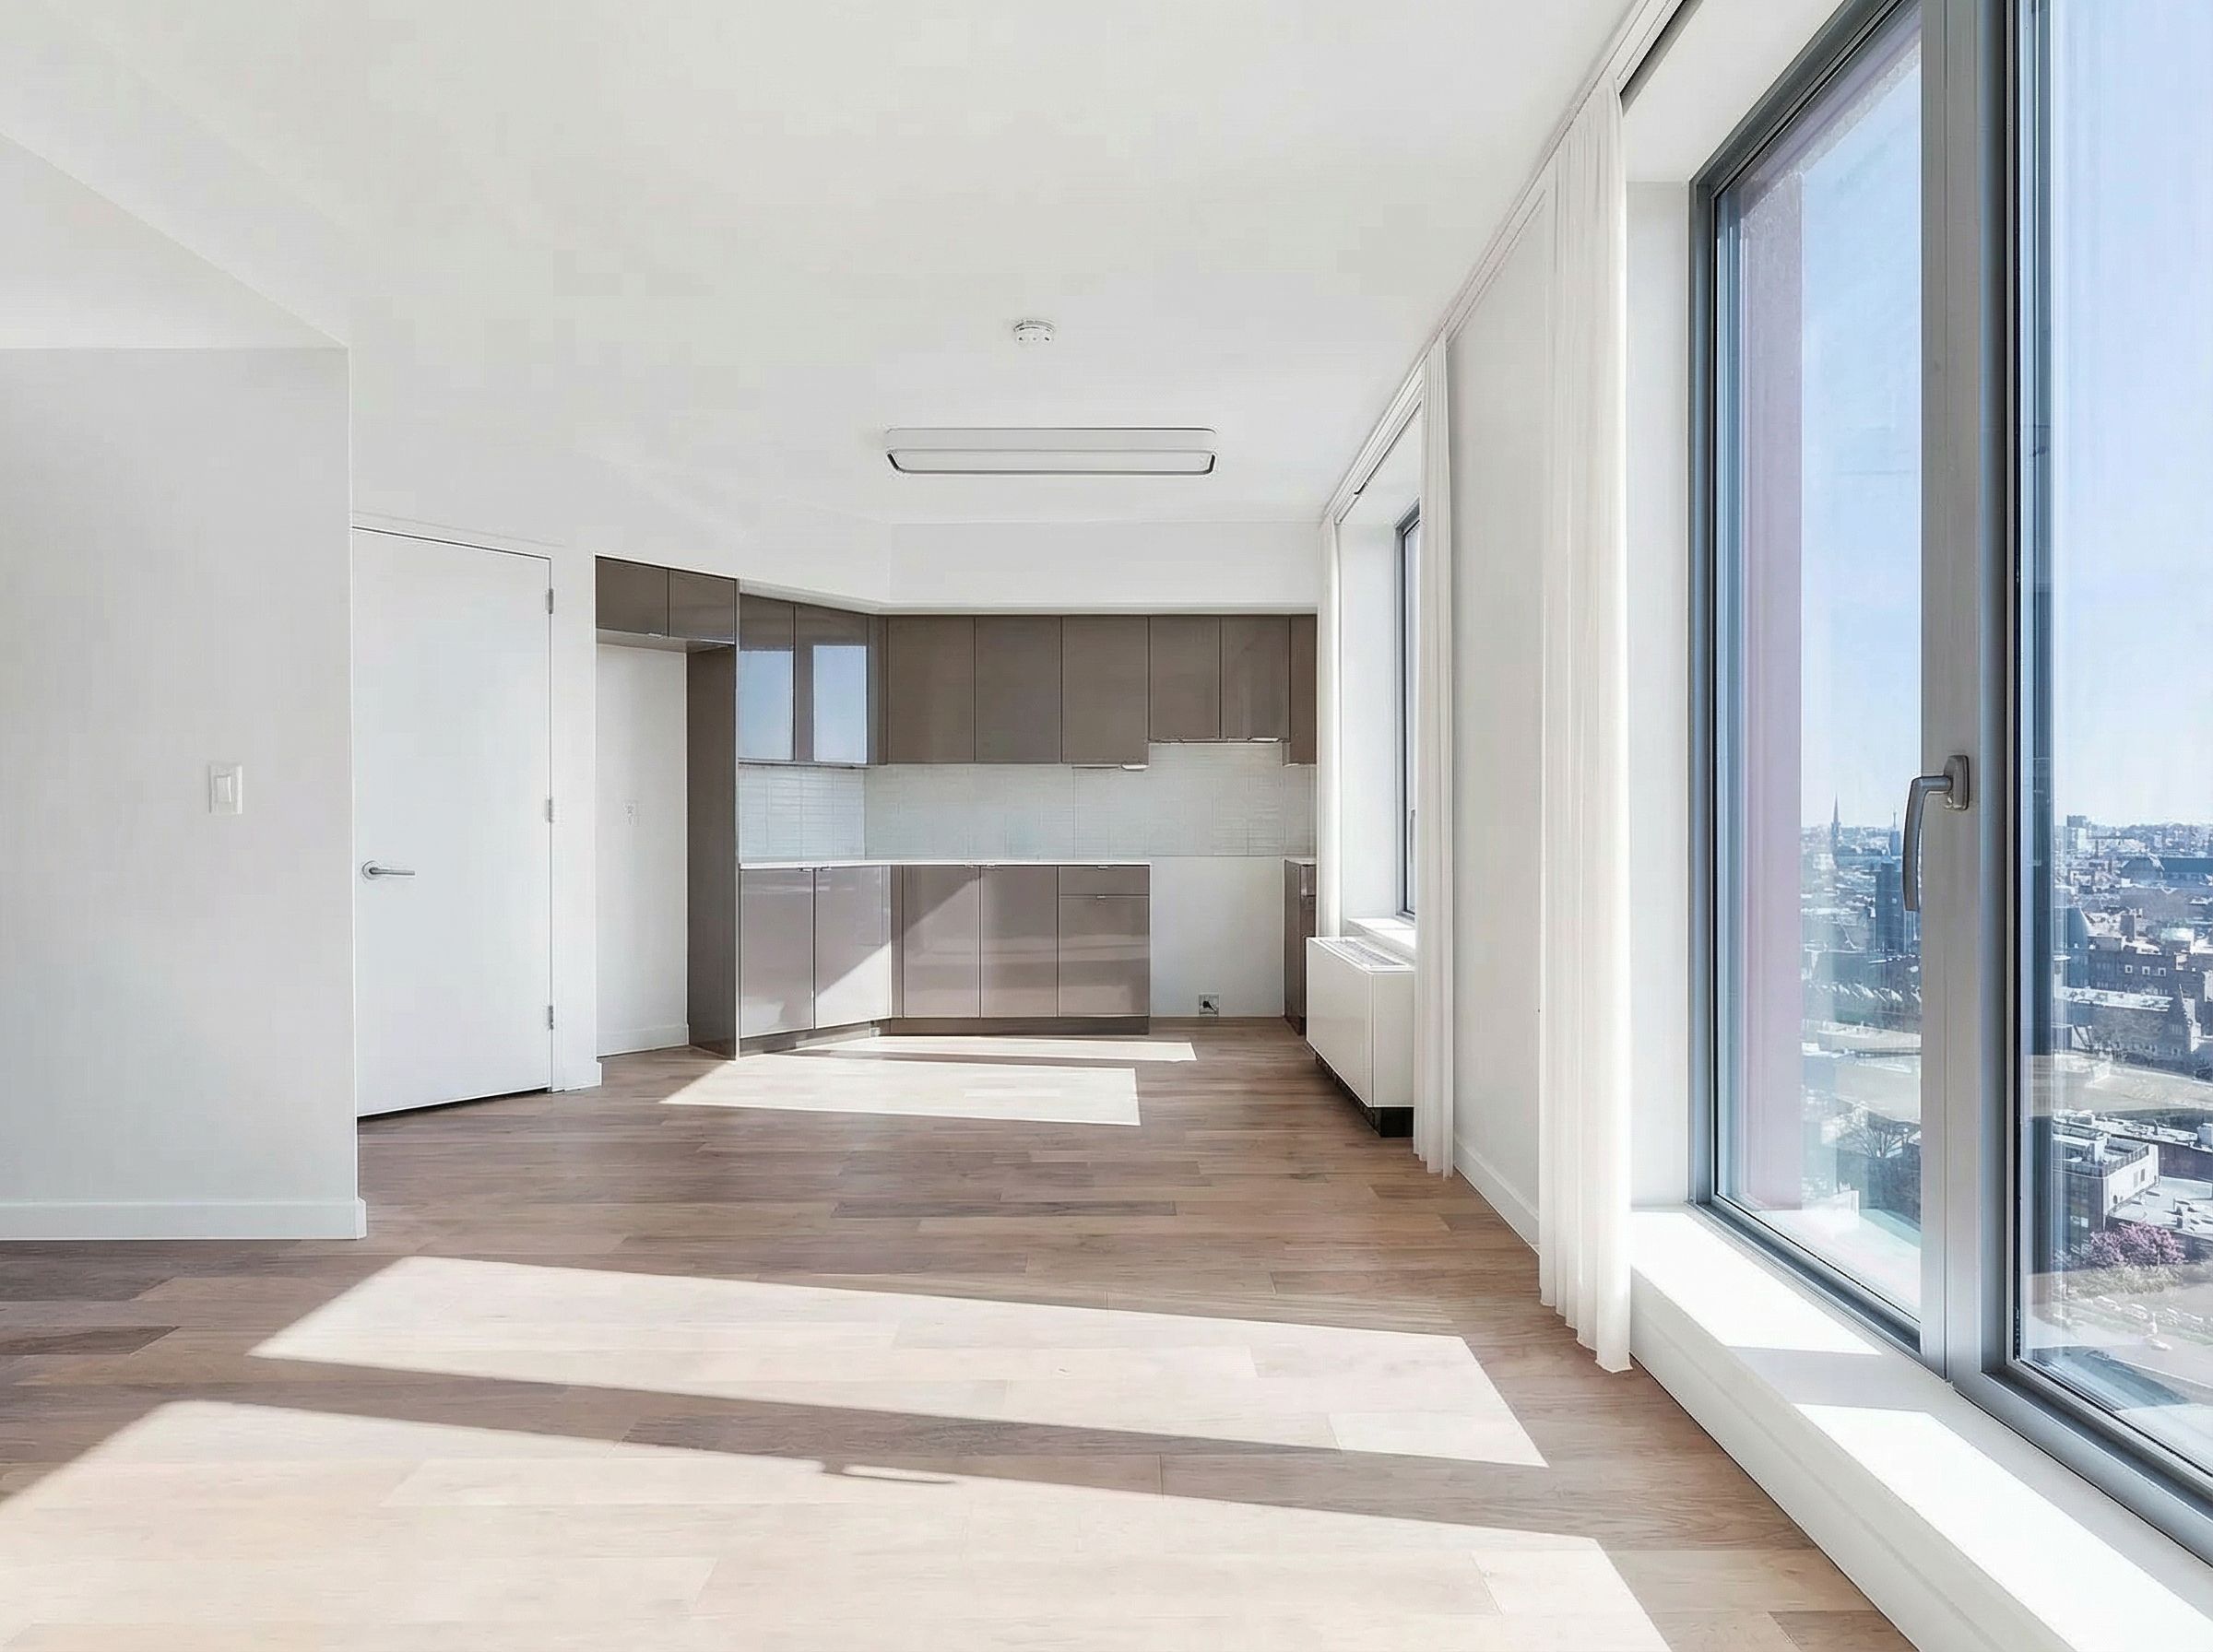
Starting Point: Original Room Views
Capture multiple angles of the existing space
View 1
View 2
View 3
Clear the Existing Space
Remove furniture while preserving architectural elements
Clearing Prompt
Remove all furniture, decor, and objects from this room. Keep the walls, floor, ceiling, windows, doors, beams, columns, and all architectural elements exactly the same. Preserve accurate proportions and geometry. Show a clean, empty room.

Cleared View 1
Cleared View 2
Cleared View 3
Rebuild with New Design
Apply style reference to redesign the space
Style Reference / Mood Board
Redesign Prompt
Redesign this empty room using the style from the reference image. Add furniture, materials, and decor that match the reference aesthetic. Keep all walls, floor, ceiling, windows, doors, beams, columns, and architectural proportions exactly the same.
Redesigned Views
Redesigned View 1
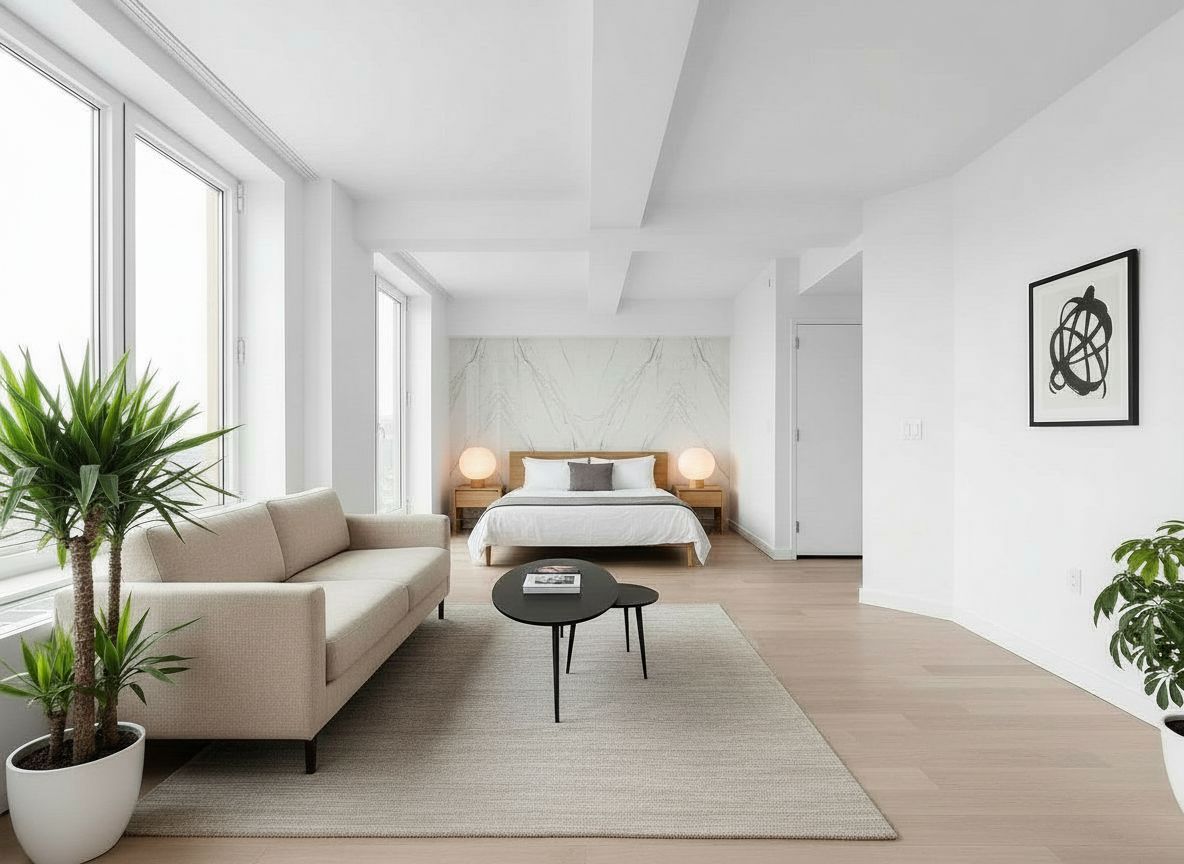
Redesigned View 2
Redesigned View 3
Before → After Transformation
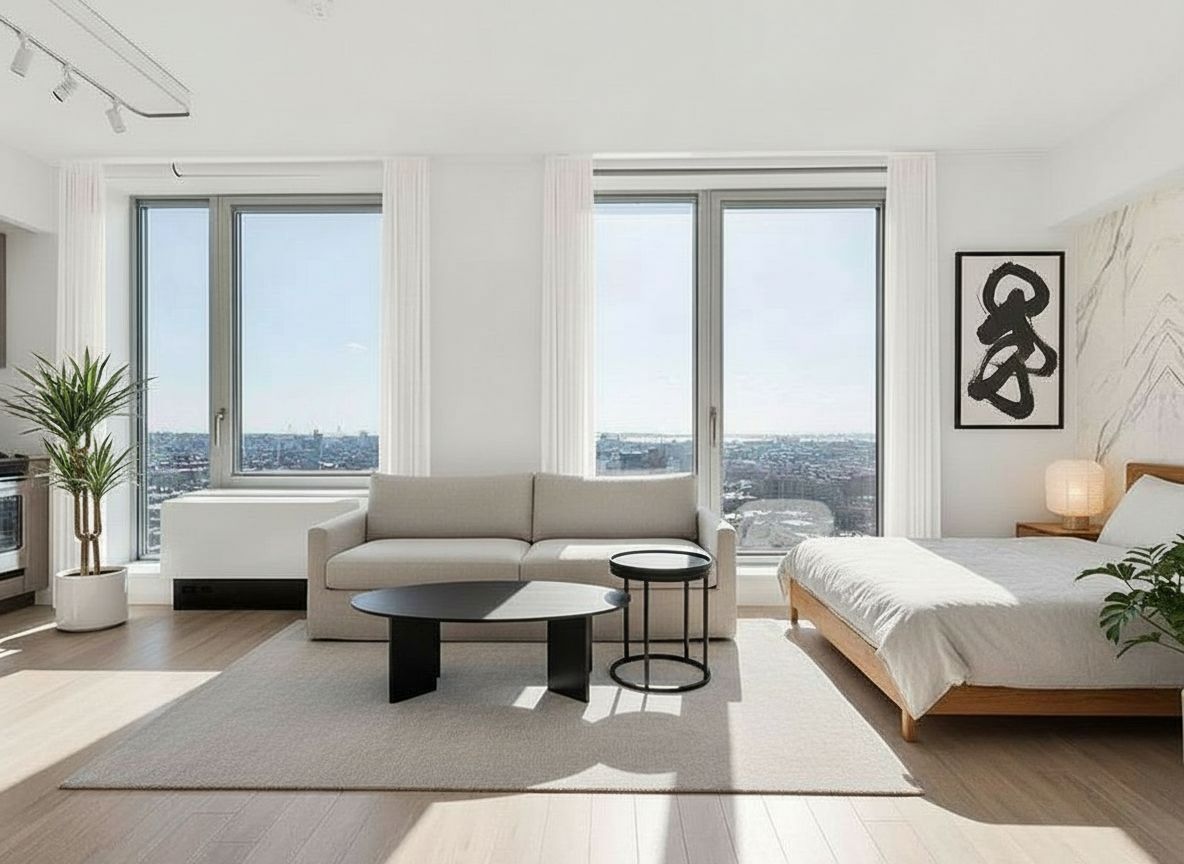
Visualization to Floor Plan
Generate floor plans and room layout drawings from visual concepts. Start with a 3D visualization and room dimensions; AI creates accurate floor plans with furniture placement and measurements. Generate axonometric views and exploded diagrams for documentation, similar to tools like Planner 5D.
Continuing from Workflow 5: Using the redesigned room views as input to generate technical drawings and documentation.
Input: Redesigned Room Views
Using the redesigned views from the renovation workflow
View 1
View 2
View 3
Generate 2D Floor Plan
Create architectural plan with furniture placement
Floor Plan Prompt
Create an architectural 2D floor plan of this room. Keep all shapes and geometries accurate. Show furniture placement, windows, and doors.
2D Architectural Floor Plan
Create Exploded Axonometric
Show layers separated for construction documentation
Exploded View Prompt
Create an exploded axonometric drawing of this space. Show walls, ceiling, floor, and furniture as separate layers. Keep all geometries accurate.
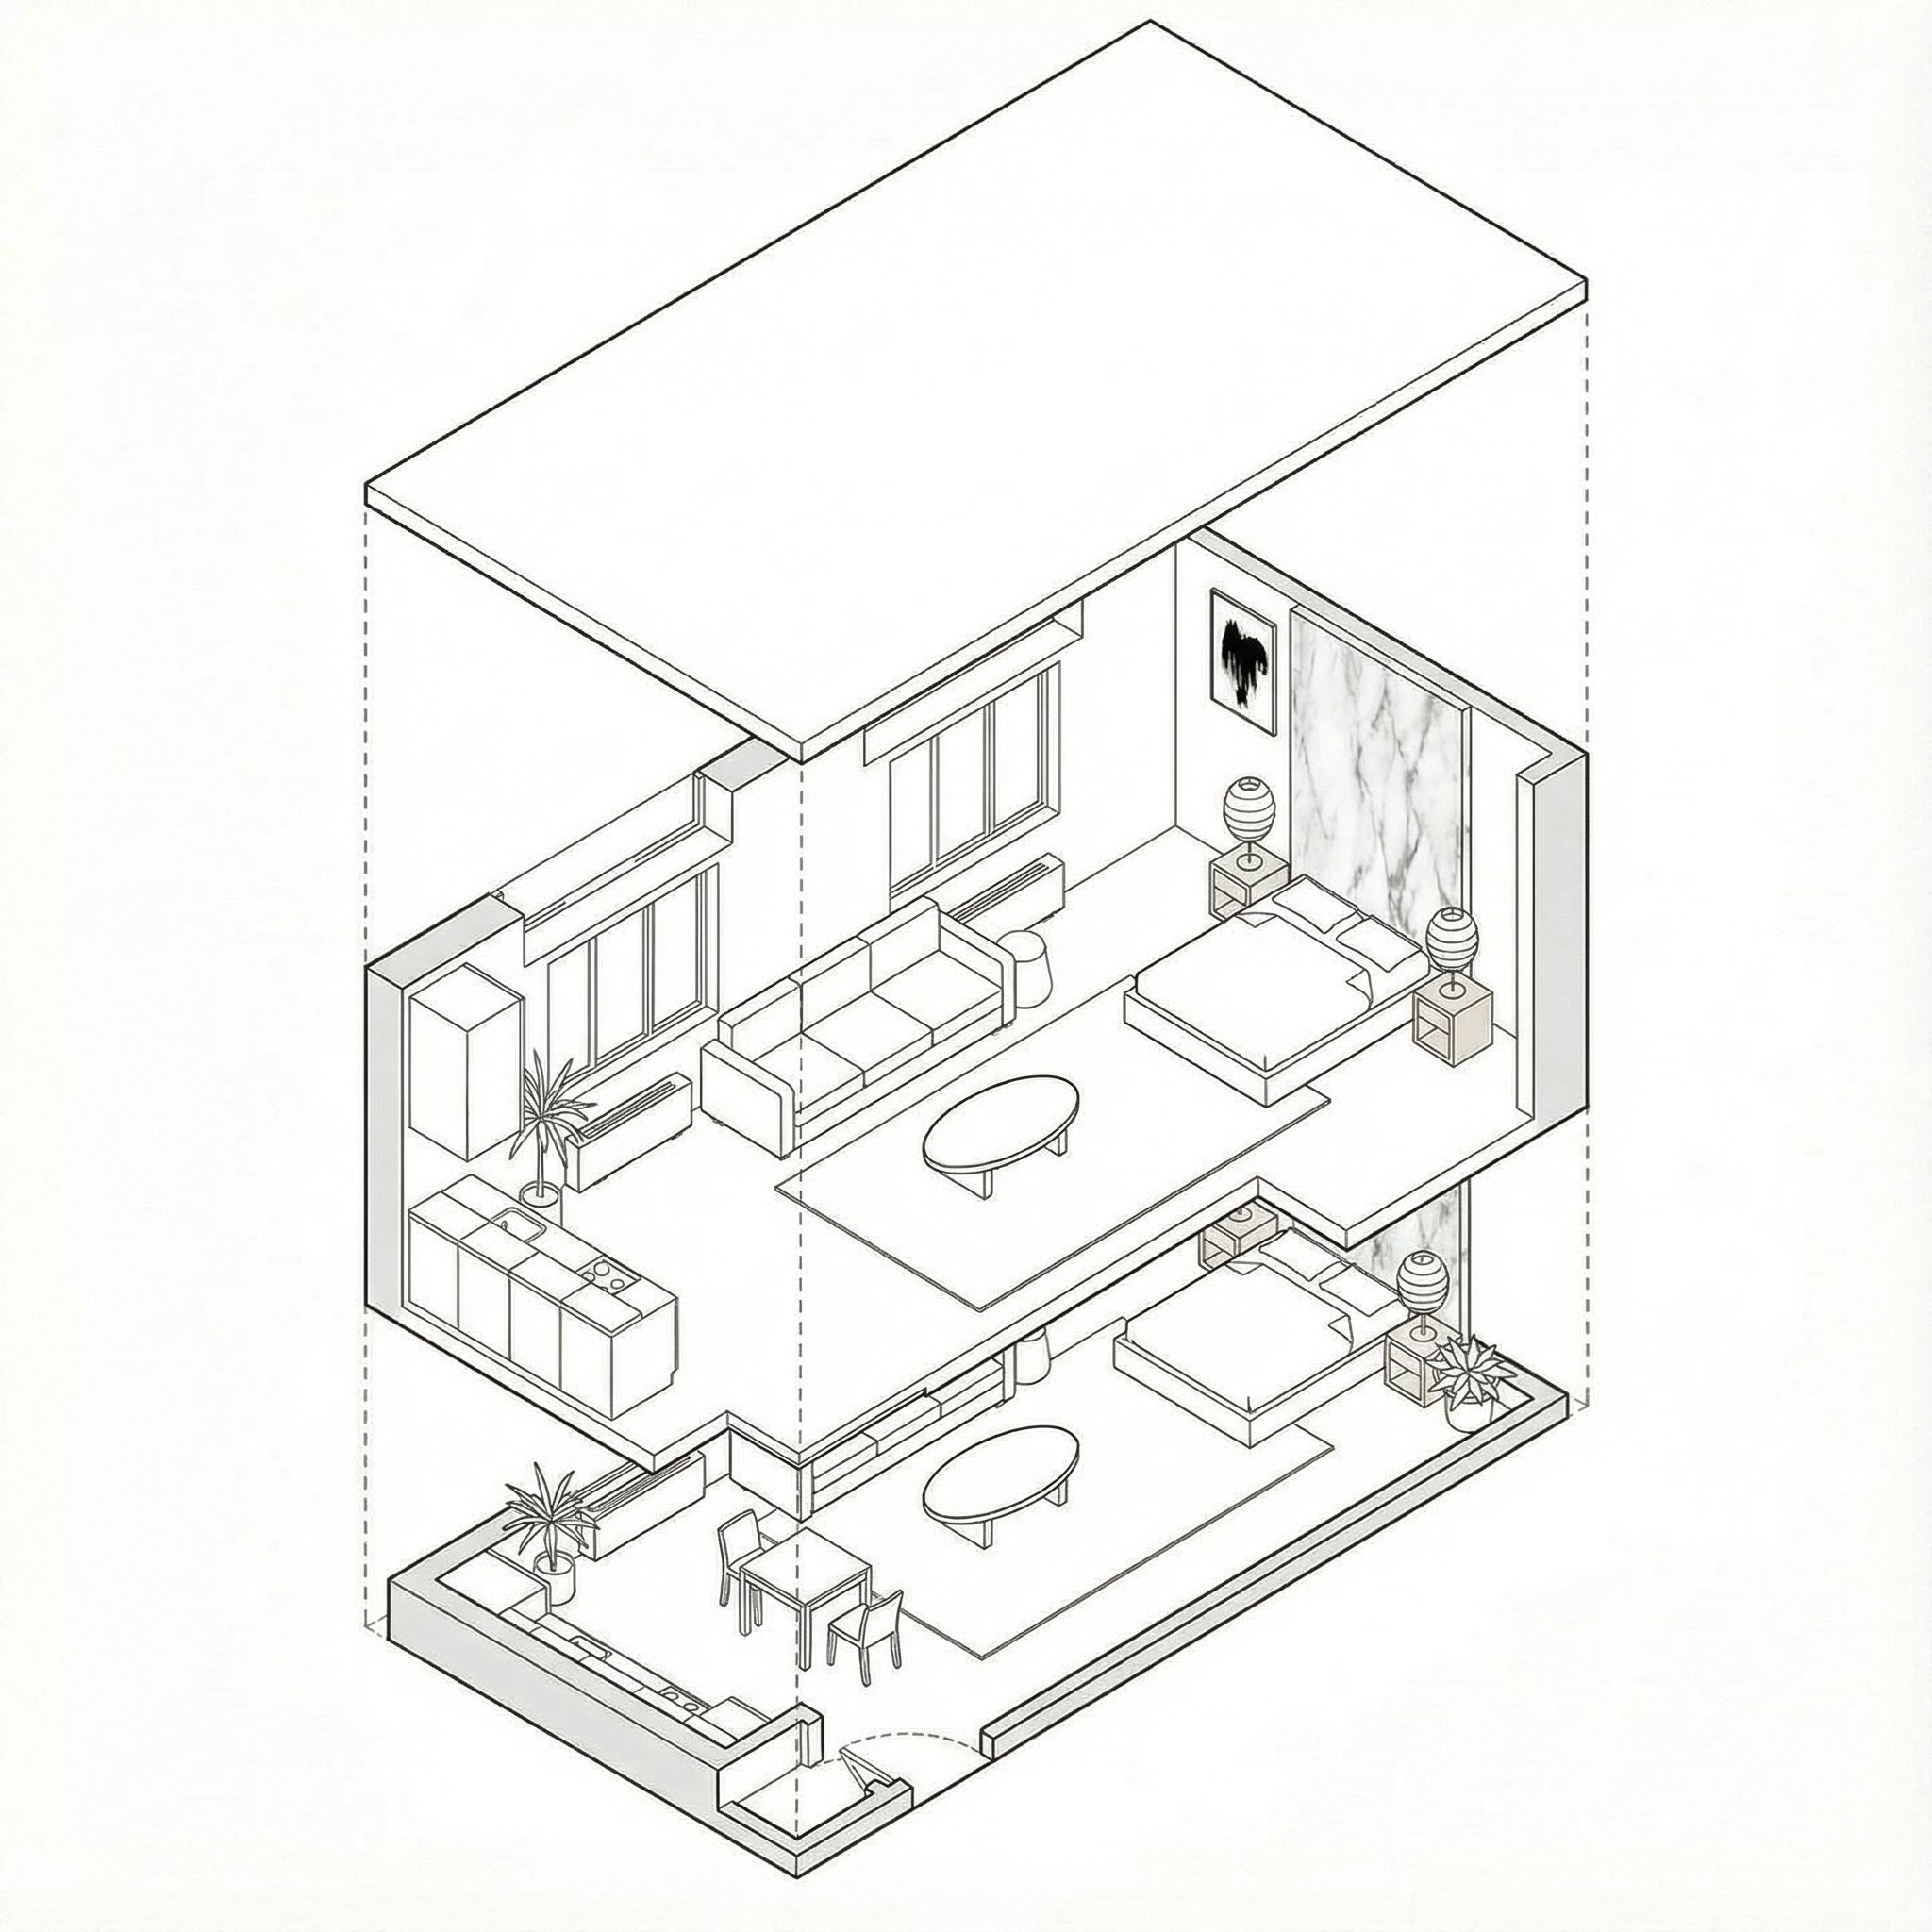
Exploded Axonometric Drawing
Complete 3D Space
Full axonometric view with all elements connected
Connected View Prompt
Create a 3D axonometric view of this space with all elements connected. Show the complete room from an elevated angle.
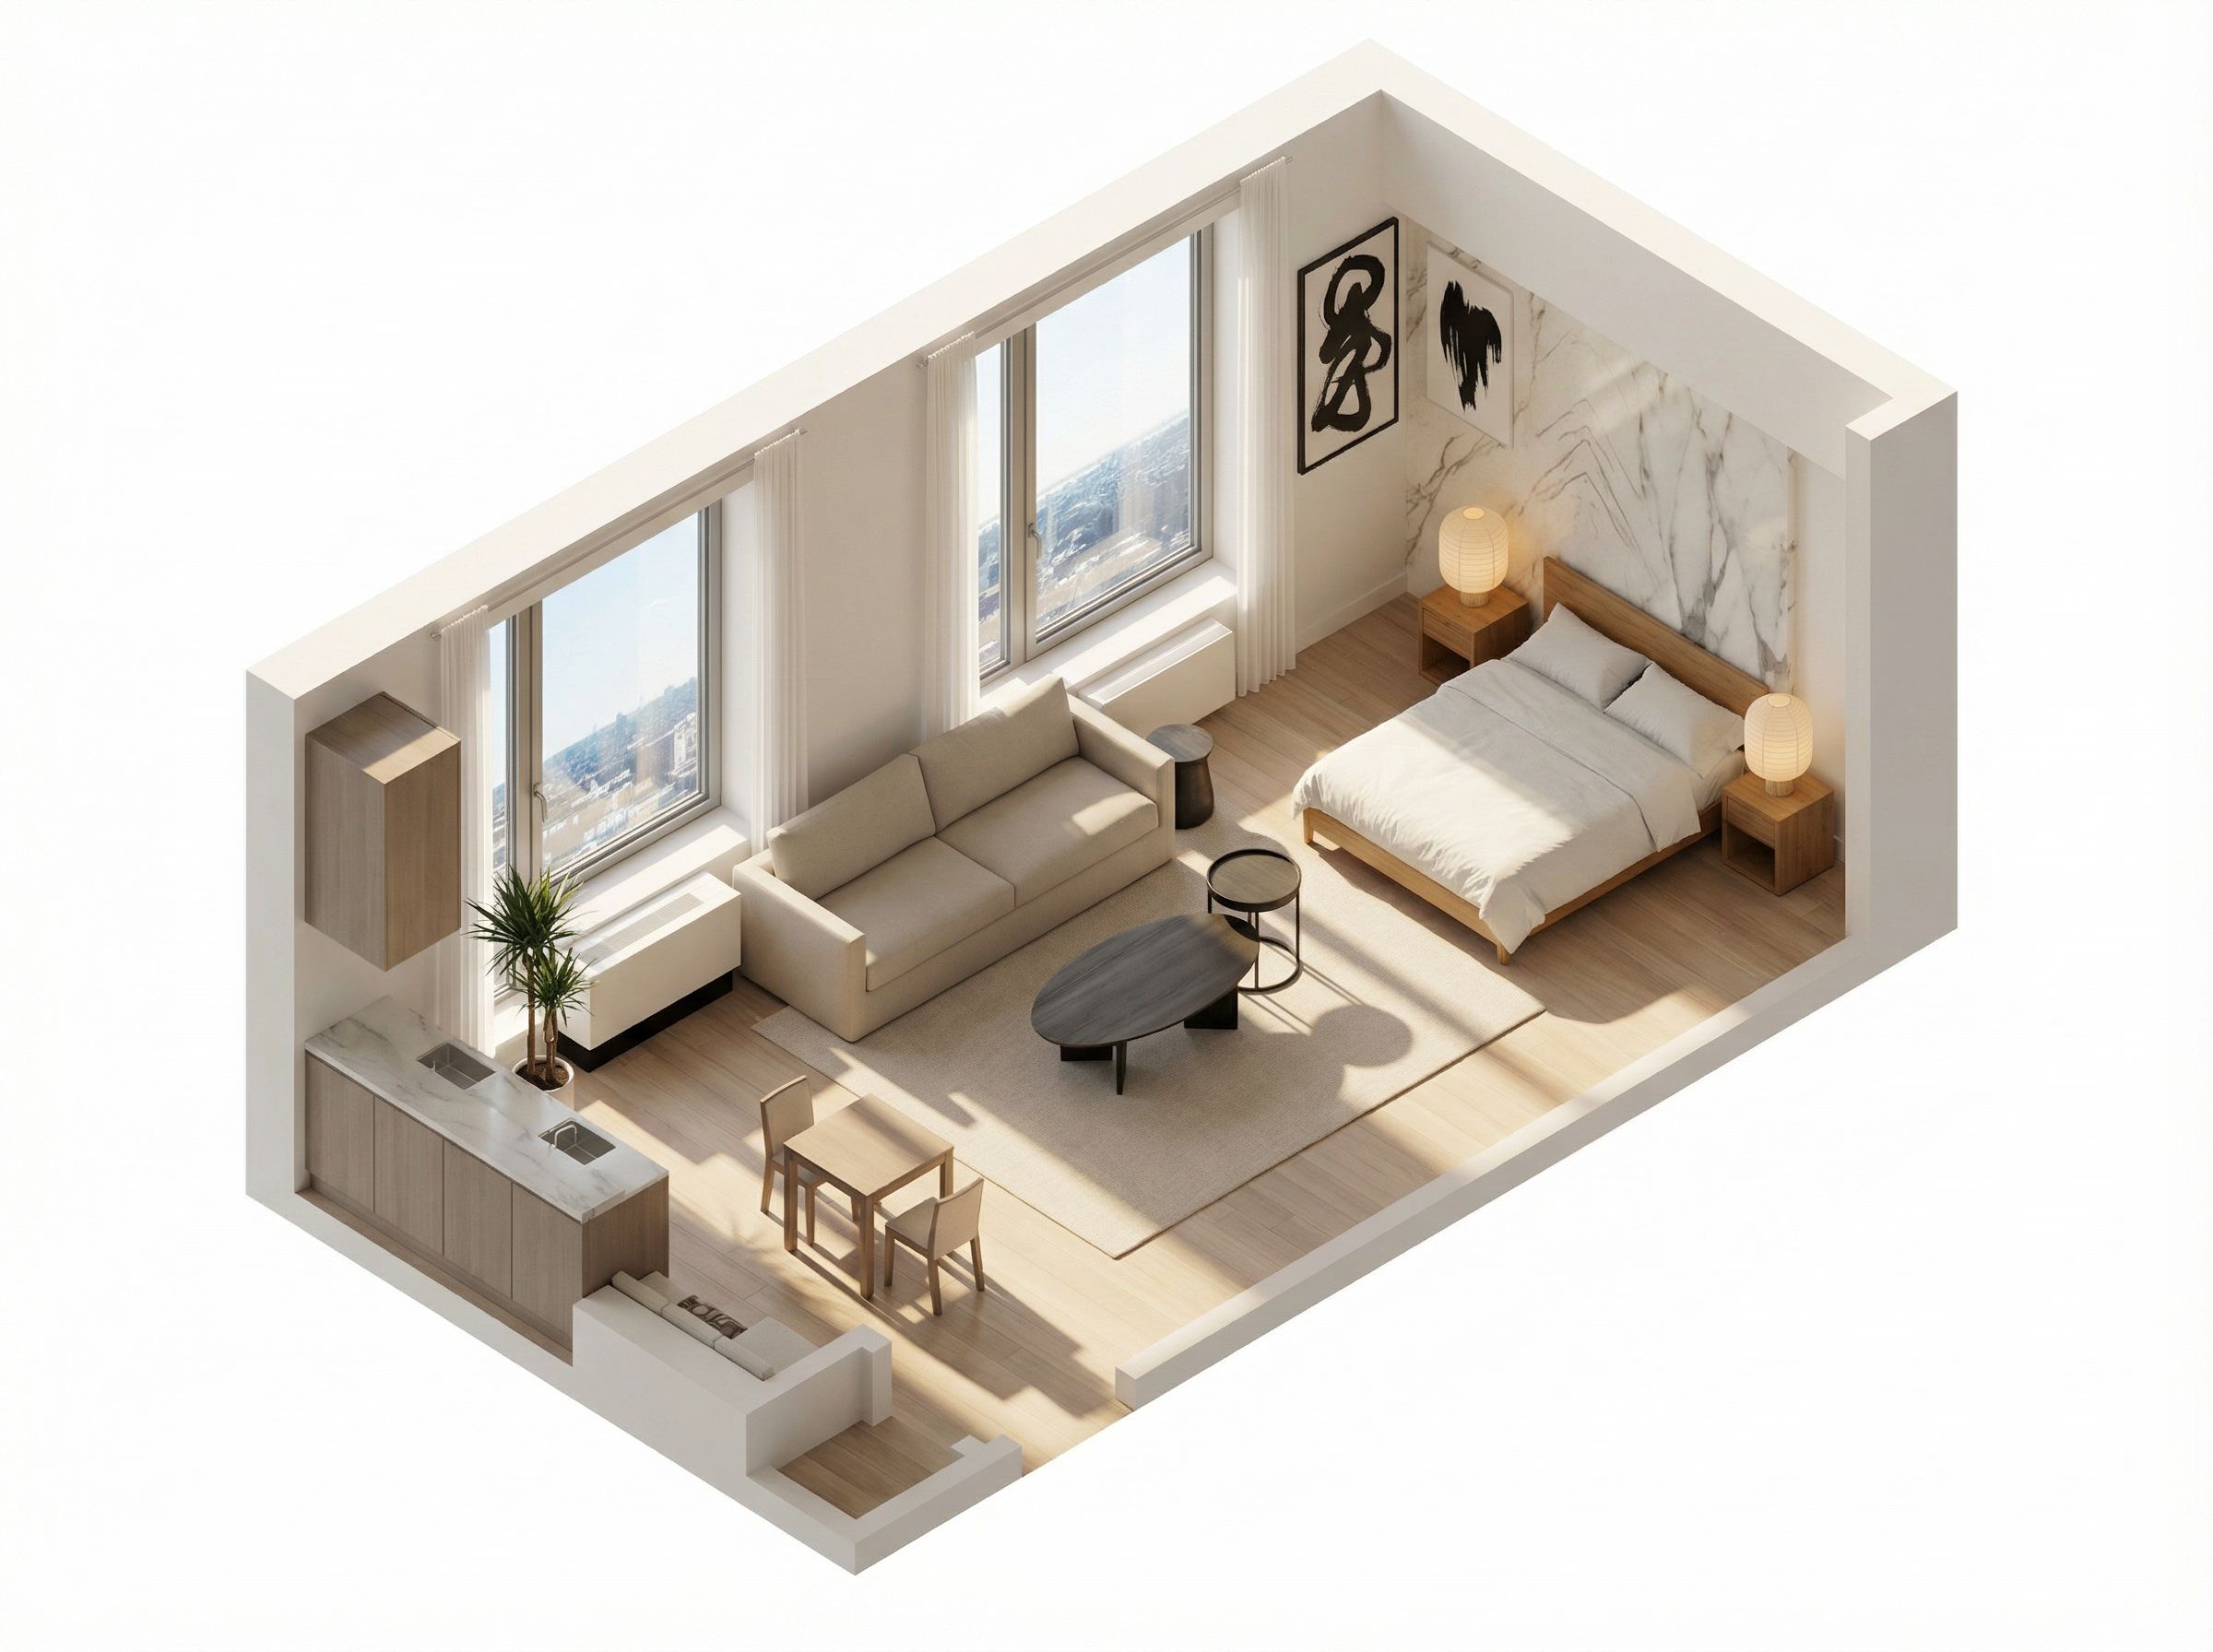
Complete 3D Axonometric View
Assembly Transformation Video
Watch exploded elements connect into complete space
Video Prompt
Create a transformation video showing how the exploded axonometric drawing turns into the whole complete space. Keep all geometries and furniture exactly the same. Video shows separate parts connecting into one complete space
Exploded → Connected transformation animation
Try These Workflows with Vondy
Every workflow here was created using Vondy's AI app. Unlike ChatGPT or basic AI tools, Vondy is purpose-built for visual design, from sketch-to-render to floor plan generation. Whether exploring mood boards, testing furniture in an empty room, or planning renovation visualizations, Vondy's powerful AI and competitive pricing make it accessible for beginners with functionality rivaling Planner 5D. You can also use these techniques for small business marketing materials.
What You Can Do with Vondy
Sketch to Render
Transform hand-drawn sketches into photorealistic renders with style references
Style Exploration
Test multiple design aesthetics on the same space in seconds
Furniture Placement
Visualize different furniture styles in empty rooms instantly
Renovation Planning
Create before/after visualizations for client presentations
Floor Plan Generation
Generate 2D plans and 3D axonometric views from renders
Video Walkthroughs
Create smooth video transitions and 360° space tours with AI video
Tips for Best Results
Start Creating Today
What used to require expensive 3D models and hours of rendering now takes minutes. Free AI tools have made AI home design accessible to beginners and professionals. Whether you use an interior design app, ChatGPT for brainstorming, or dedicated AI-powered tools, the best AI tool fits your workflow.
Pick one workflow and try it. Whether it's a room redesign, living room makeover, or renovation visualization, you'll create professional realistic renders in no time.
Ready to Transform Your Space?
Explore AI tools for interior design, virtual staging, floor plan generation, and more.
Explore Interior Design ToolsContinue Learning